If you need proof of TikTok's unwavering influence on the beauty scene, you need only look to the steady flow of viral make-up trends that have dominated this summer alone. First came latte make-up, then 'strawberry girl summer', a brief brush with tomato girl make-up followed (it's cuter than it sounds) and now we have landed on the latest hack promising to upgrade your beauty game: ombré concealer.
The trend has been steadily gathering pace since first hitting our For You Pages last month and has already amassed an impressive 17.2M views on TikTok and counting. Bright, colourful and aesthetically pleasing, while this rainbow concealer method is creative and certainly easy on the eye (pun intended), its popularity is down to its efficacy - ergo, this is one viral hack worth its salt.
What is ombré concealer?
It involves applying a gradient of colours under the eyes to create a natural brightening effect that would otherwise involve more products and time to nail. Unlike other concealer trends like the triangle concealer hack which is all about strategic placement of one single colour around the area, this technique combines two well established concealer tricks: colour correcting and draping. The former is all about using a peach tone product to brighten and neutralise dark circles, while the latter focuses on the placement of blush,
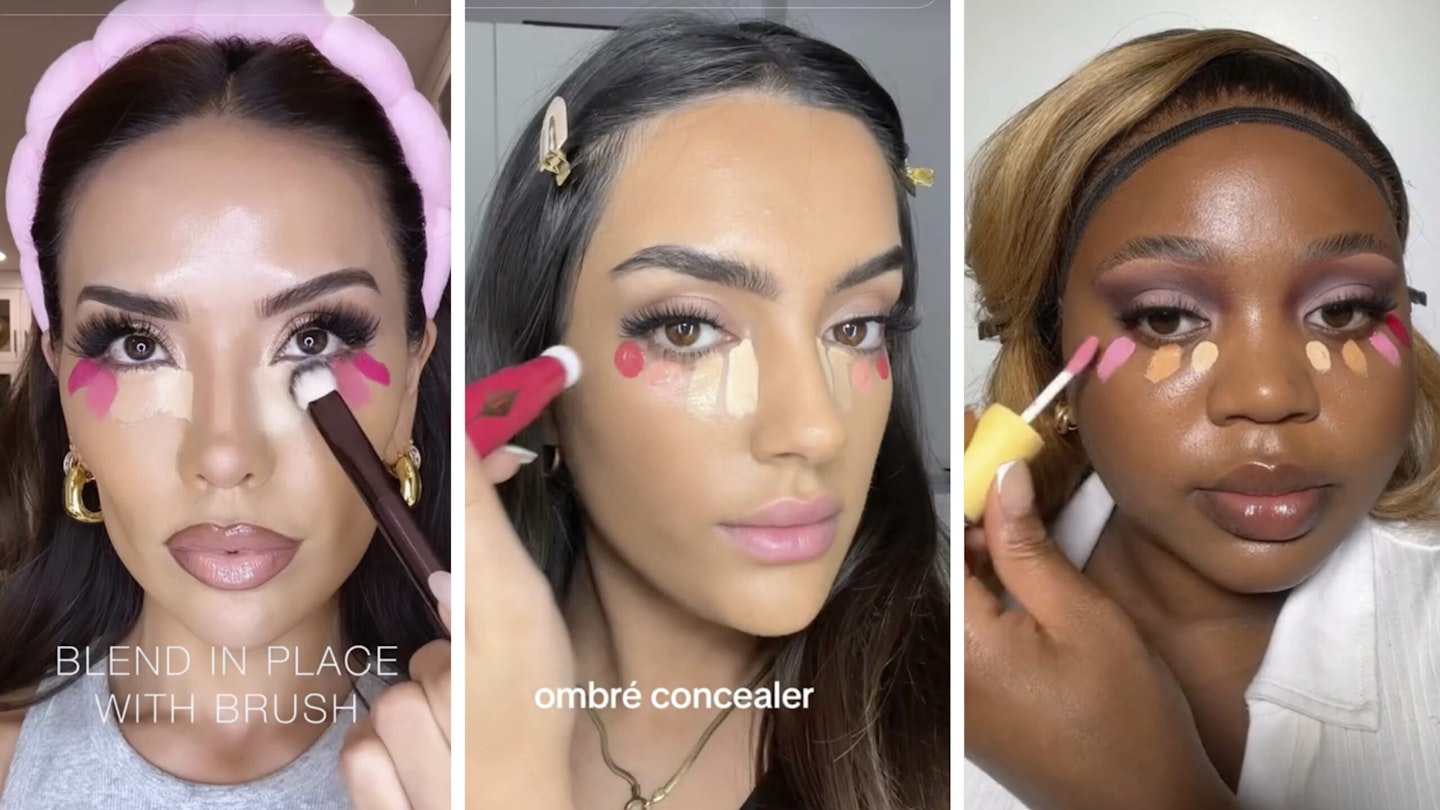
Make-up artist and founder of beauty brand Pearl Beauty Elanna Pecherle explains, 'The ombré under eye concealer technique starts with dots of make-up stamped under your eyes: first with the lightest shade of concealer near the inner corner; followed by a darker shade in the middle; and lastly your blush of choice in the outermost corner. This trend multitasks by brightening the under eyes and lifting the cheekbones, all in one blend. Plus, the higher placement of blush gives me a sculpted effect.'
How to do ombré concealer
First, the inner corners. Elanna advises opting for a concealer that is two or three shades lighter than your foundation. For the next dot, choose a concealer that is one shade lighter than your foundation. If you need extra coverage add a third skin-tone dot. The next two dots that follows are reserved for the pièce de résistance, your blush shades – you can use two if you please, a subtle shade followed by a deeper one or use the same one twice.
Then comes the most important step: strategically blending it all together. Elanna recommends 'reaching for a brush and working from your inner corners out, in the same order each product was applied. This ensures each dot and product is somewhat blended and doesn’t mix with the next product – you want a gradient, not to create one shade with the mix of colours. All the products together should create a blurred-line effect so there’s barely any distinction between where the concealer and blush start and stop. Once everything has been lightly blended, roll a damp make-up sponge over the concealer-blush mix to soften any distinct lines.'
Finally, set everything in place with a translucent setting powder and for an added pop of colour go back in with a sweeping of blush.
As for Elanna's top tip? 'Avoid a patchy finish stick with formulas of the same texture. Liquid concealer and liquid blush work best for this technique as they tend not to dry down so fast or get muddled with colour.'
Main image: Tiktok @makeupbymissevelyn, @rosabarzz and @iluvsarahiiii
Shop: Ombré concealer essentials

www.cultbeauty.co.uk
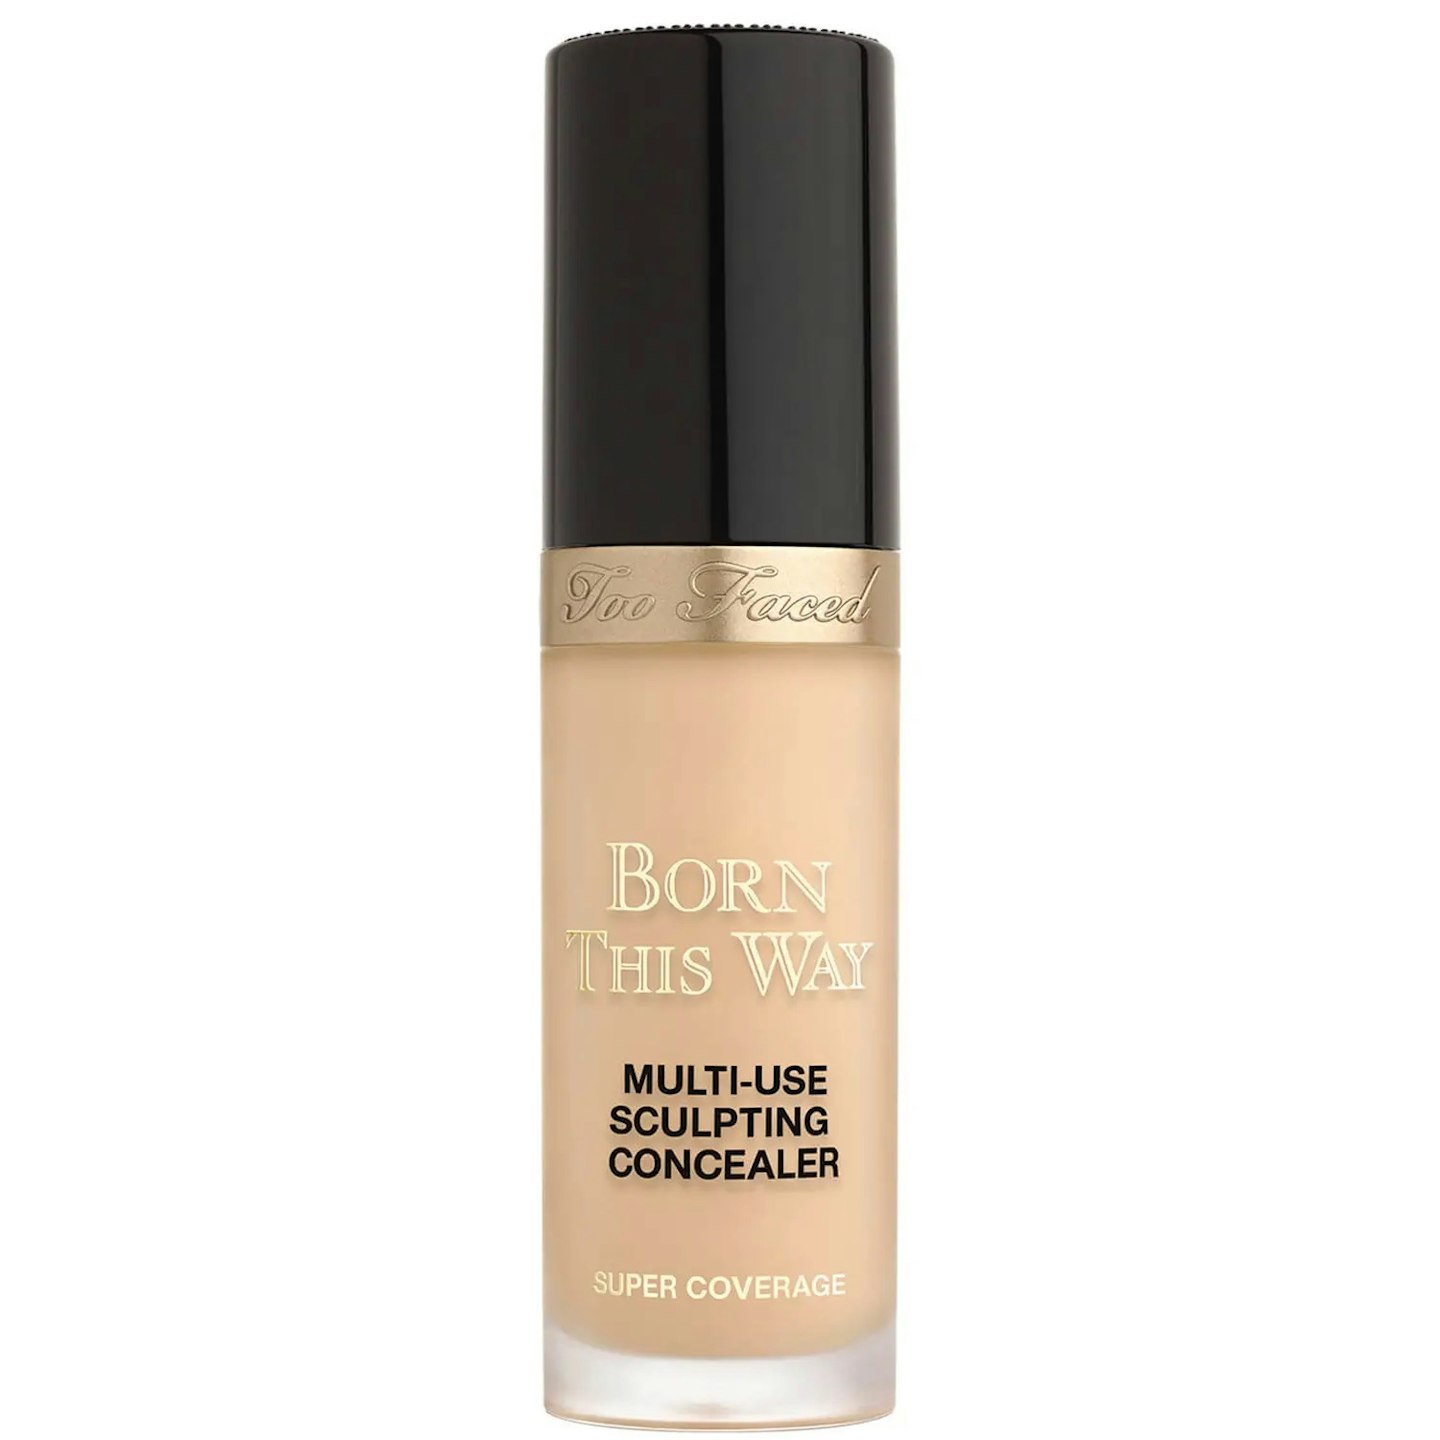
A ride-or-die in my make-up kit, this unmatched concealer quickly blurs, brightens and creates an airbrush finish with ease, sans creasing. With an impressive 35 shades on offer, that catering to all skin tones, you'll easily find the gradient of colours required to ace this hack.

www.charlottetilbury.com
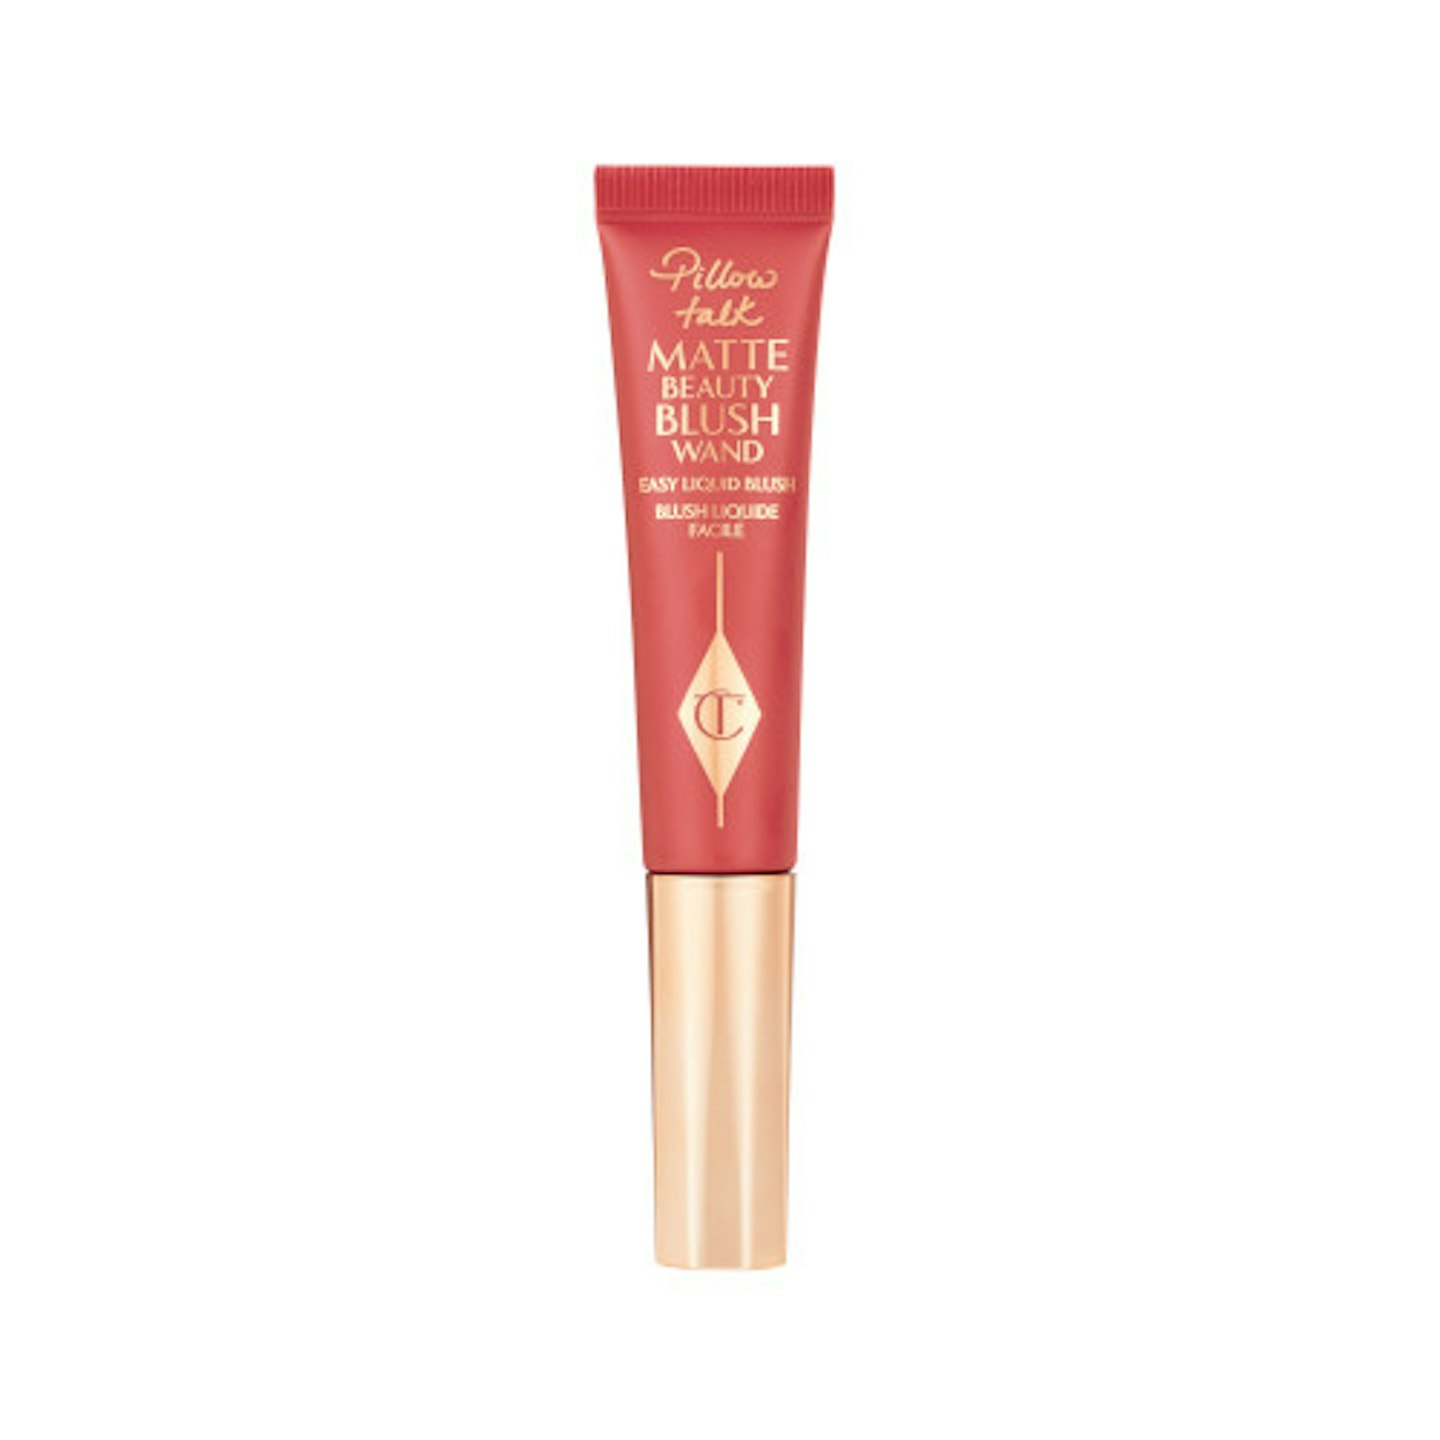
These easy-to-use liquid blush sticks quickly add a flattering flush of matte colour wherever placed, but work especially well at the high points of the face - ideal for this trend.

pearlbeautycosmetics.com
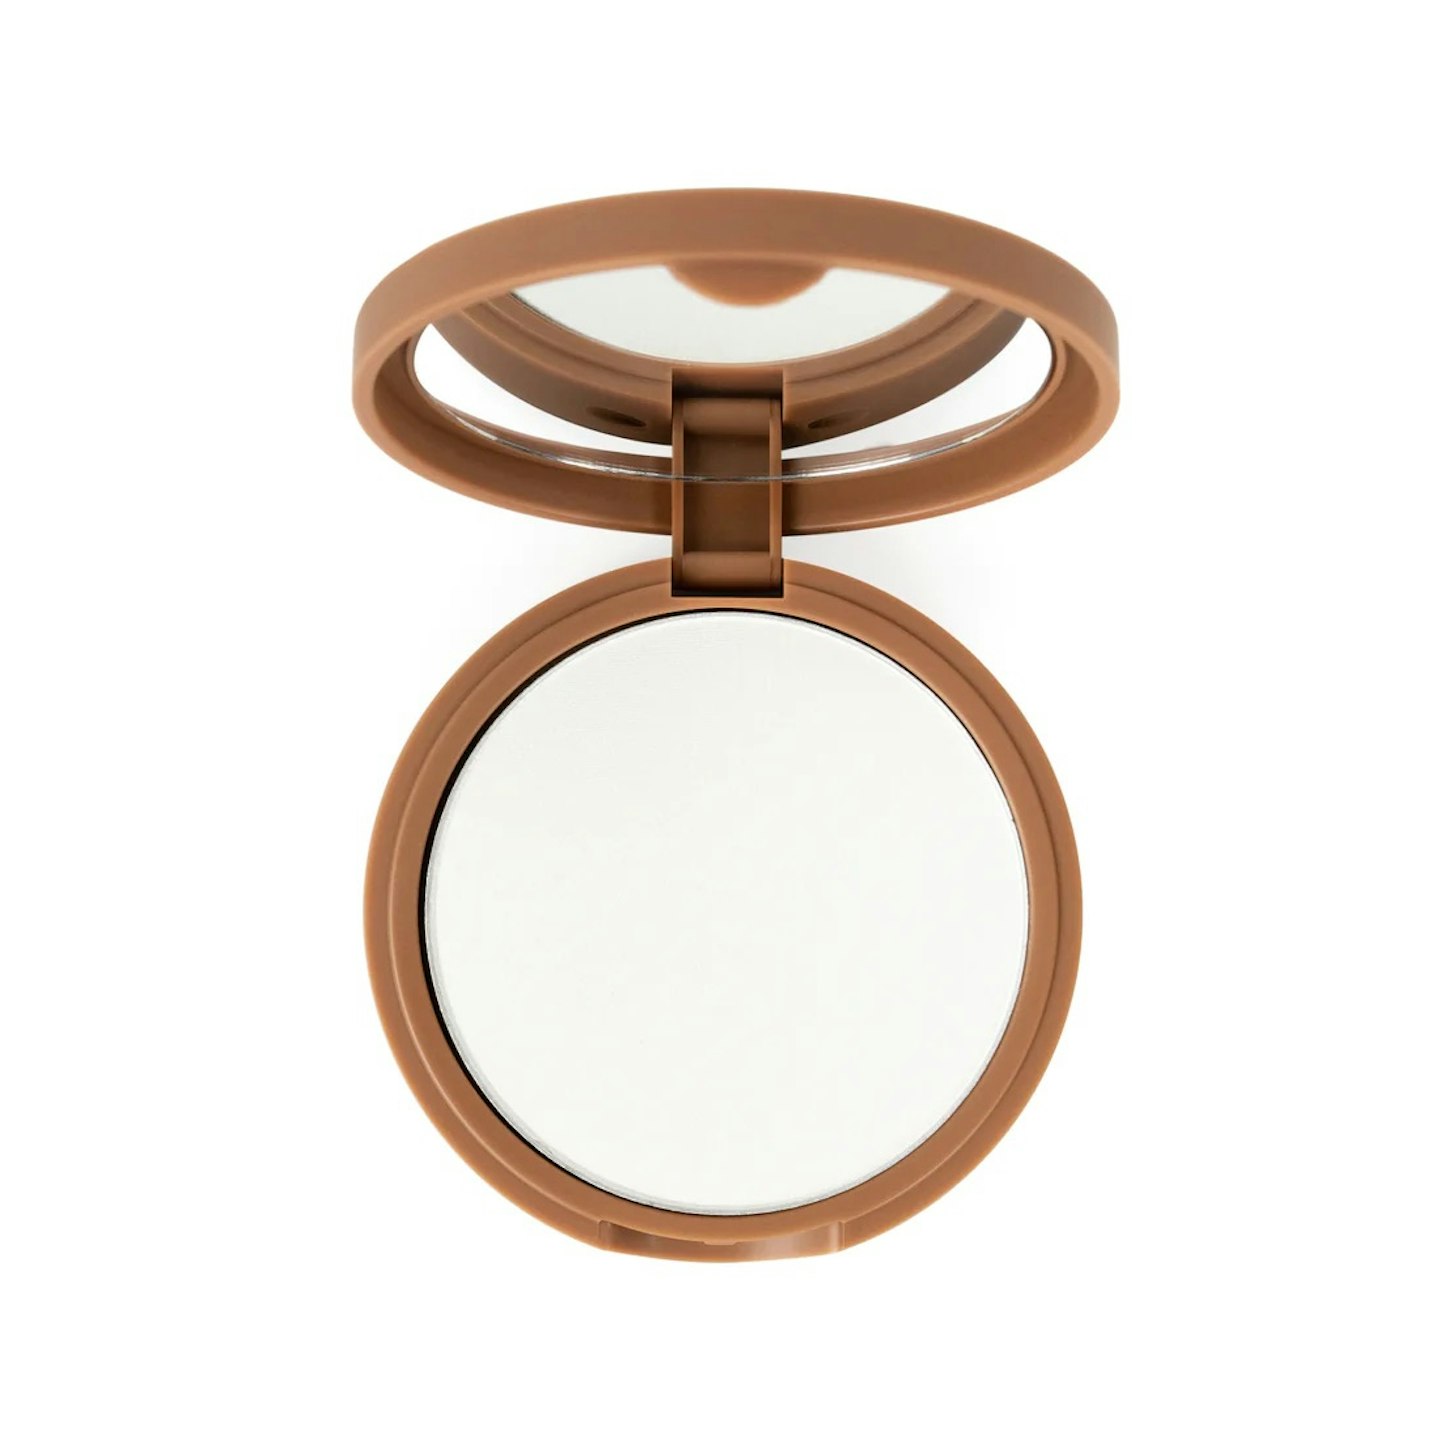
Don't forget to set. This essential step will lock the gradient in place all day and keep the mixed formulas from creasing.

