So, face masks are now a reality for most of us.
New government guidelines suggest we should now all be wearing some sort of face covering when in shops or on public transport. The government's blueprint also issued guidelines on making your own masks at home. But there are plenty of places to get one too.
While we've probably all watched a million videos about how to make your own face mask - including how to do it out of a sock - there's a new craft project in town: the ear saver.
If you've worn your cool new mask out (because as we know, picking one is a statement in itself), you'll know that there are several drawbacks - and one of them is pain behind the ears.
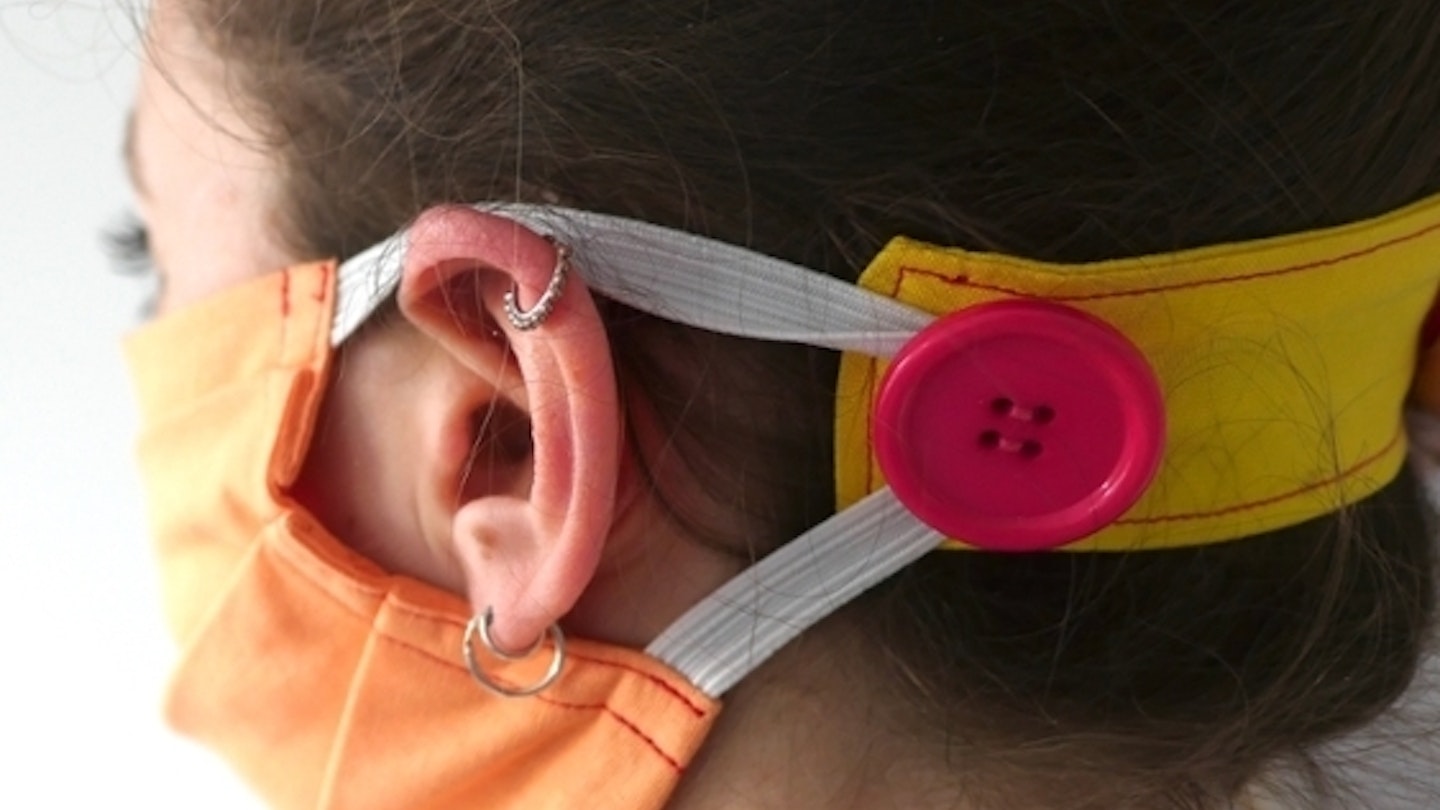
So, people have now started making ear savers - little strips of material with buttons at either end, where you can hook your mask elastic, meaning the strain is distributed and not just on your ears.
There's also a headband style, where you can attach buttons to a new or existing headscarf, and attach your hooks there.
Not only are people now making them for themselves, but they're also making them for key workers, who have to wear masks all day.
In conjunction with sewing expert Sophia Palmer (Sew Jessalli), Hobbycraft has launched beginner step-by-step guides on its Ideas Hubon how to create face masks, ear savers and scrub bags.
The retailer had also had a number of requests from charities and NHS workers for materials to help make ear savers and scrub bags, so has also introduced guides to help those to get involved.
So, if you're ears are getting a bit... chafy (?) here's how to make your very own ear saver...
How To Make An Ear Saver
 1 of 6
Step 1
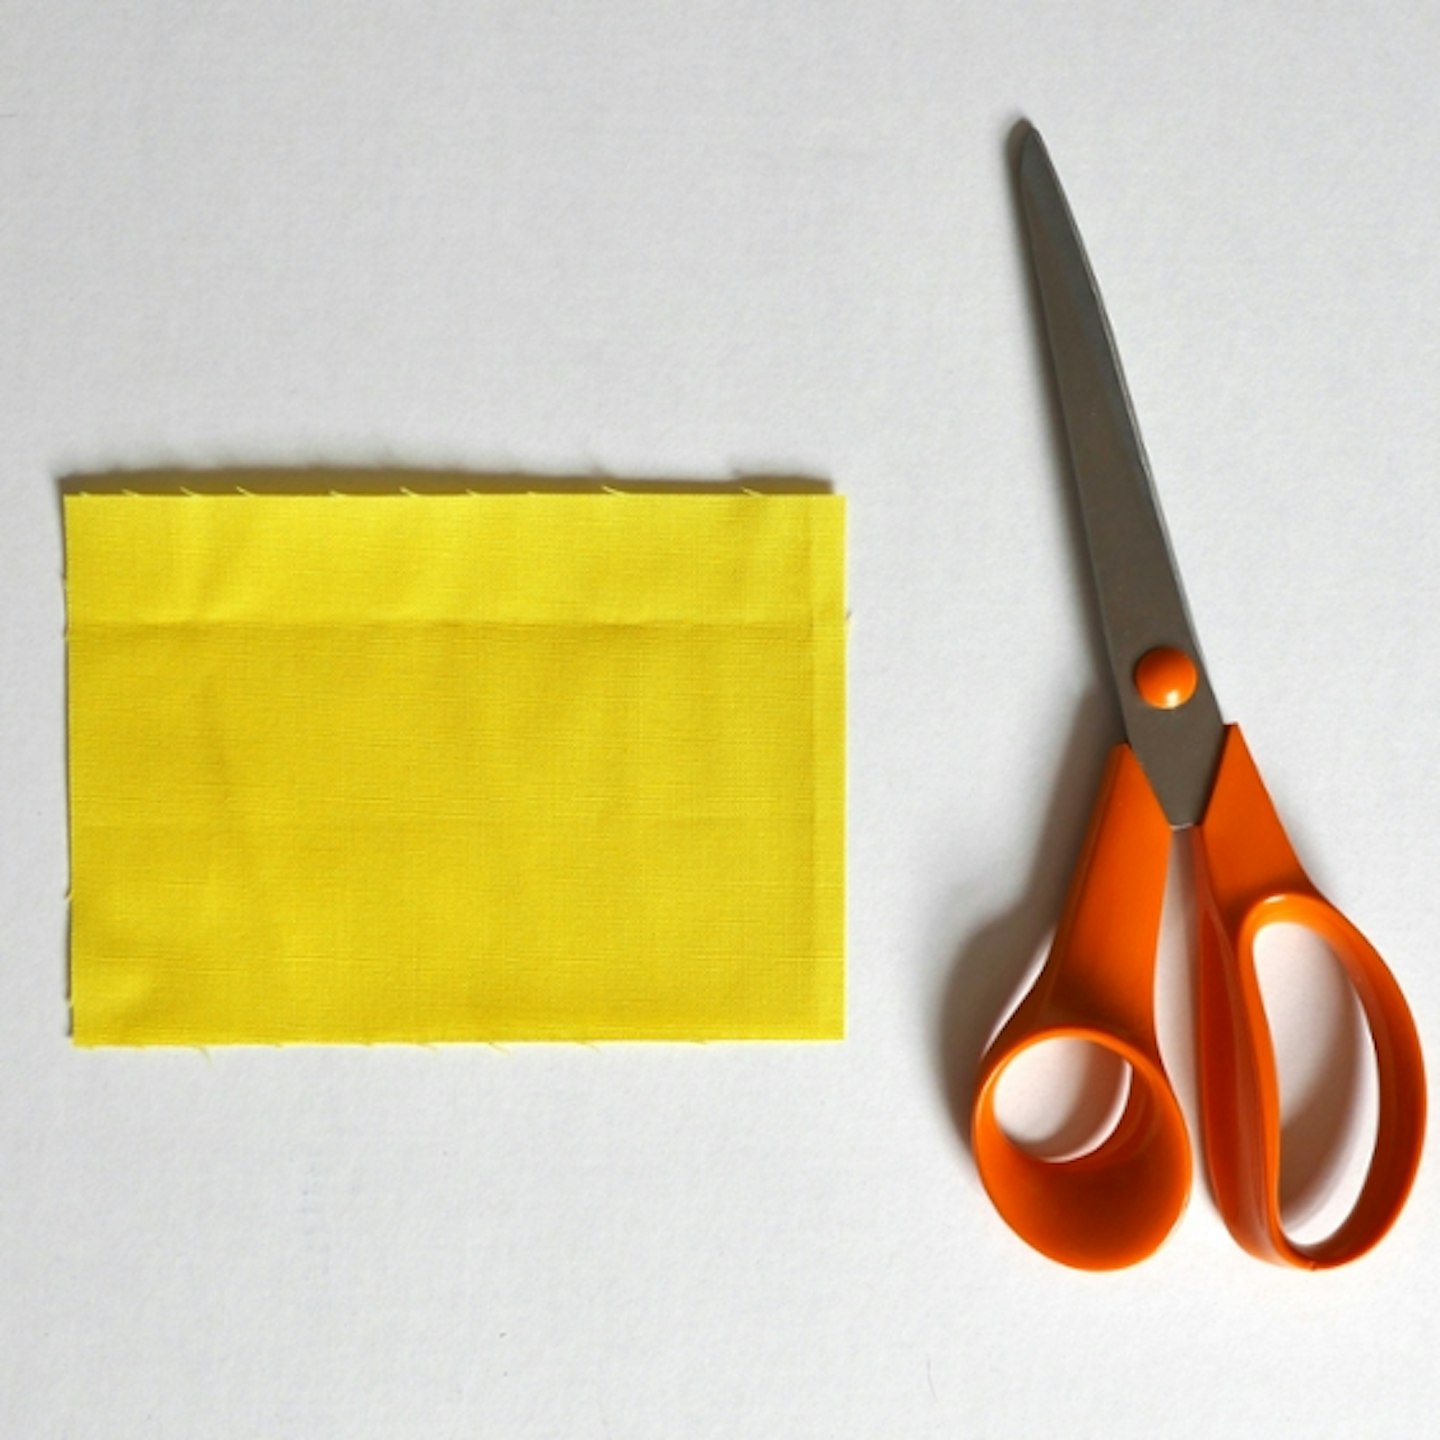
Cut a piece of cotton to measure 14x10cm.
 2 of 6
Step 2
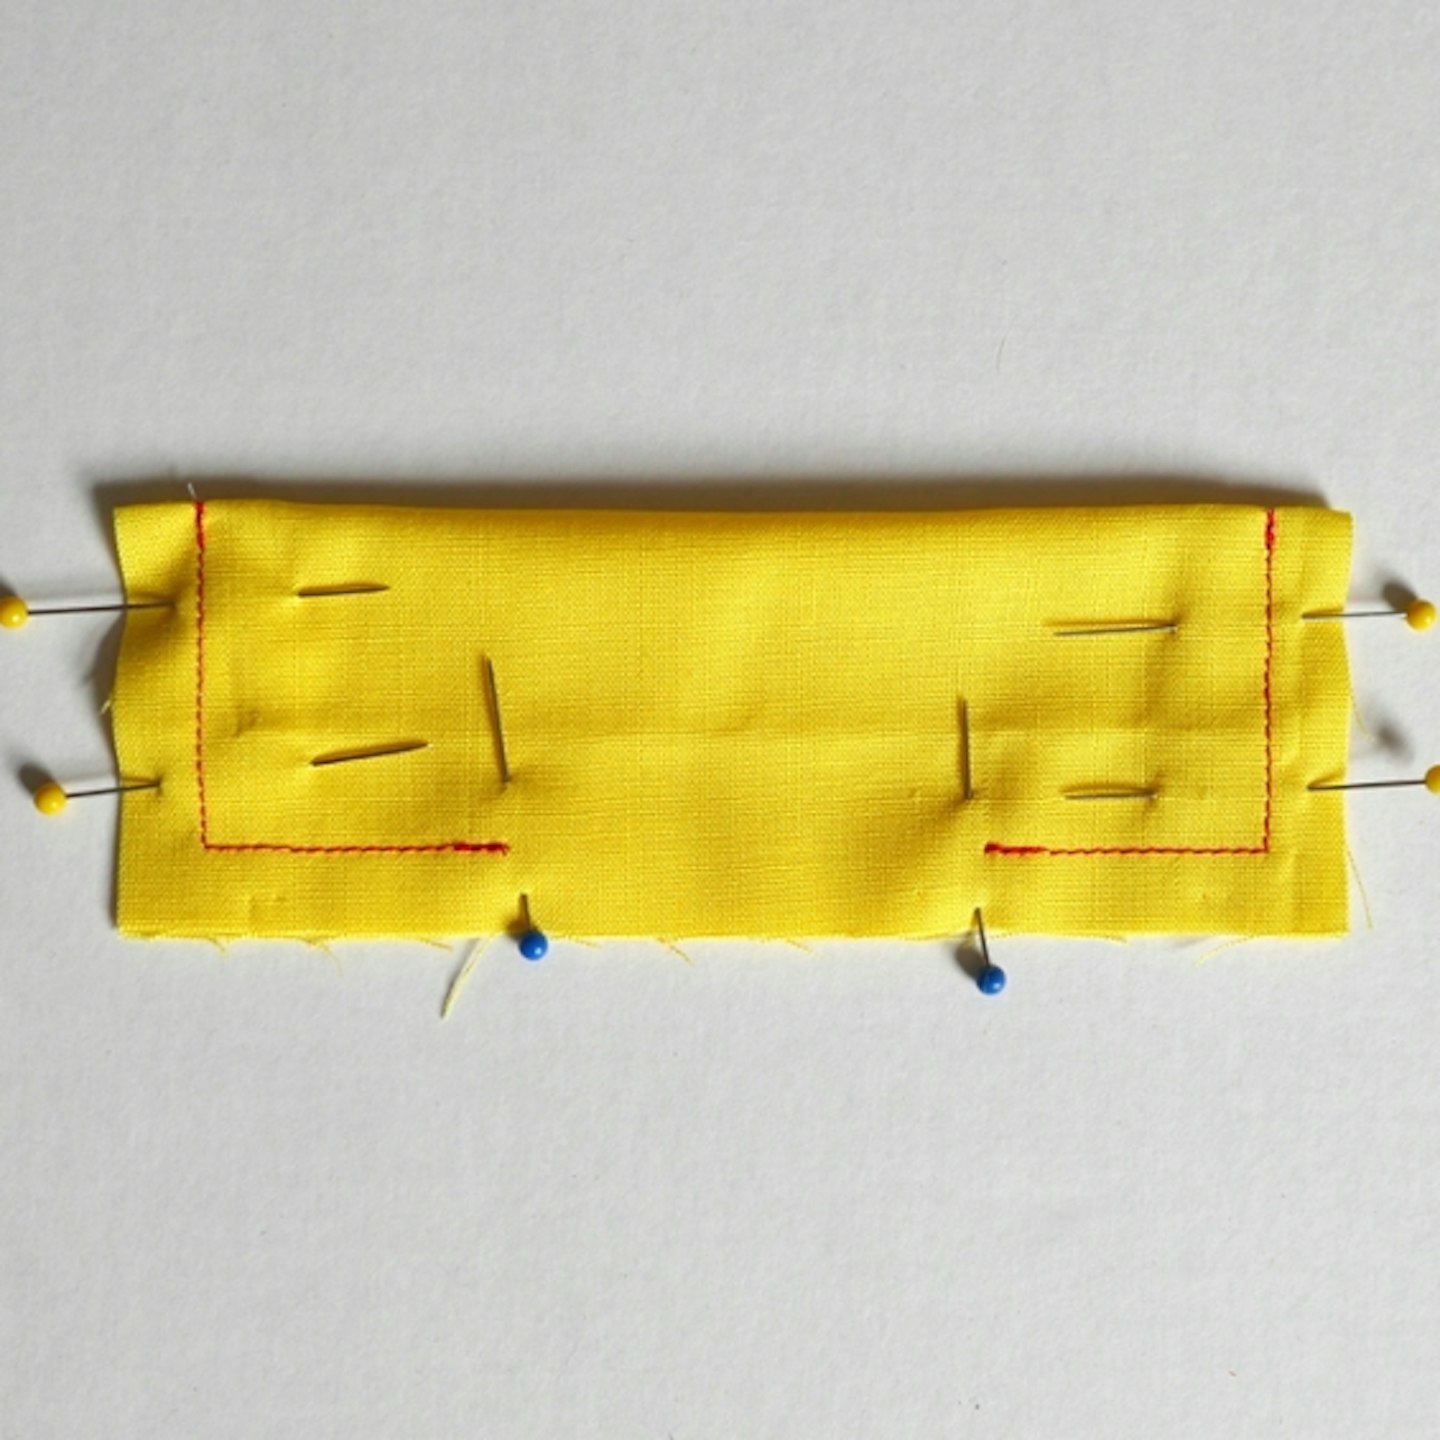
Fold in half lengthways, pin together and sew around the 3 sides, leaving a 5cm gap in the longest open edge.
 3 of 6
Step 3
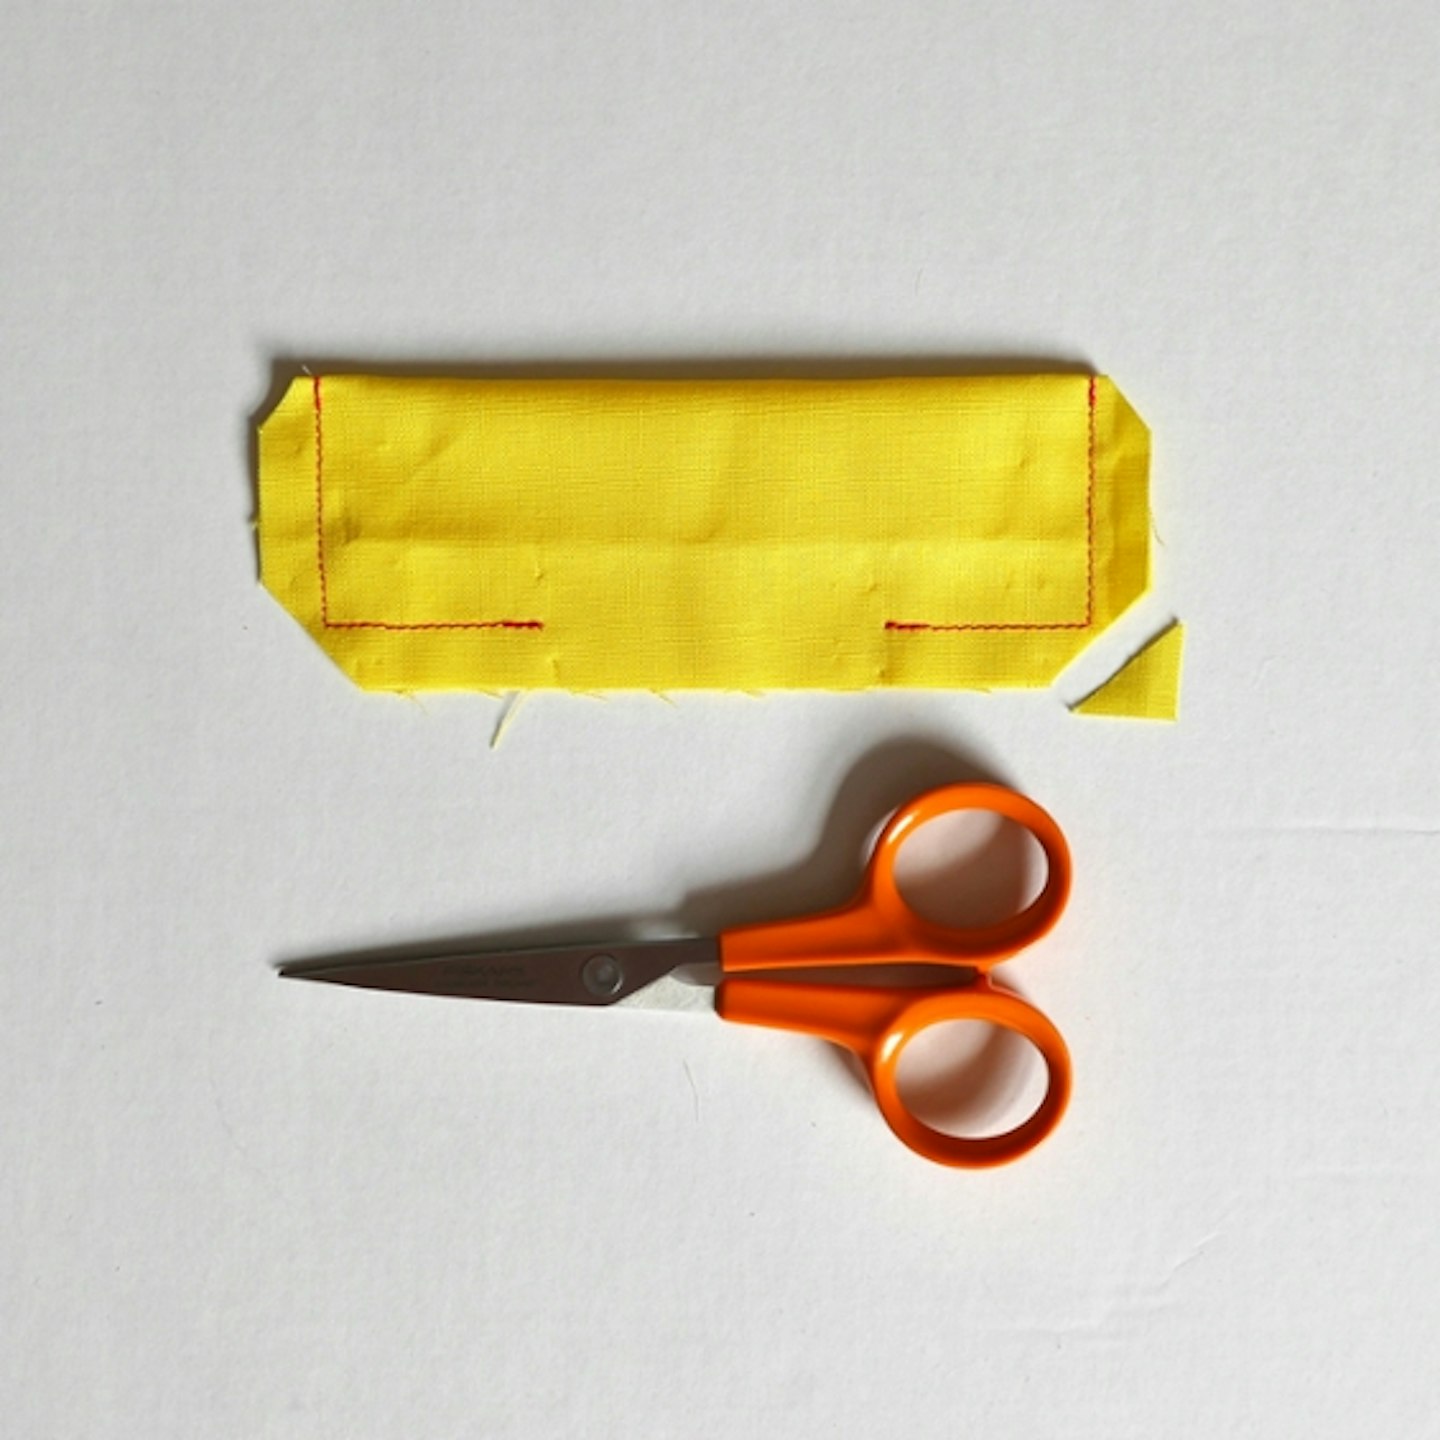
Trim the seam allowances and corners to help with neat turning. Turn the right way through the gap and press flat.
 4 of 6
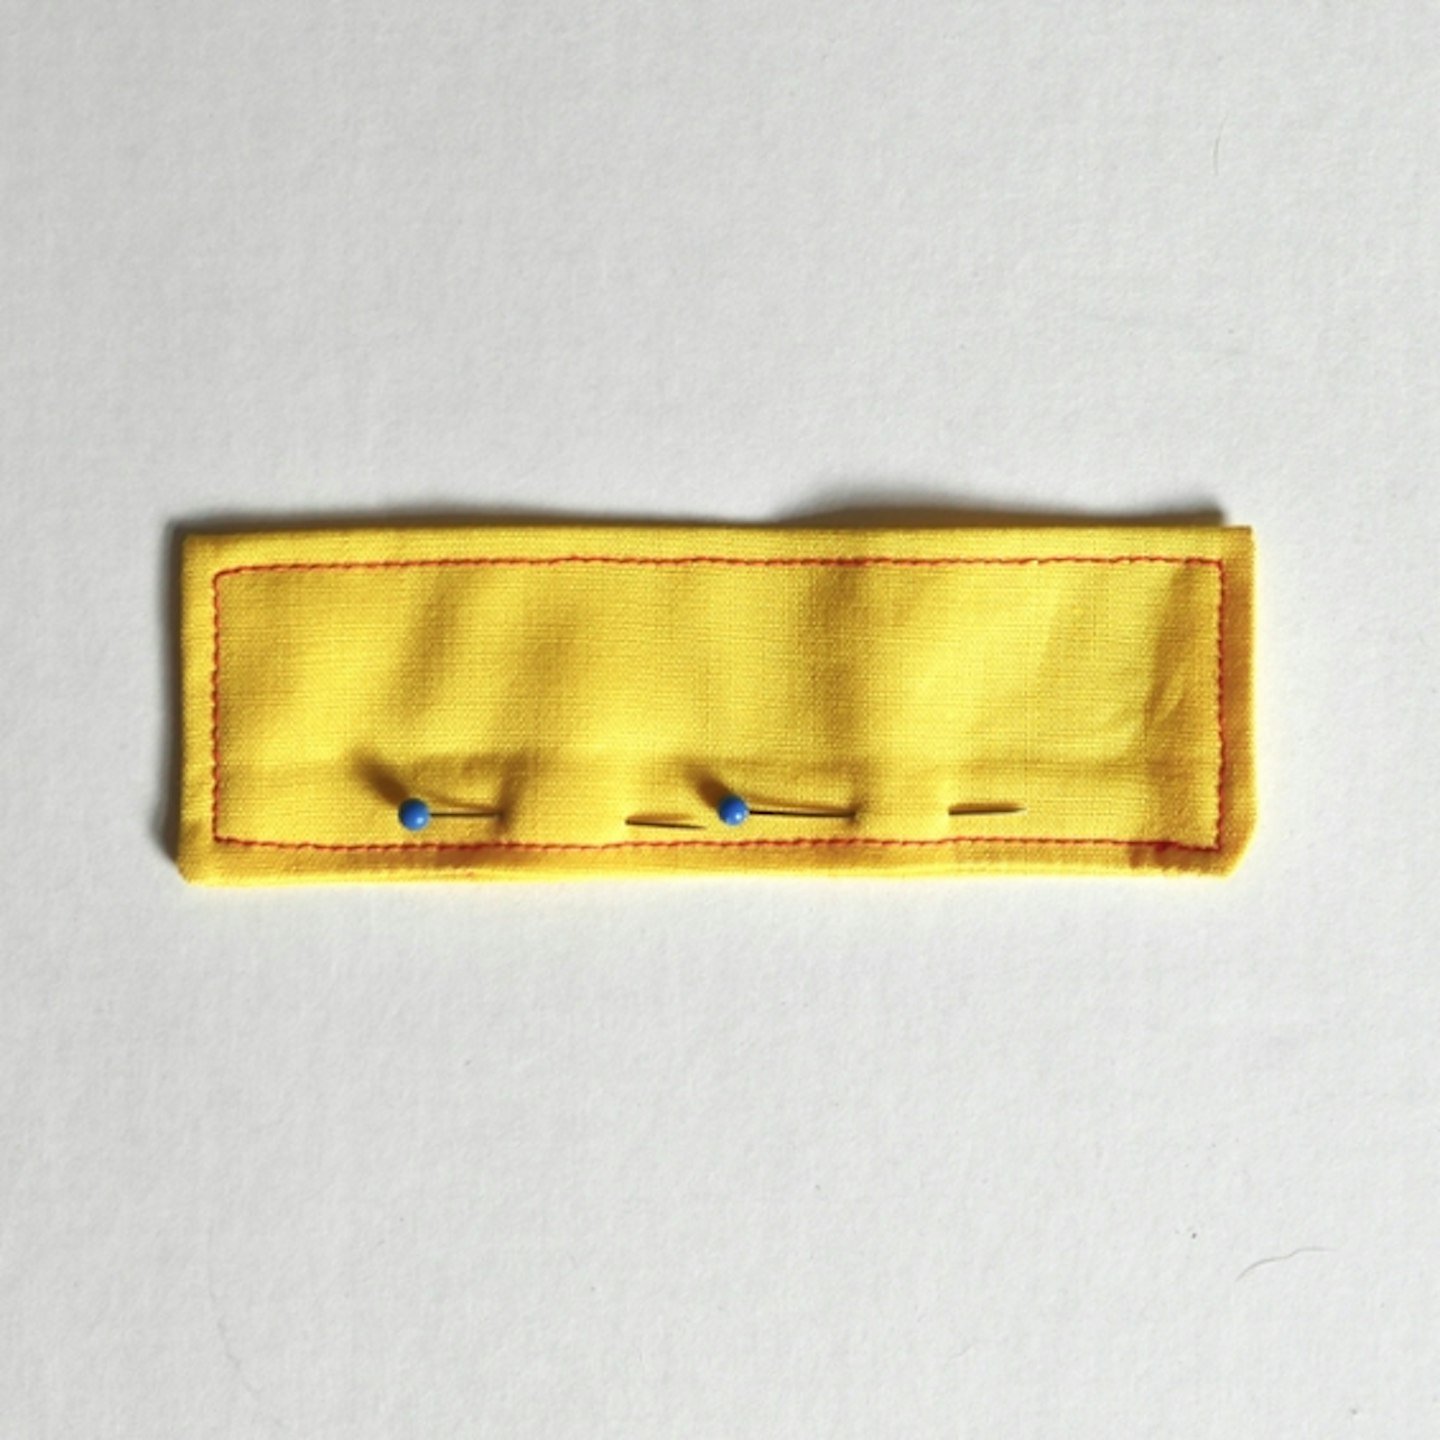
Step 4
Pin the gap shut, then topstitch around all four sides, 5mm from the edge, sealing the gap closed as you go.
 5 of 6
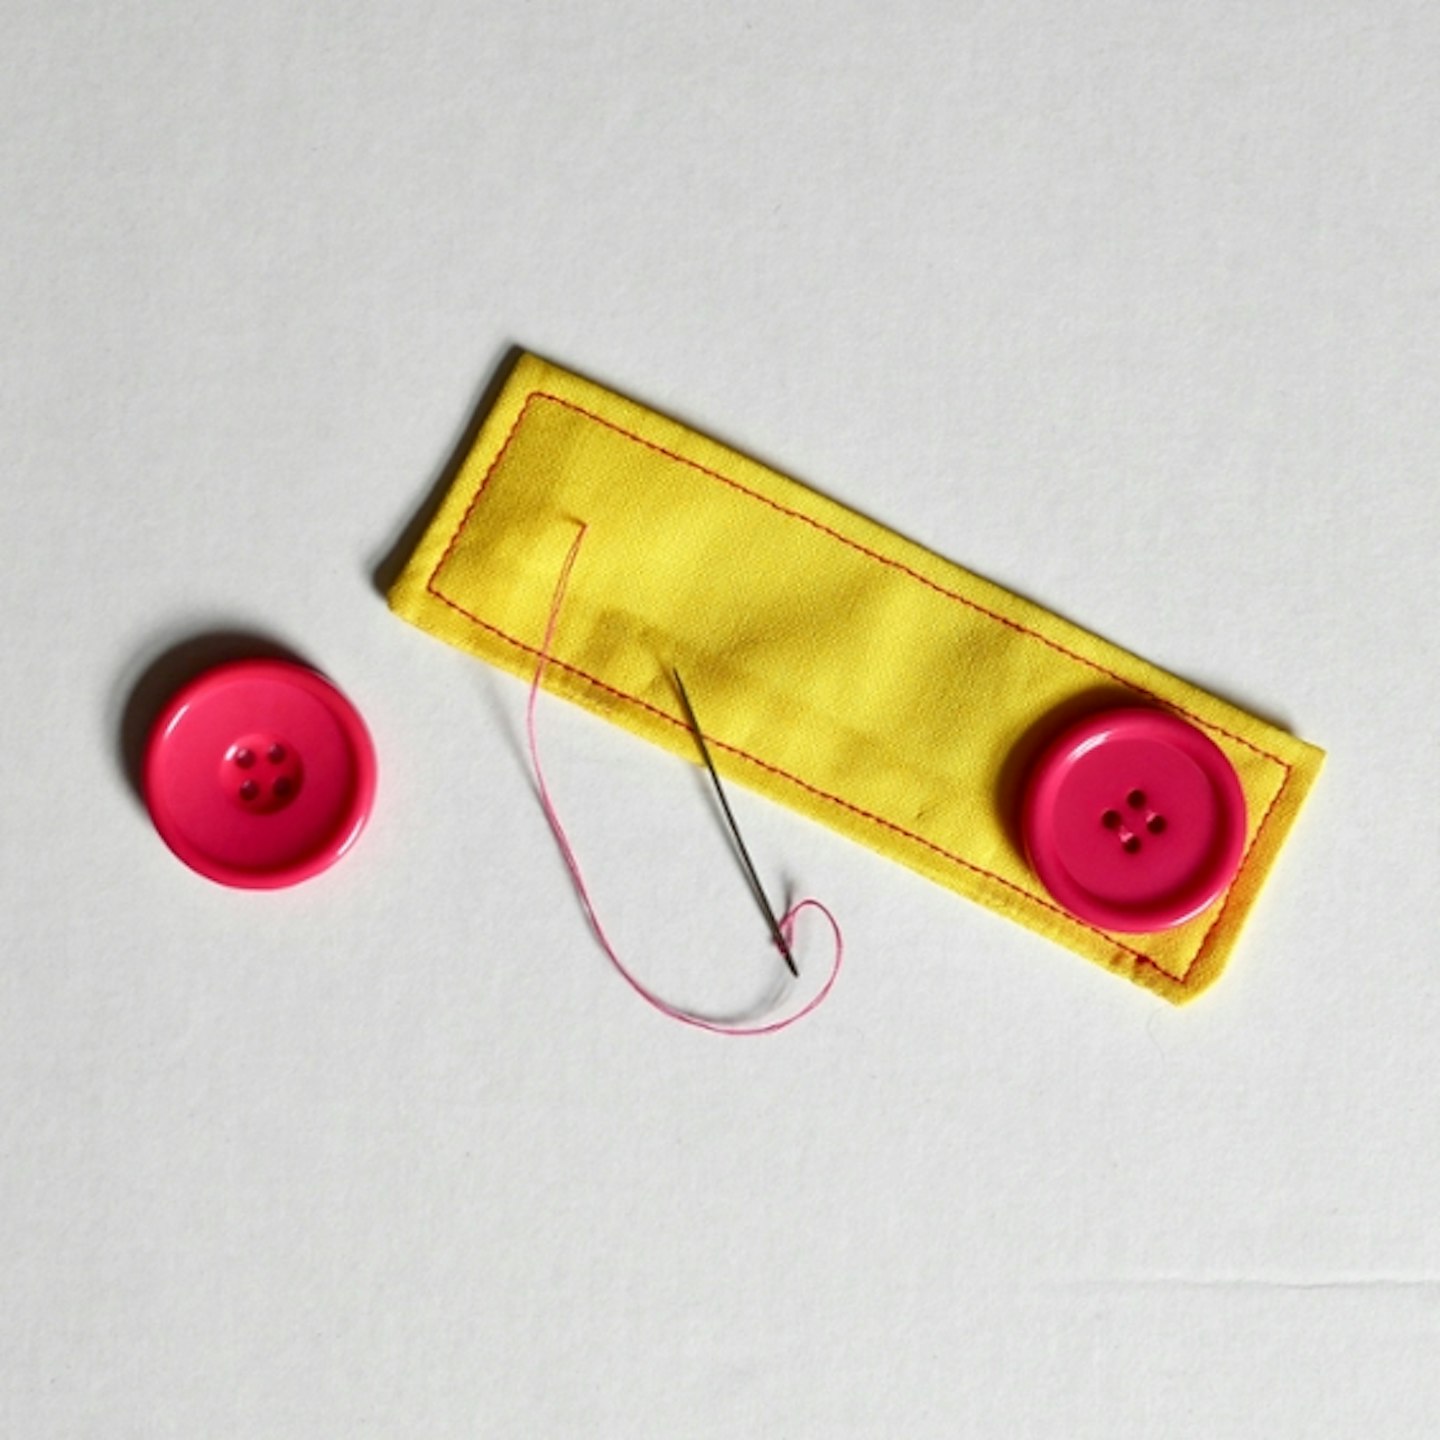
Step 5
Hand-sew two buttons to either end of your fabric piece.
 6 of 6
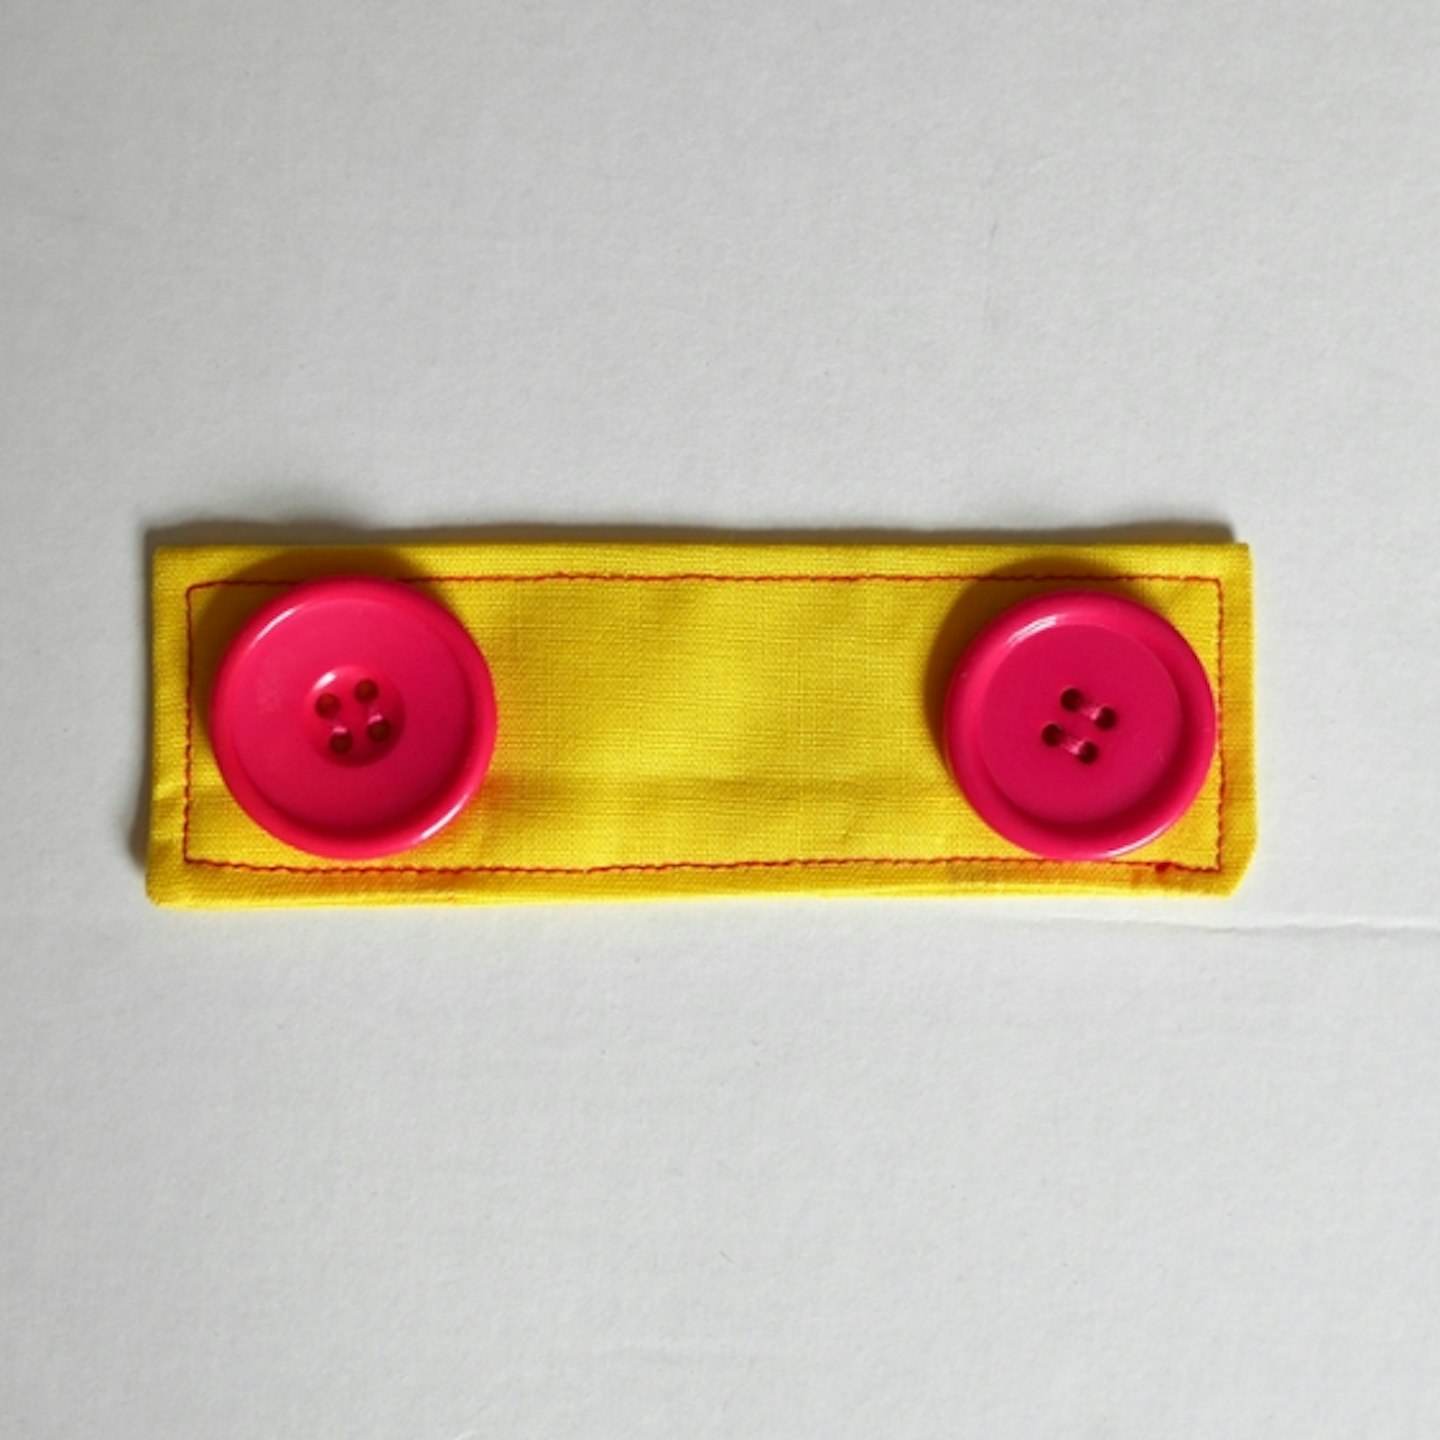
Step 6
Give it a final, quick press and it's ready to wear with a mask.
