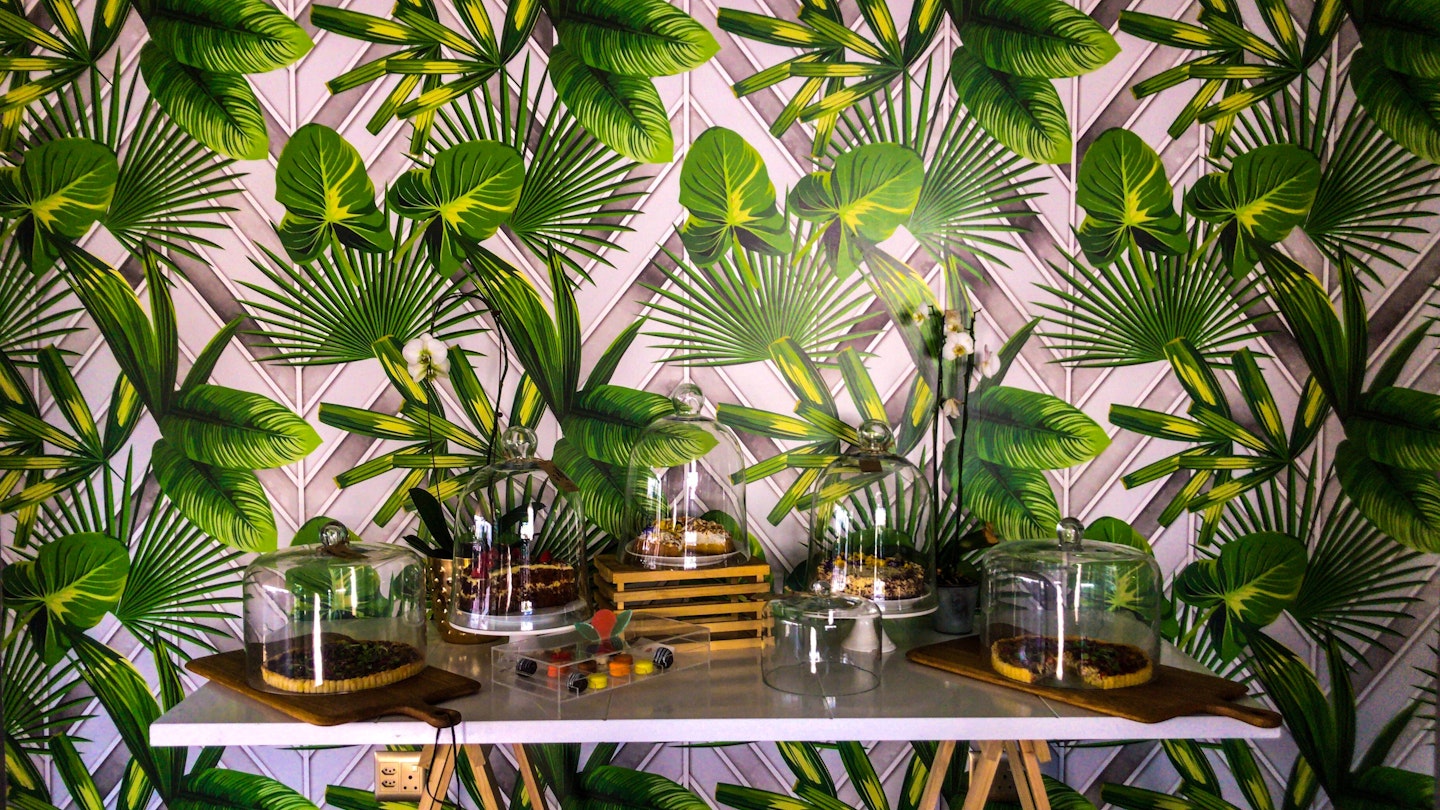
So you’ve fallen in love with the idea of filling your home with maximalist prints.
Your saved photo collection on Instagram is exclusively reserved for shots of other people’s botanical wallpaper, and you’re finding it increasingly hard to resist the siren call of House of Hackney’s online store.
For those of us who've grown out of the whole minimalism thing, printed wallpaper, whether it be bold blooms, a more delicate chintz or even animal print a la Gucci's recent collection, has major appeal - and even if you've never considered yourself particularly handy in the DIY department, you can save time and money by hanging it yourself.
Here what you need to know before filling up that paste bucket...
Picking a wallpaper
Think about your space
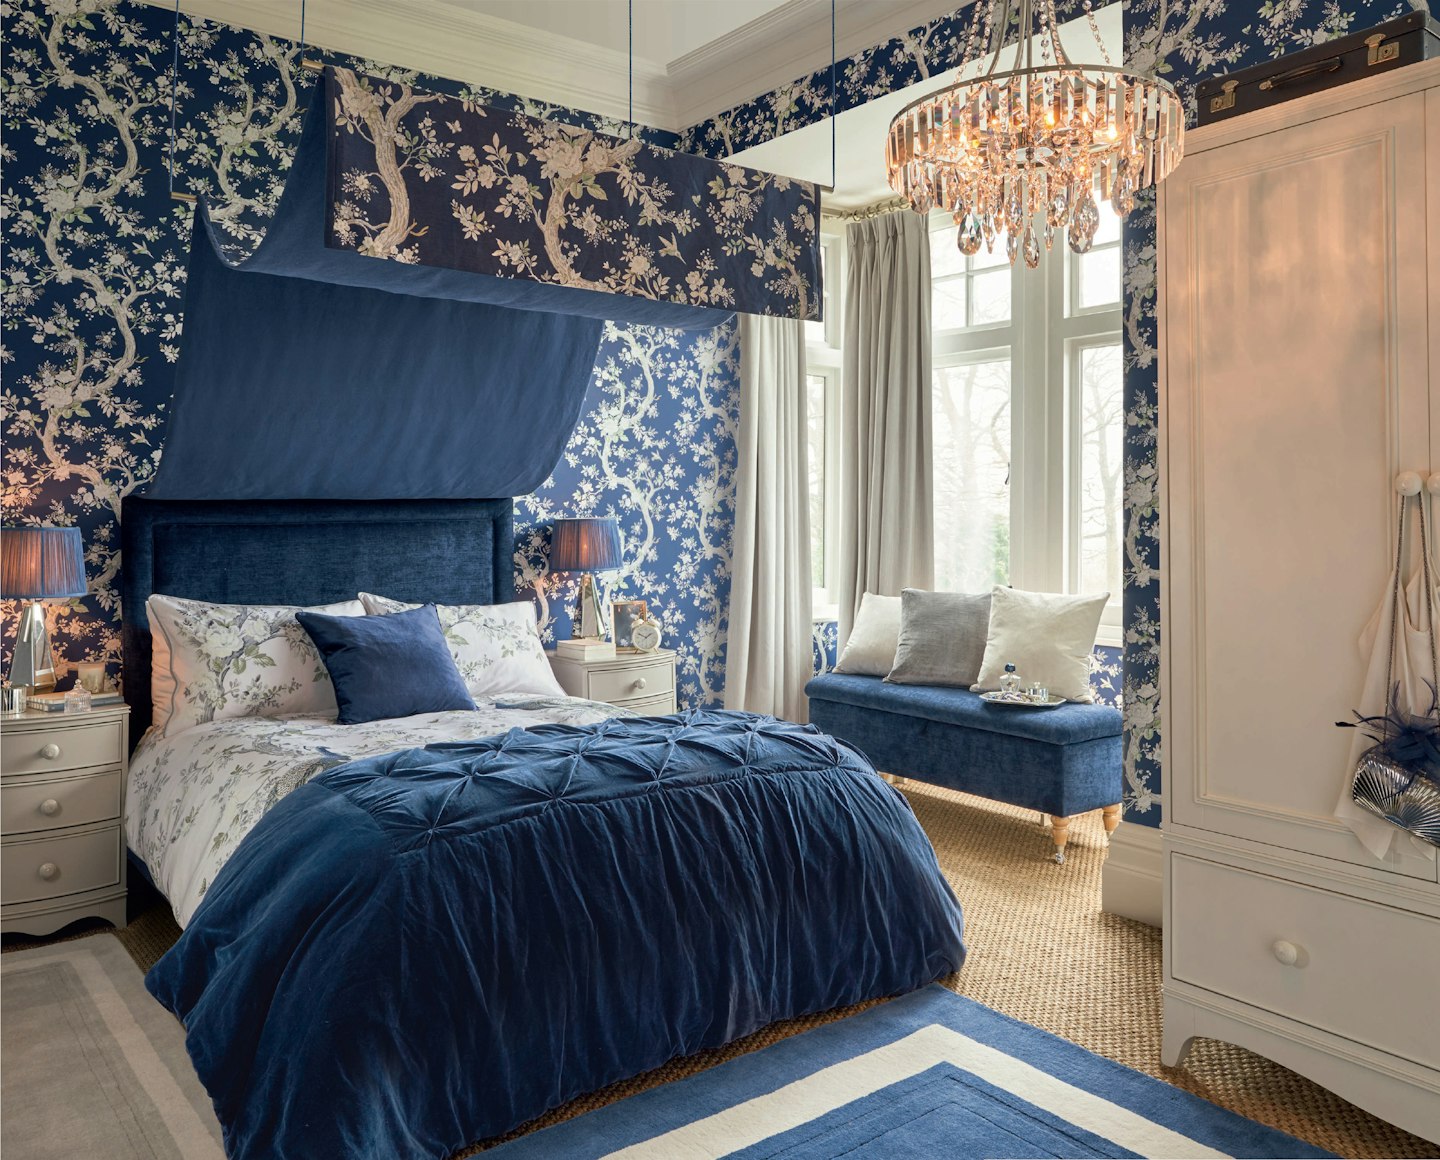
‘Before selecting a wallpaper, you should consider the style of the room you’re decorating,’ says Laura Ashley’s Head of Design Service, Cathryn Archer. ‘Is it classic, or more contemporary? If it’s contemporary, you may like to select a bold geometric or botanical print.’ For smaller spaces, she adds, ‘it sometimes works best to only choose wallpaper for one wall: this works well in bedrooms where you could use wallpaper directly behind the headboard of the bed.’
Make the most of samples
Before you commit to a full roll, take some samples home for a better idea of how the print and texture will work in real life. ‘These will offer a good idea of scale, colour and texture of the designs in your home. The appearance of wallpaper can vary depending upon lighting conditions, so it’s helpful to see the sample in situ with natural or artificial lighting,’ Cathryn elaborates.
You’ll be able to pick these up in store, but if you’re ordering online, samples are even more important (patterns, colours and finishes can look very different on screen): luckily, retailers from Next to Laura Ashley to Farrow & Ball will send paper swatches free of charge, with no obligation to buy.
Consider texture
A textured wallpaper isn't just away of adding interest and dimension to your interiors: 'The benefit of using textured wallpaper is that they do an excellent job of disguising imperfections,' Cathryn advises.
Prep your walls
Preparation is key to ensure a smooth finish. First, Cathryn advises, you’ll need to ensure that your walls ‘are free of any cracks and bumps which may show when the wallpaper is applied.’ Use a fungicidal wash on the walls, then ‘ensure that the surfaces are smooth, firm, clean and dry.’
The next step is known as ‘sizing,’ which involves ‘covering [the wall] in a mixture of half PVA glue and half water, applied with a paint roller,’ according toI Want Wallpaper’s Head of Design Alex Whitecroft. ‘This is not essential, but it will create a slightly glossy finish to the wall, making it easier to slide paper into position and help it stick,’ she explains. Drawing straight lines using a plumb line (more on those later) at regular intervals throughout the room will prove to be an indispensable template later.
Always over-order
Before you order, measure the height and width of each walls then multiply this together to calculate the area (hey there, Year 8 maths…) and add together the results to get a final figure. Though you can deduct a little for ‘doors, windows and other large openings,’ Cathryn explains, ‘it’s always best to buy more wallpaper than you need.’ You also should allow for variations in height within the room, Alex adds, ‘especially in old houses where floors and ceilings can be uneven. The basic rule is more is more: you can always trim down, but you can’t make your paper grow.’
Over-ordering is particularly important if your paper is patterned, ‘so you can match it up to the pattern repeat,’ Alex advises. ‘It’s important to buy wallpaper in consecutive batch numbers, too, so the paper matches up perfectly when hung.’
Gather your equipment
If you want a professional finish, you’ll need the right equipment. As well as the expected kit (tape measure, scissors, a step ladder and pasting table), Alex recommends seeking out specialist pieces like a wallpaper smoother (‘to squeeze out bubbles and extra paste’), a plumb line (‘a tool that determines the vertical on an upright surface, essential to make sure you hang wallpaper straight’) and a seam roller ‘a tool that helps to seal edges without marking surfaces’). It’s also worth buying a new bucket in which to mix your paste, to stop it being affected by any residual dirt or build-up.
Putting up wallpaper
Applying the paste
First, make sure you’ve got the right paste for your paper. ‘Some pastes can remove the finish of wallpaper, especially delicate papers, so check you have the right paste for the paper you’re using,’ Alex advises. ‘A wheat base is gentle and suitable in most cases.’ Then, ‘lay a strip of paper flat on the table and level with the edges (try to avoid getting paste on the table), weigh down each end and spread on the paste evenly. Fold the paper in a concertina to carry it safely to the wall.’ You can then use the lines that you've already drawn on the wall as a guide when putting up your first piece.
Pay attention to the pattern
If your chosen paper has a large pattern, you should ‘start in the middle of the wall or at a focal point in the room and work outwards,’ Alex says. ‘For plains or small pattern repeats, begin papering from the corner of the room, ideally on a wall with no windows or doors so that you can hang full lengths without any problem.’ It's also impossible to over-state the importance of making sure each piece is the right way up before hanging...
NOW READ: Interiors Porn: Pastel Living Room Ideas You'll Want To Recreate
Pastel Living Rooms - Grazia
 1 of 13
pastel living room interiors inspiration
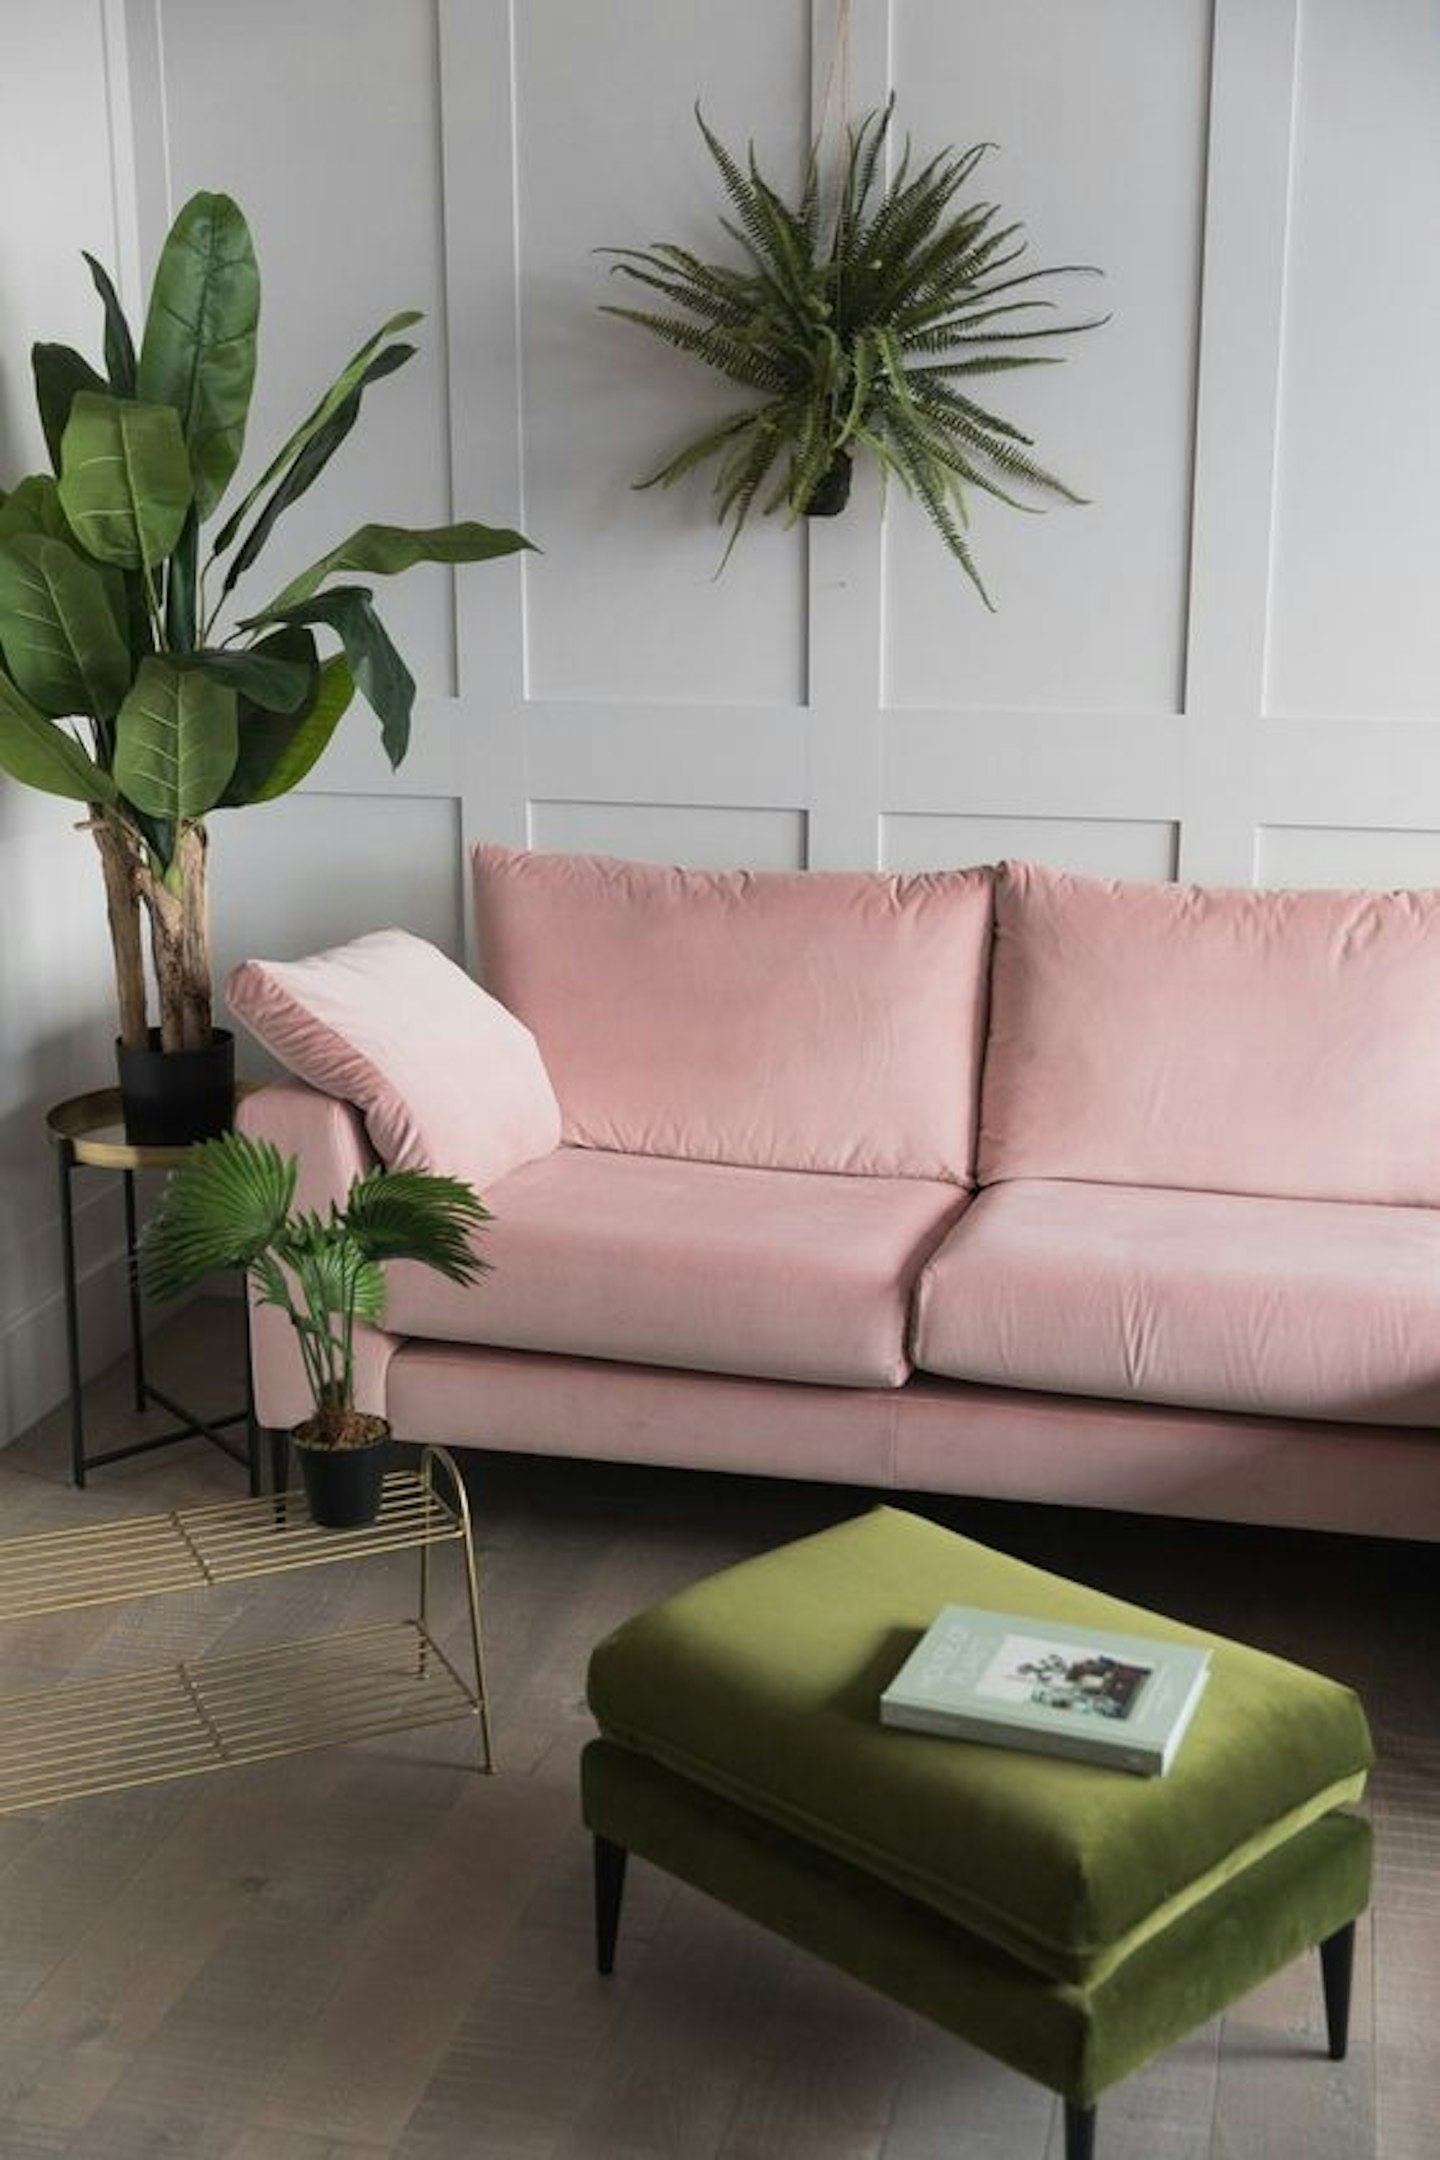
We're never sure exactly which colours the old adage refers to, but this set up proves that pink and green should definitely be seen together.
 2 of 13
pastel living room interiors inspiration
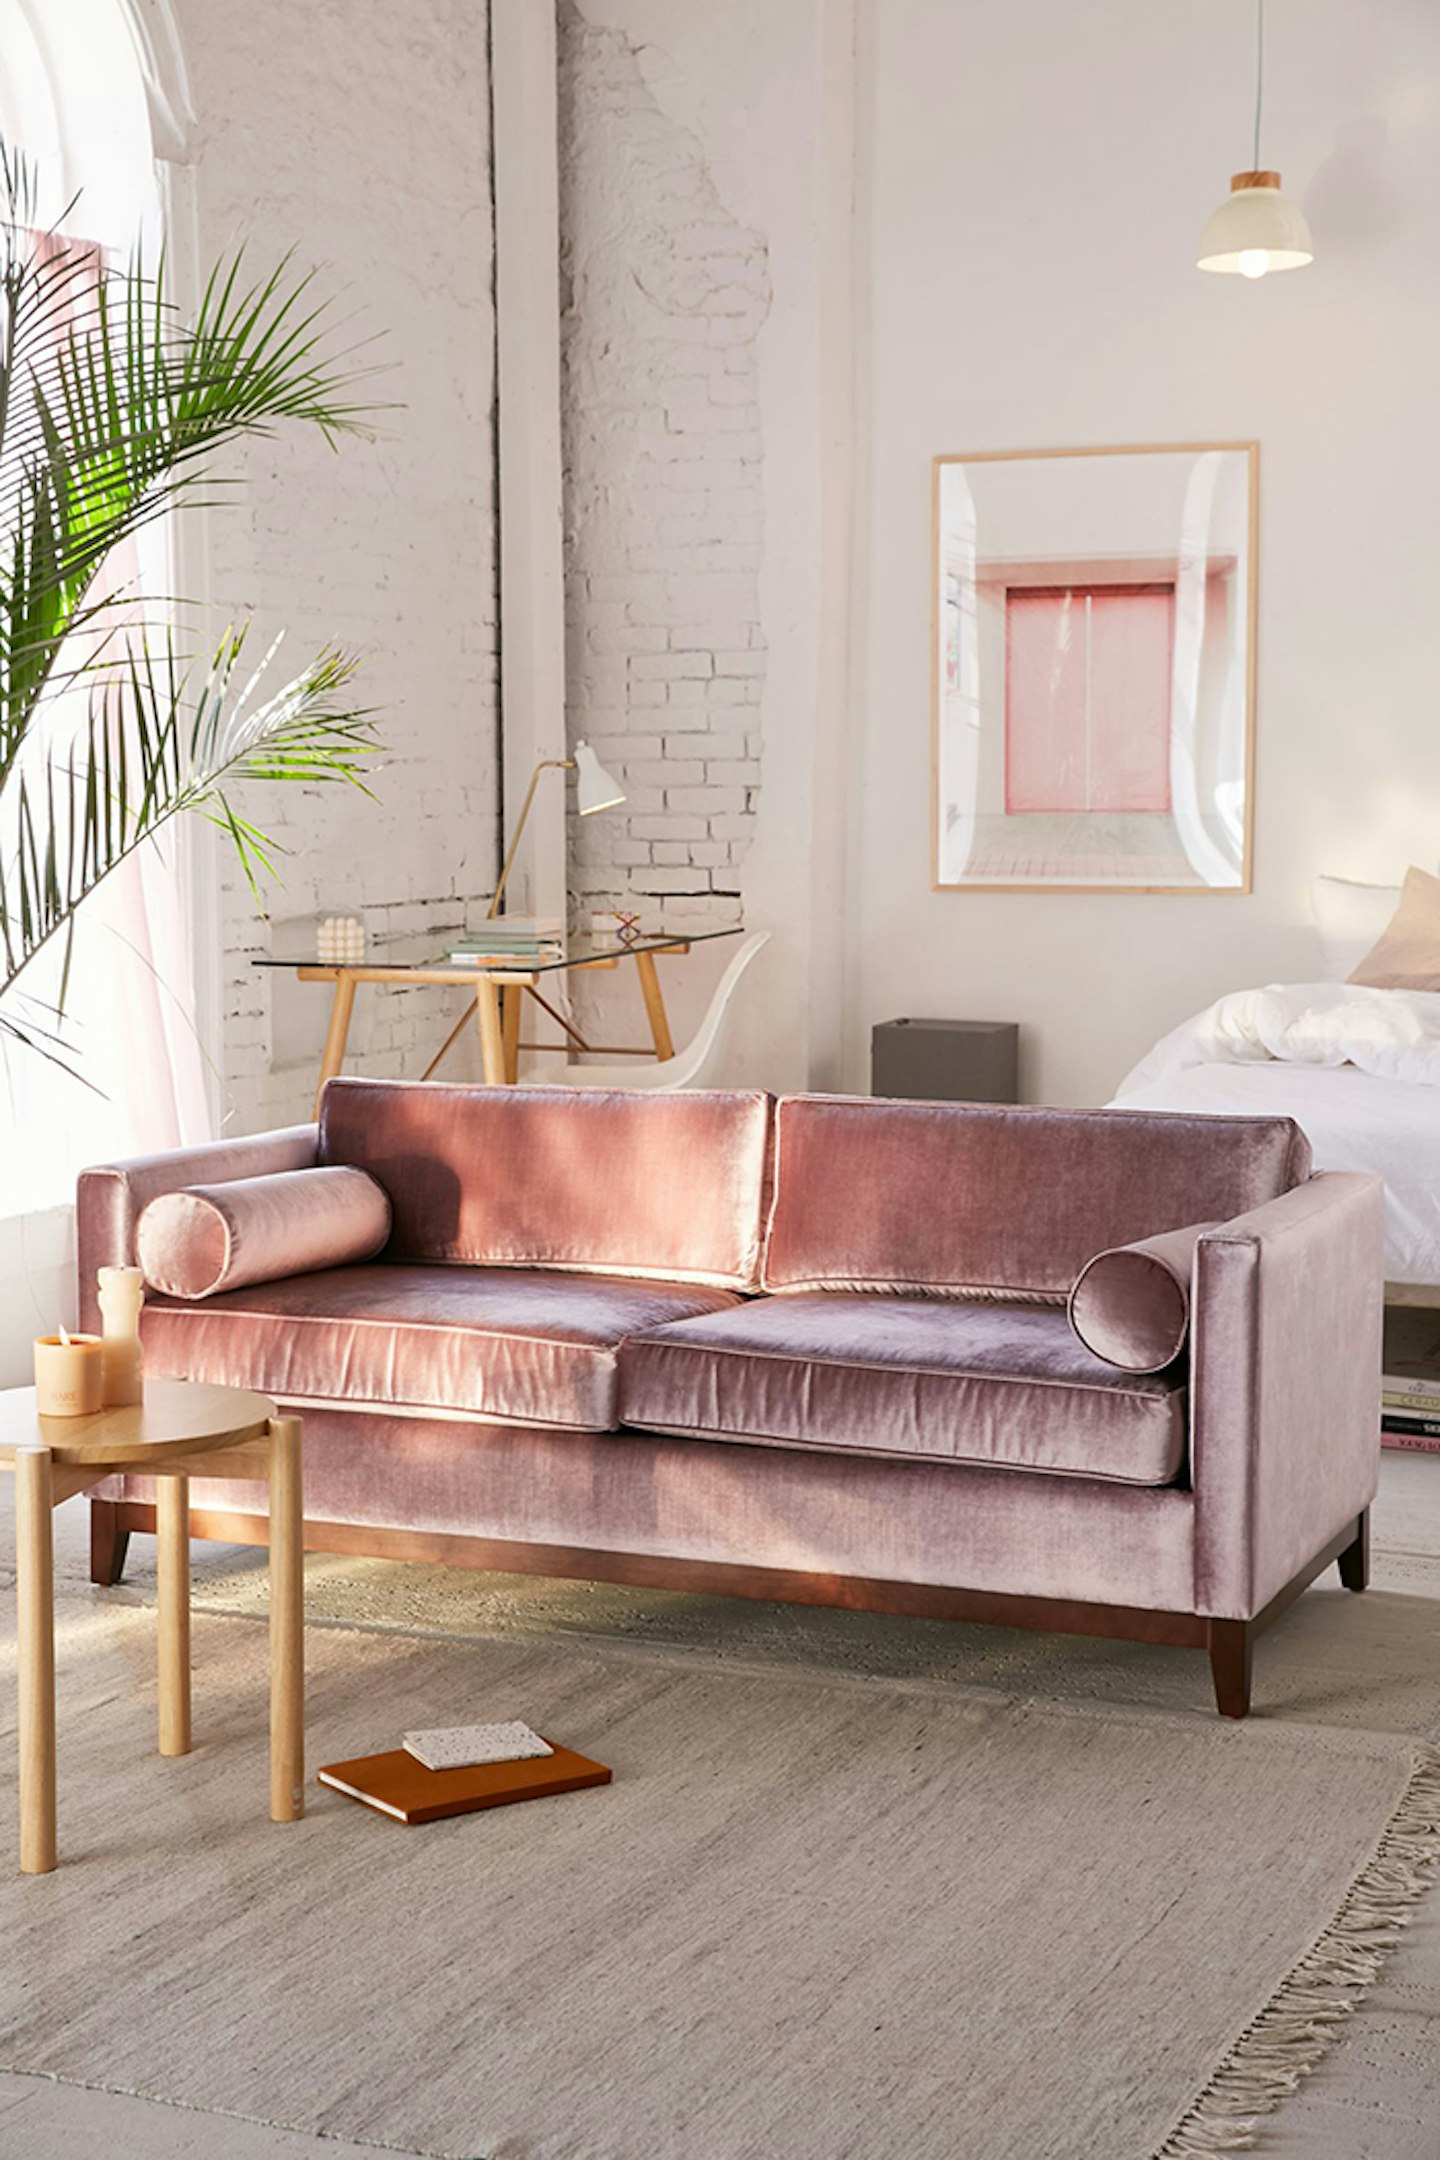
When did the pink velvet sofa become an interiors must have? We're not sure; we just know we need one ASAP.
 3 of 13
pastel living room interiors inspiration
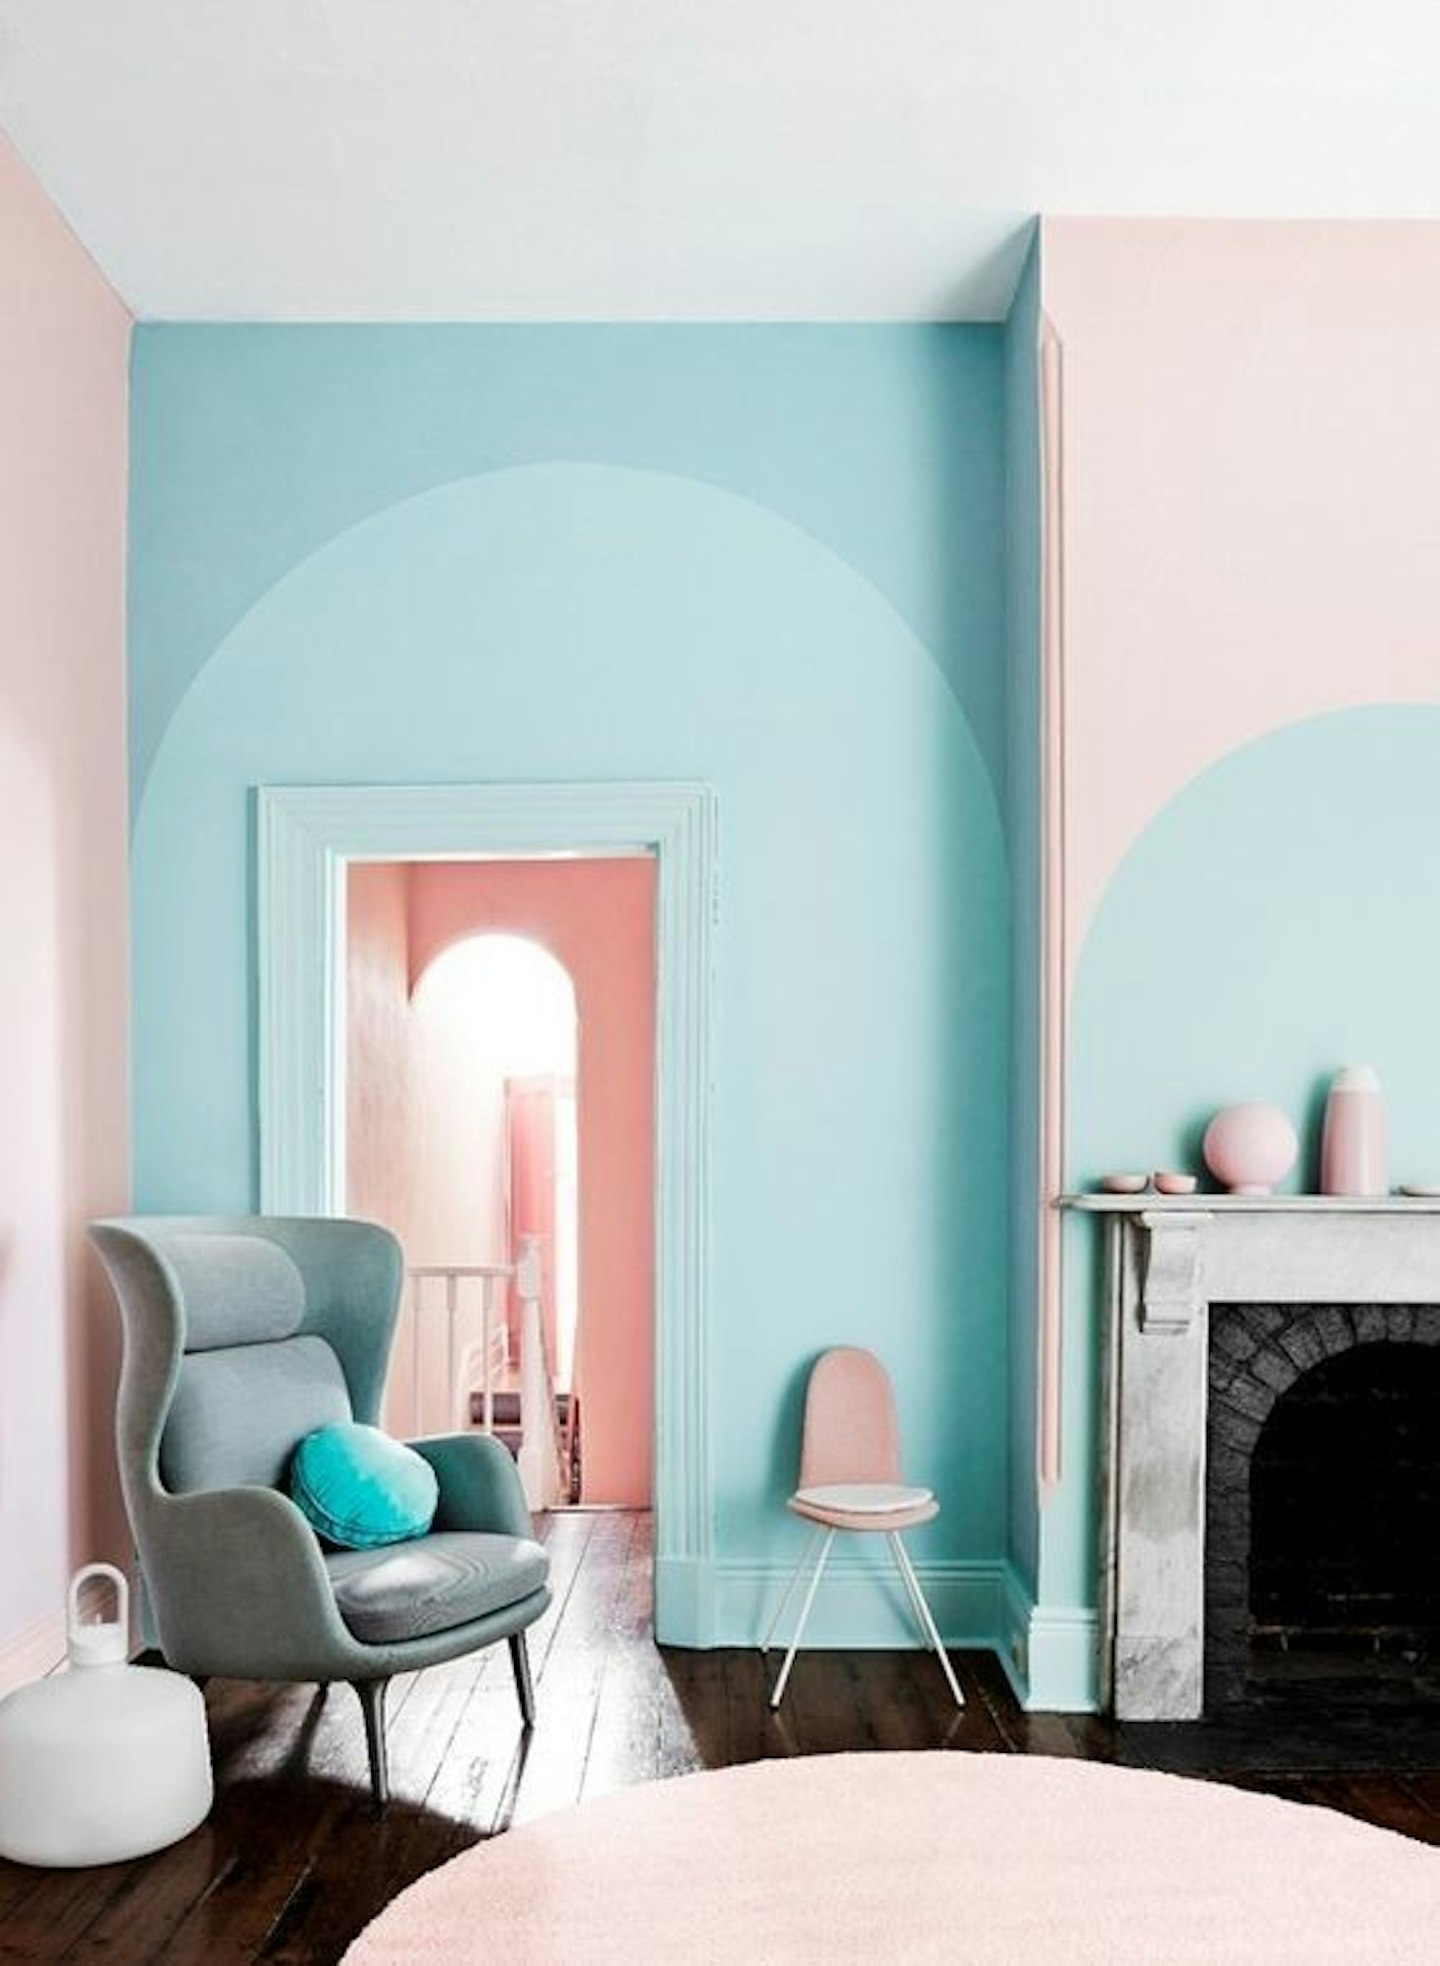
Pair two pastel shades together and the effect is unexpectedly maximalist (without leaving you with a headache).
 4 of 13
pastel living room interiors inspiration
Forget magnolia, a lick of pale blue paint can help smaller rooms feel light and airy (plus, here's proof that it makes a very Instagram friendly backdrop for botanicals)
 5 of 13
pastel living room interiors inspiration
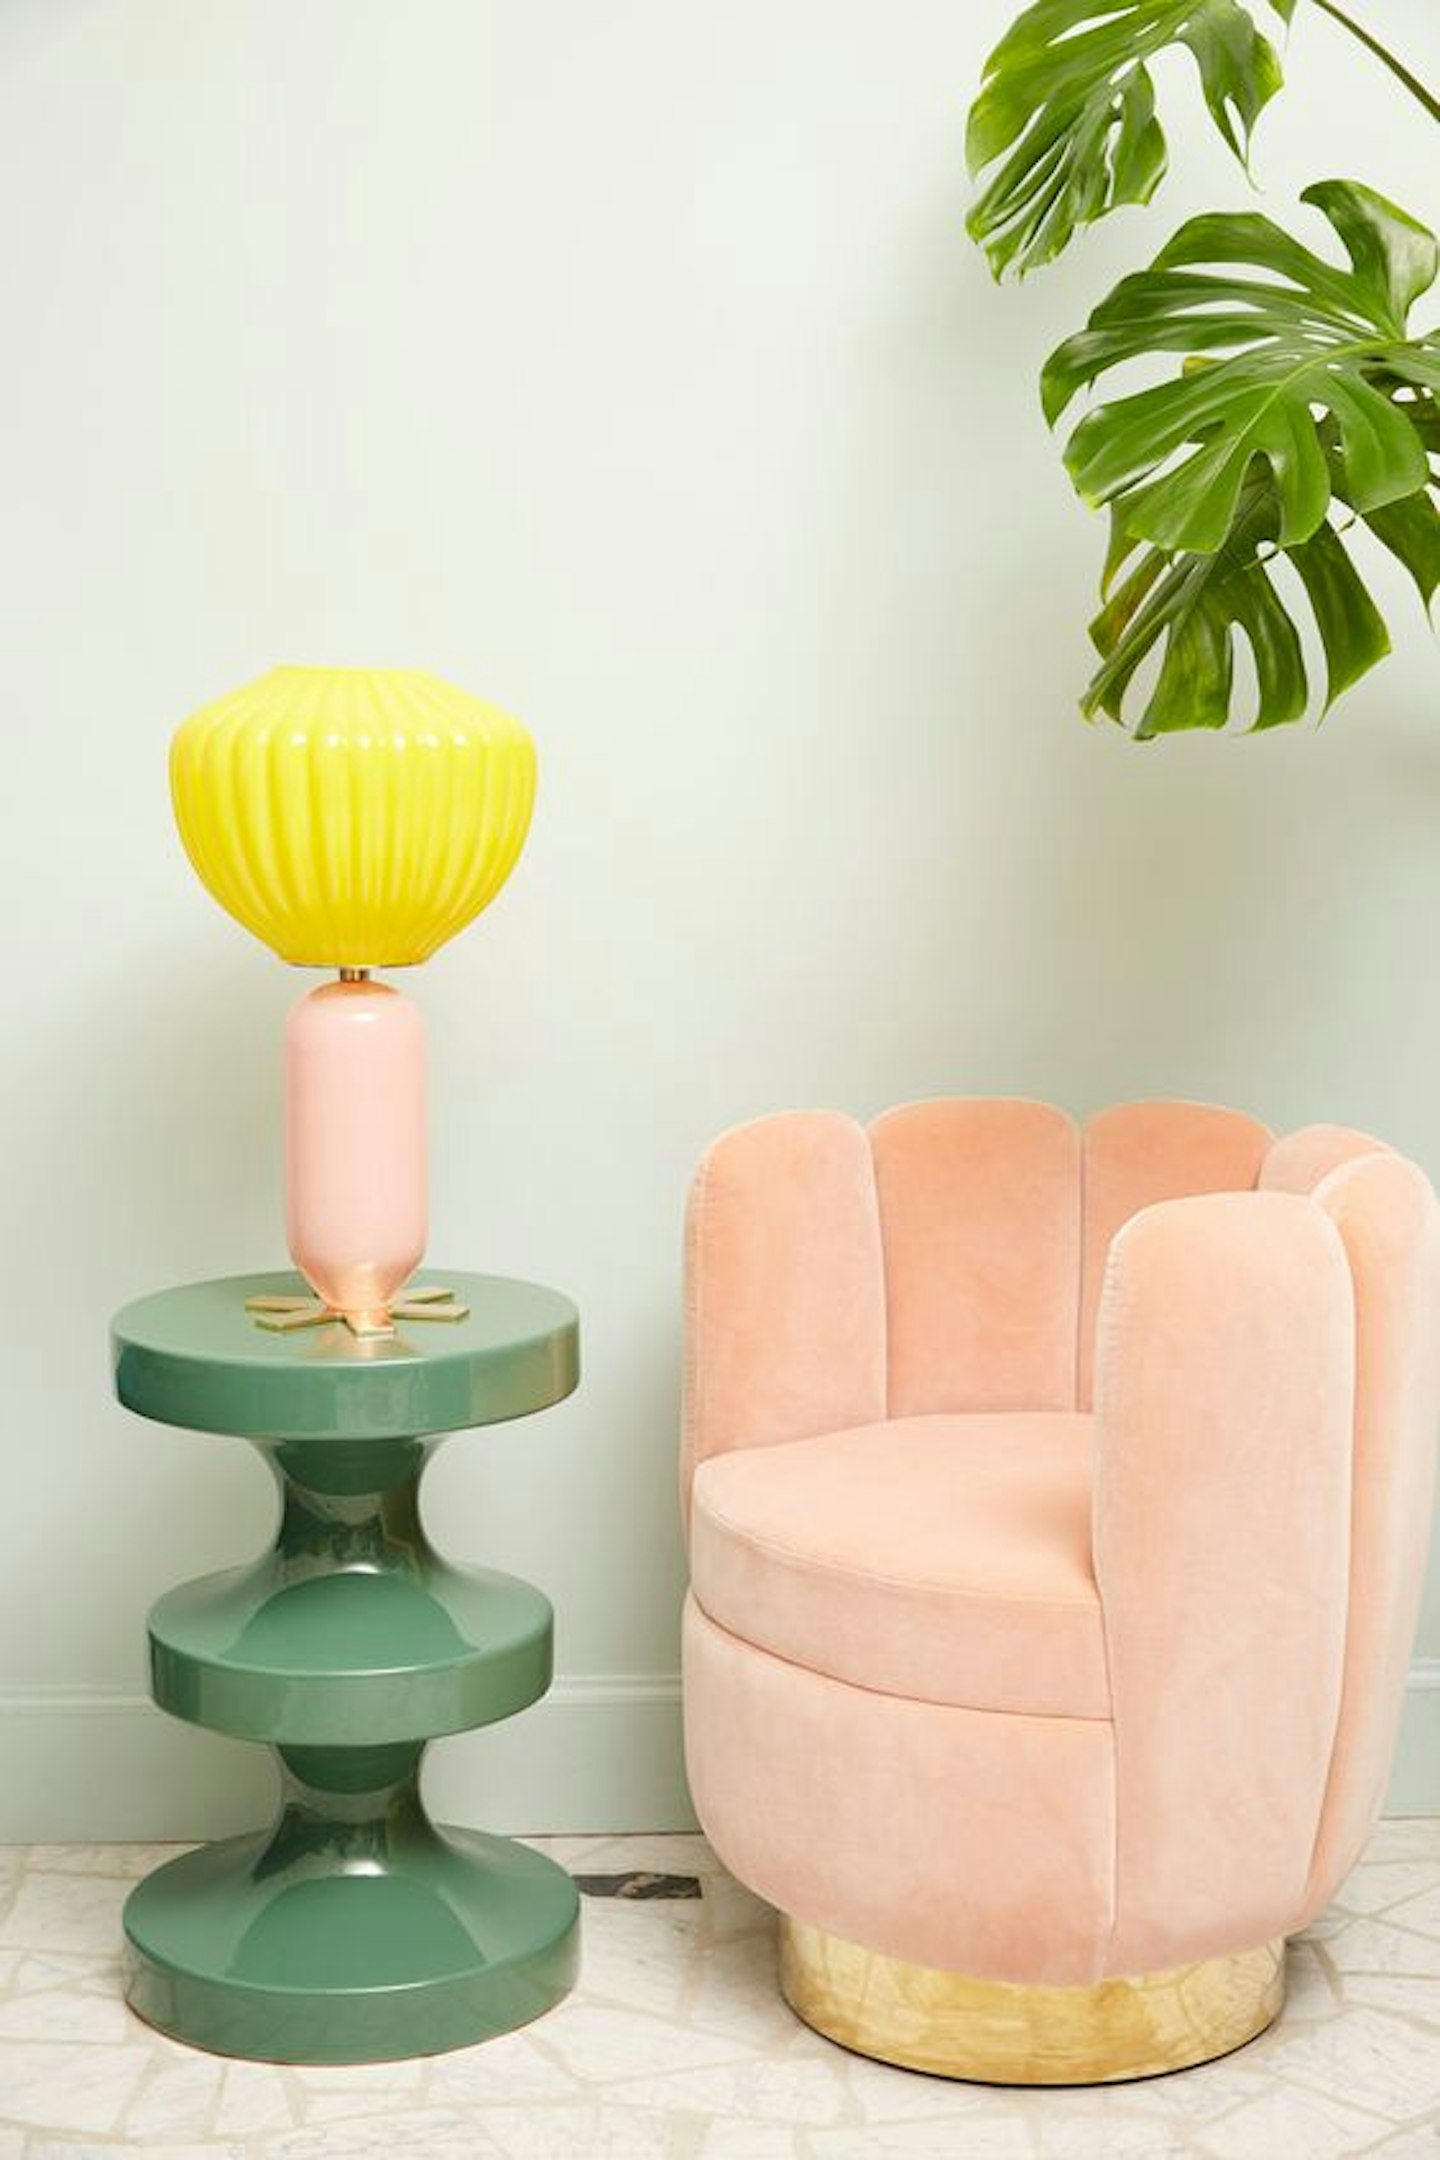
Time to add a pastel-hued scallop seat to the top of your interiors wishlist.
 6 of 13
pastel living room interiors inspiration
Shop around for accent accessories or prints in colours that subtly echo that of your statement piece of furniture.
 7 of 13
pastel living room interiors inspiration
This cornflower shade makes a striking backdrop for a gallery wall, with pastel blue accents popping up in the picture selection, too.
 8 of 13
pastel living room interiors inspiration
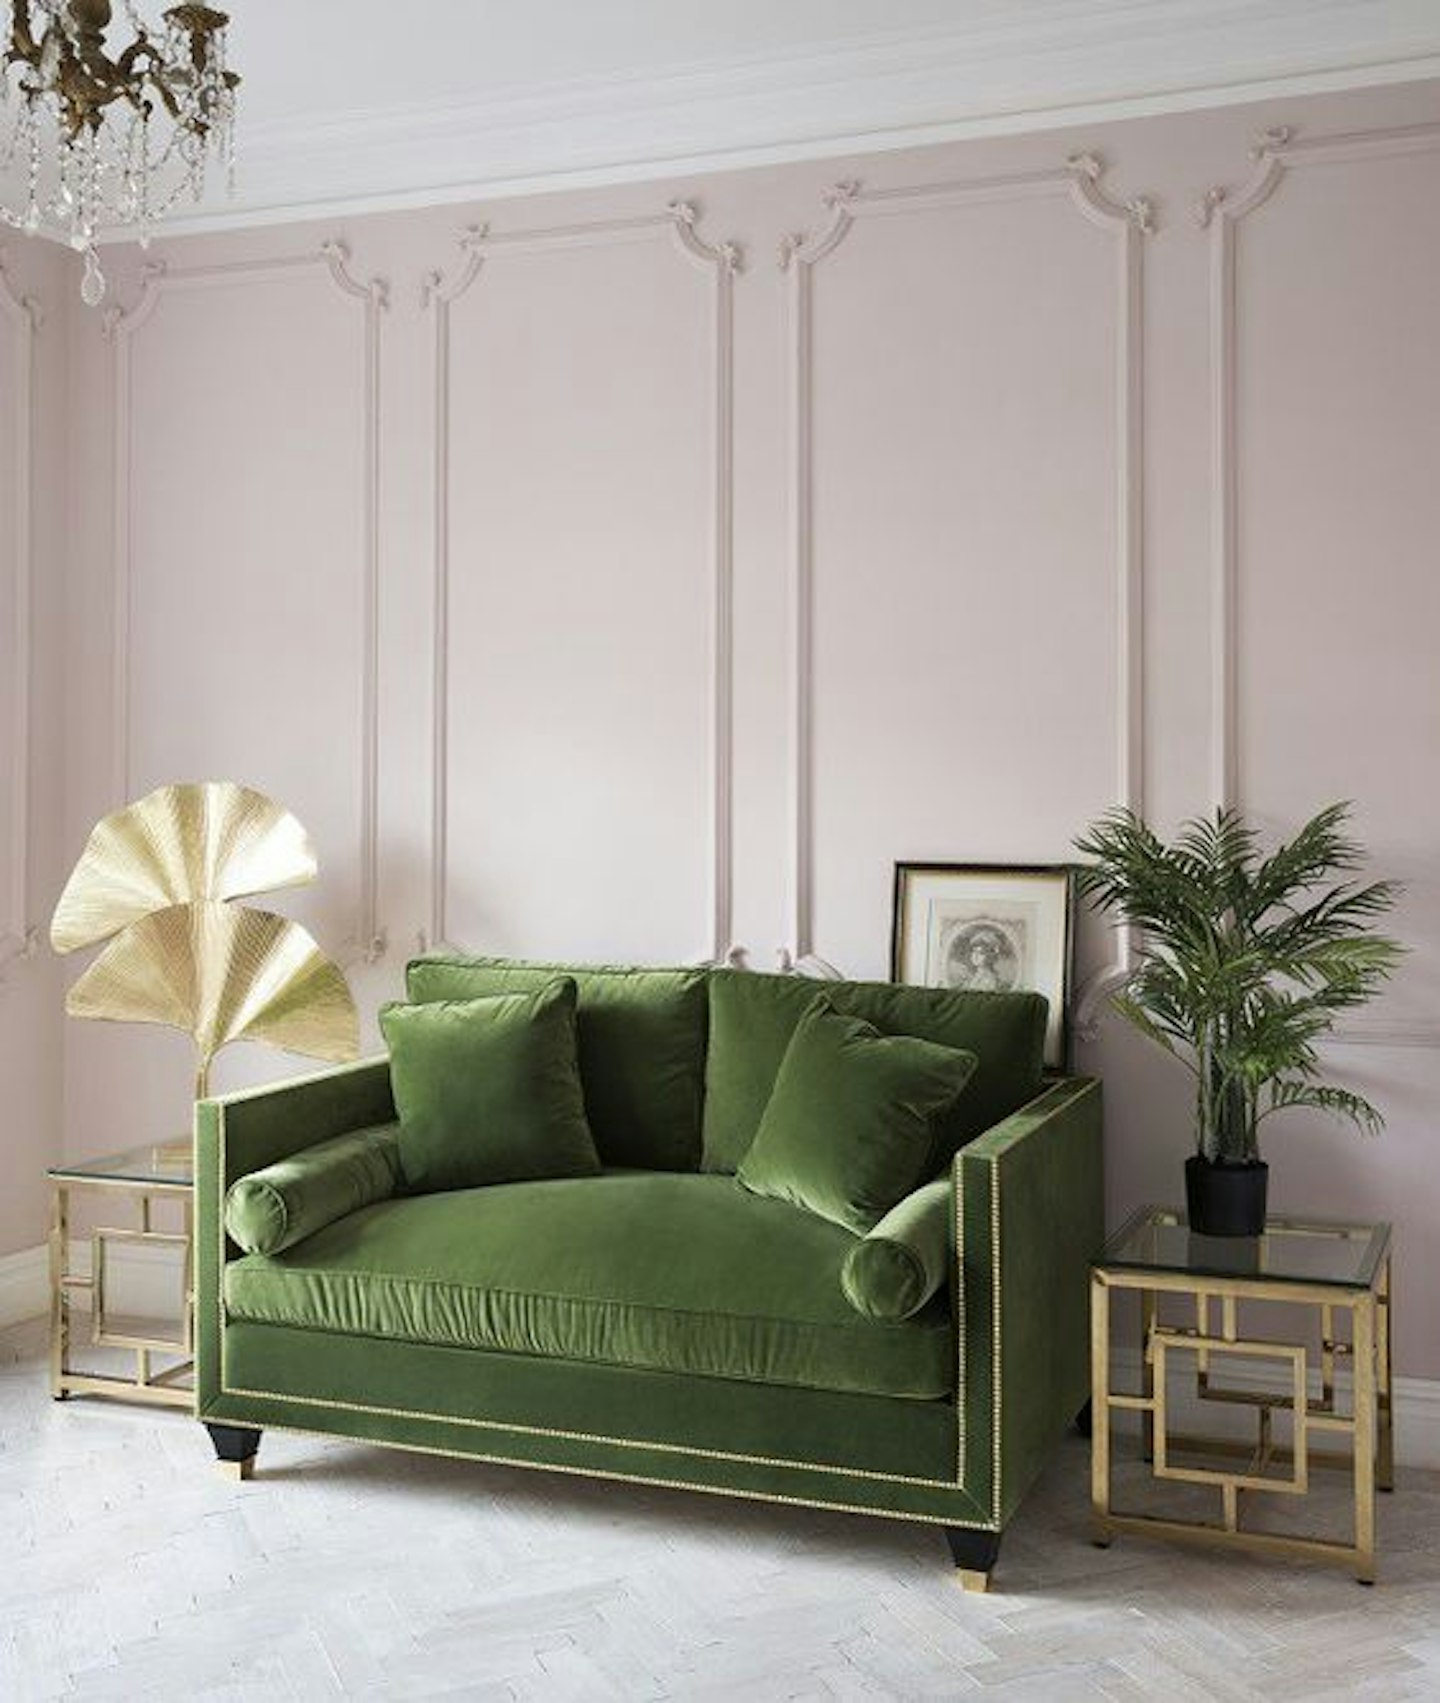
Yet more proof that pink and green is the dreamiest of colour combinations. Here, a pale backdrop keeps the deep olive sofa from feeling too heavy or old fashioned.
 9 of 13
pastel living room interiors inspiration
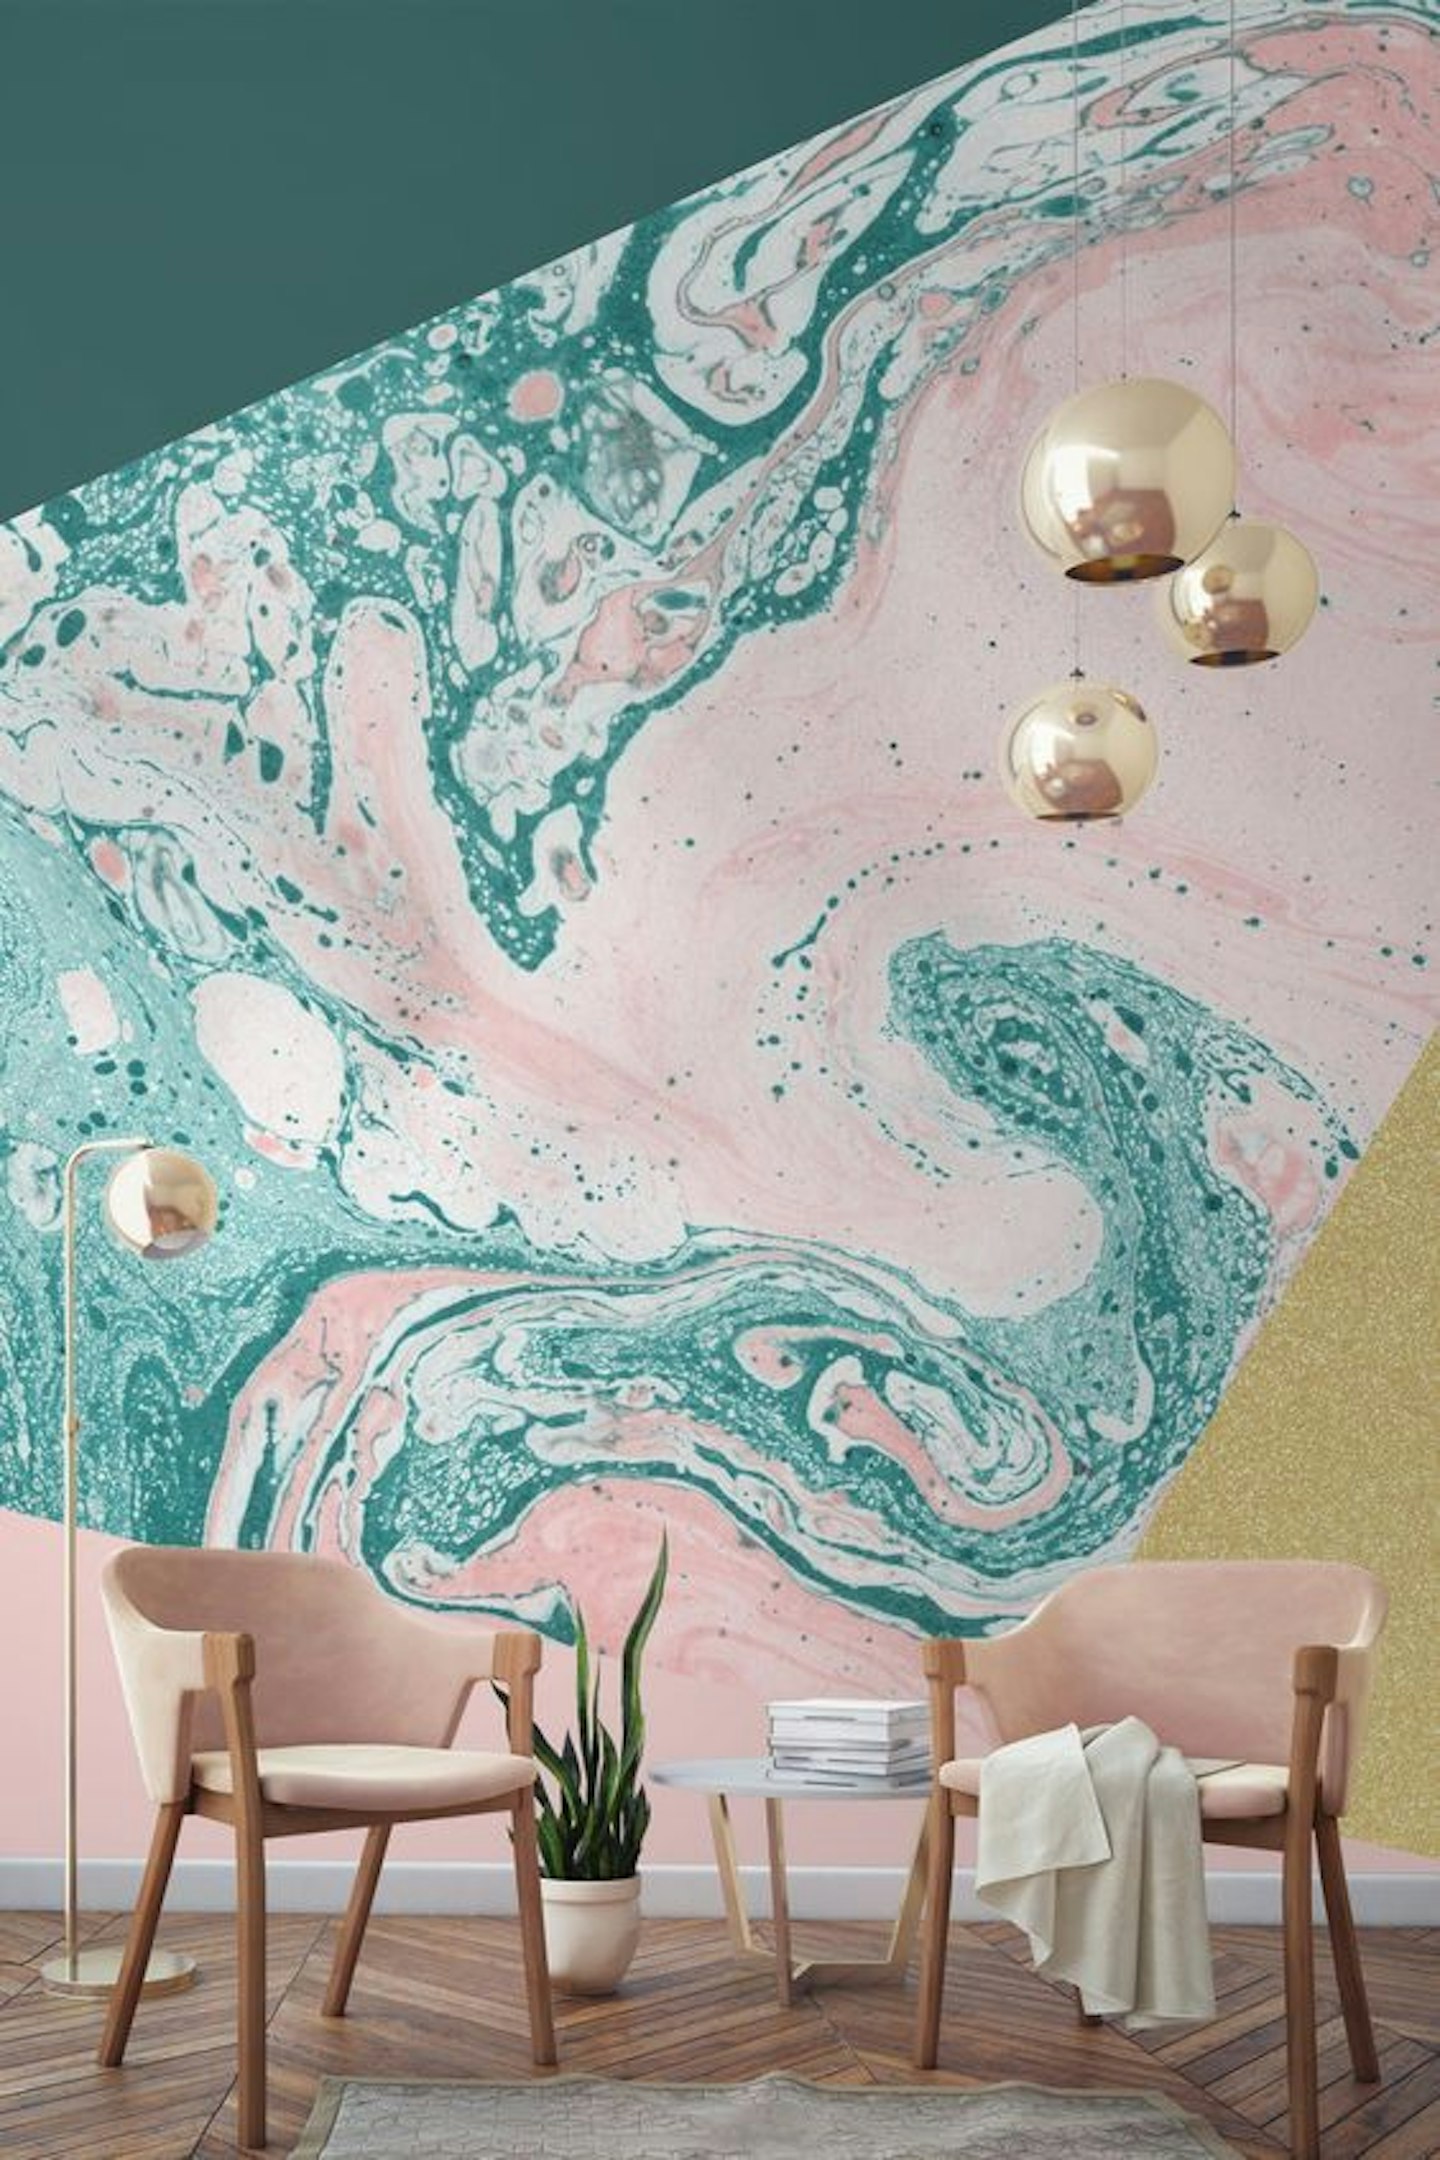
Balance out a dramatic print (like this statement-making marbled wallpaper) with simple, clean lines for furniture and lighting.
 10 of 13
pastel living room interiors inspiration
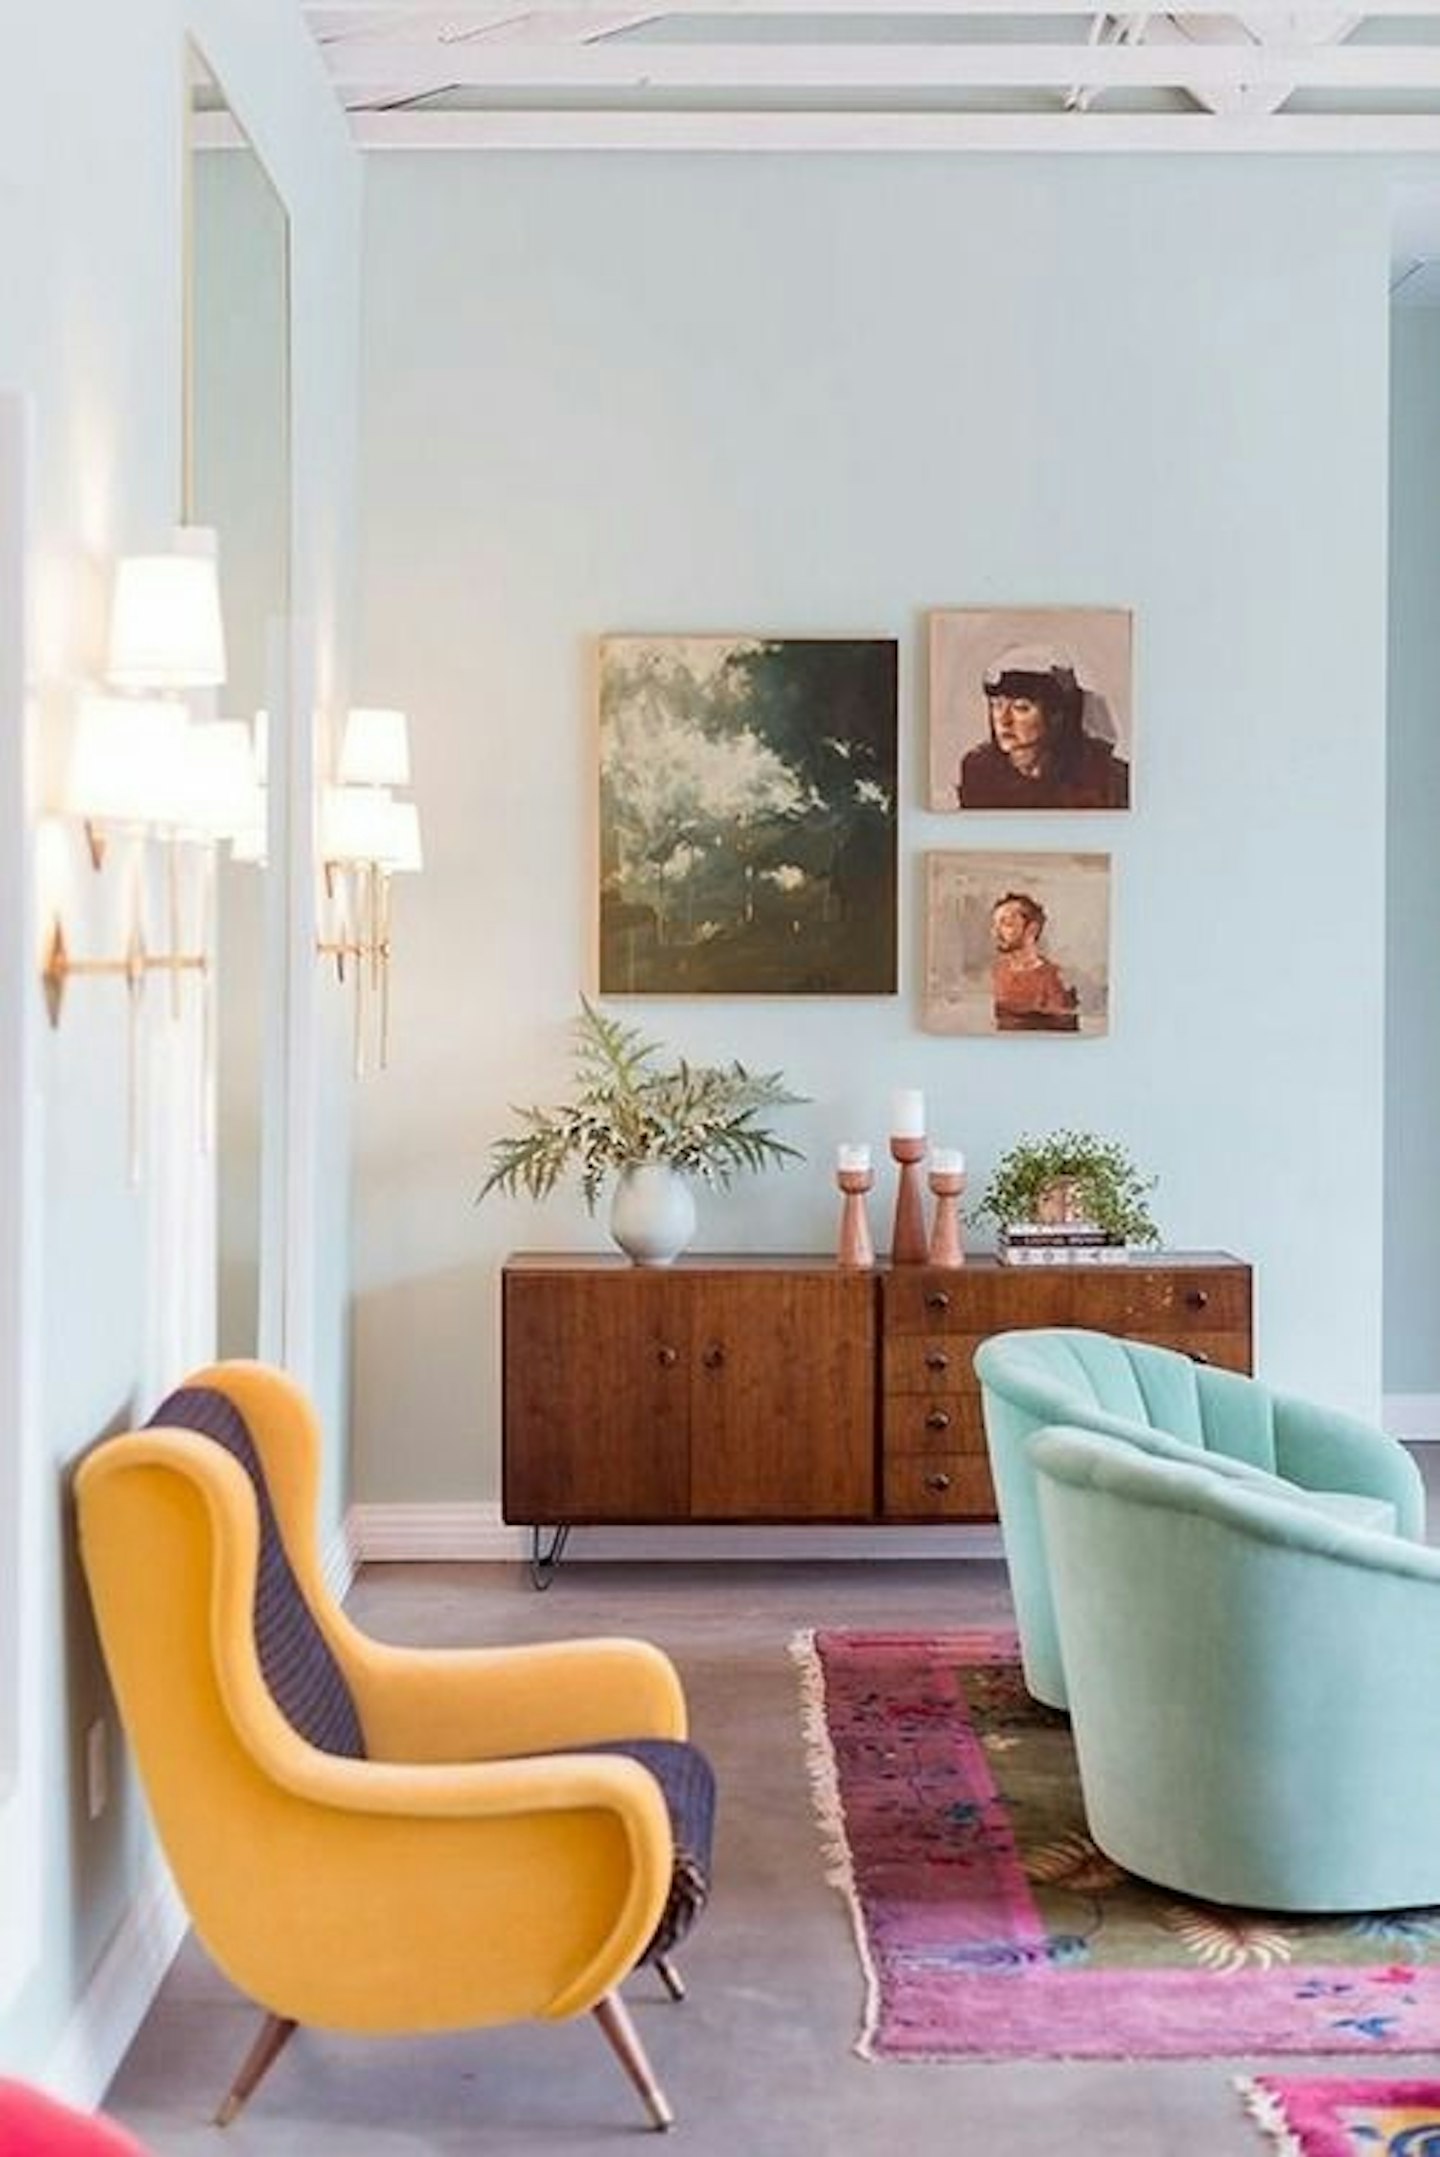
As great as pastel on pastel looks, don't be afraid of pairing lighter shades with bolder pieces like this yellow chair.
 11 of 13
pastel living room interiors inspiration
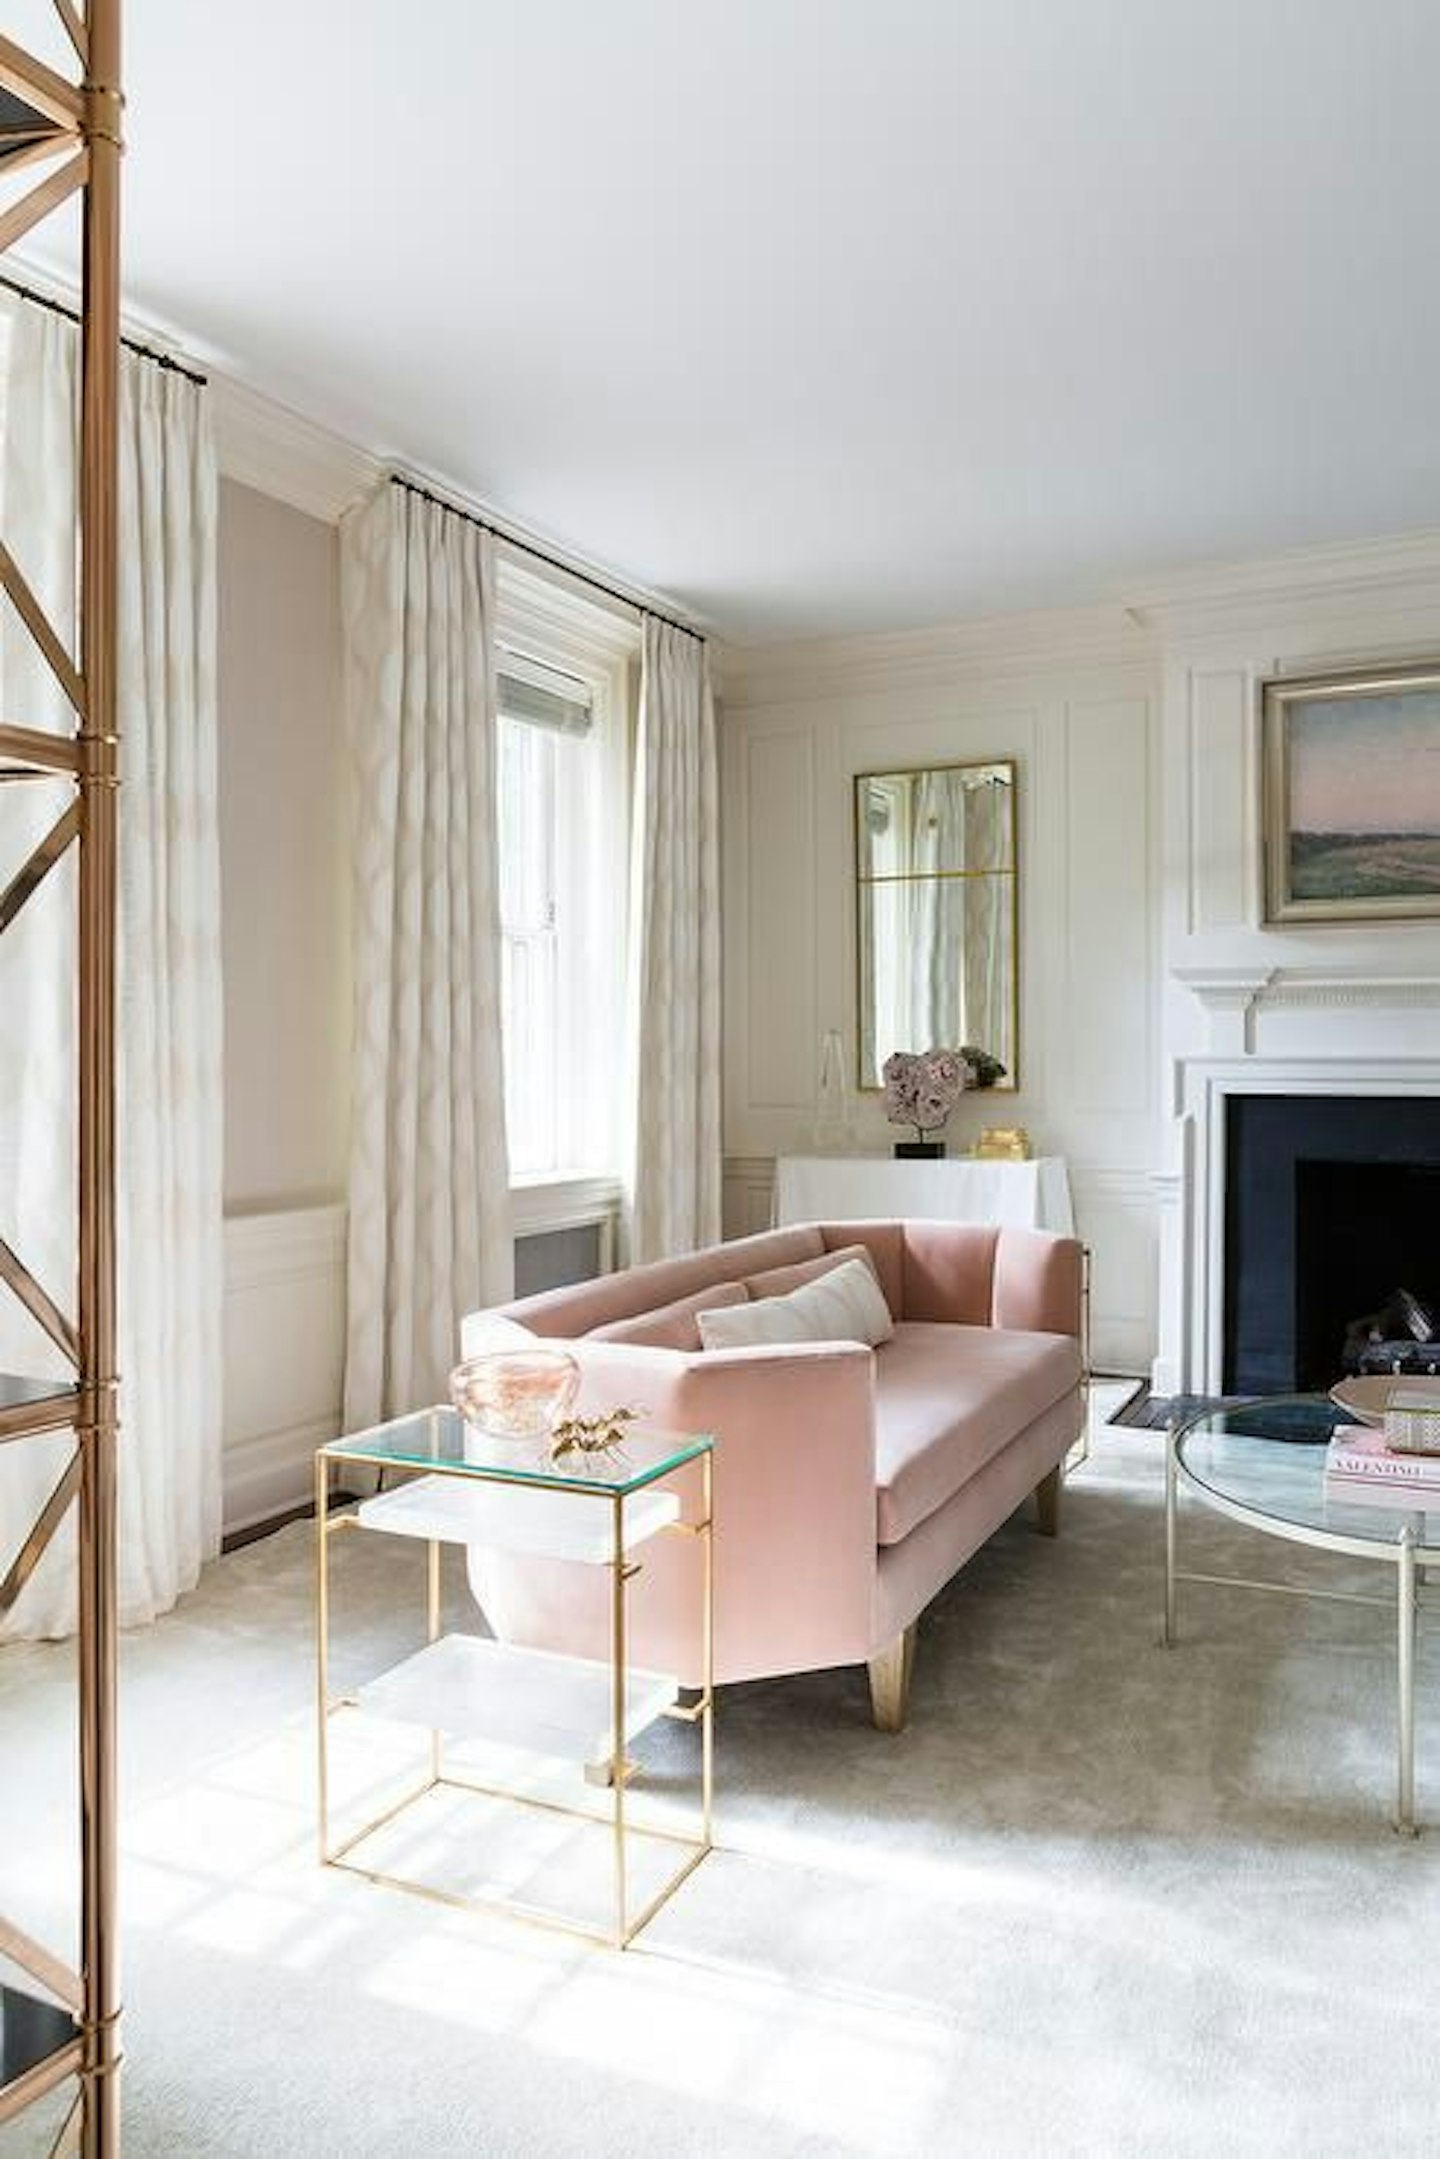
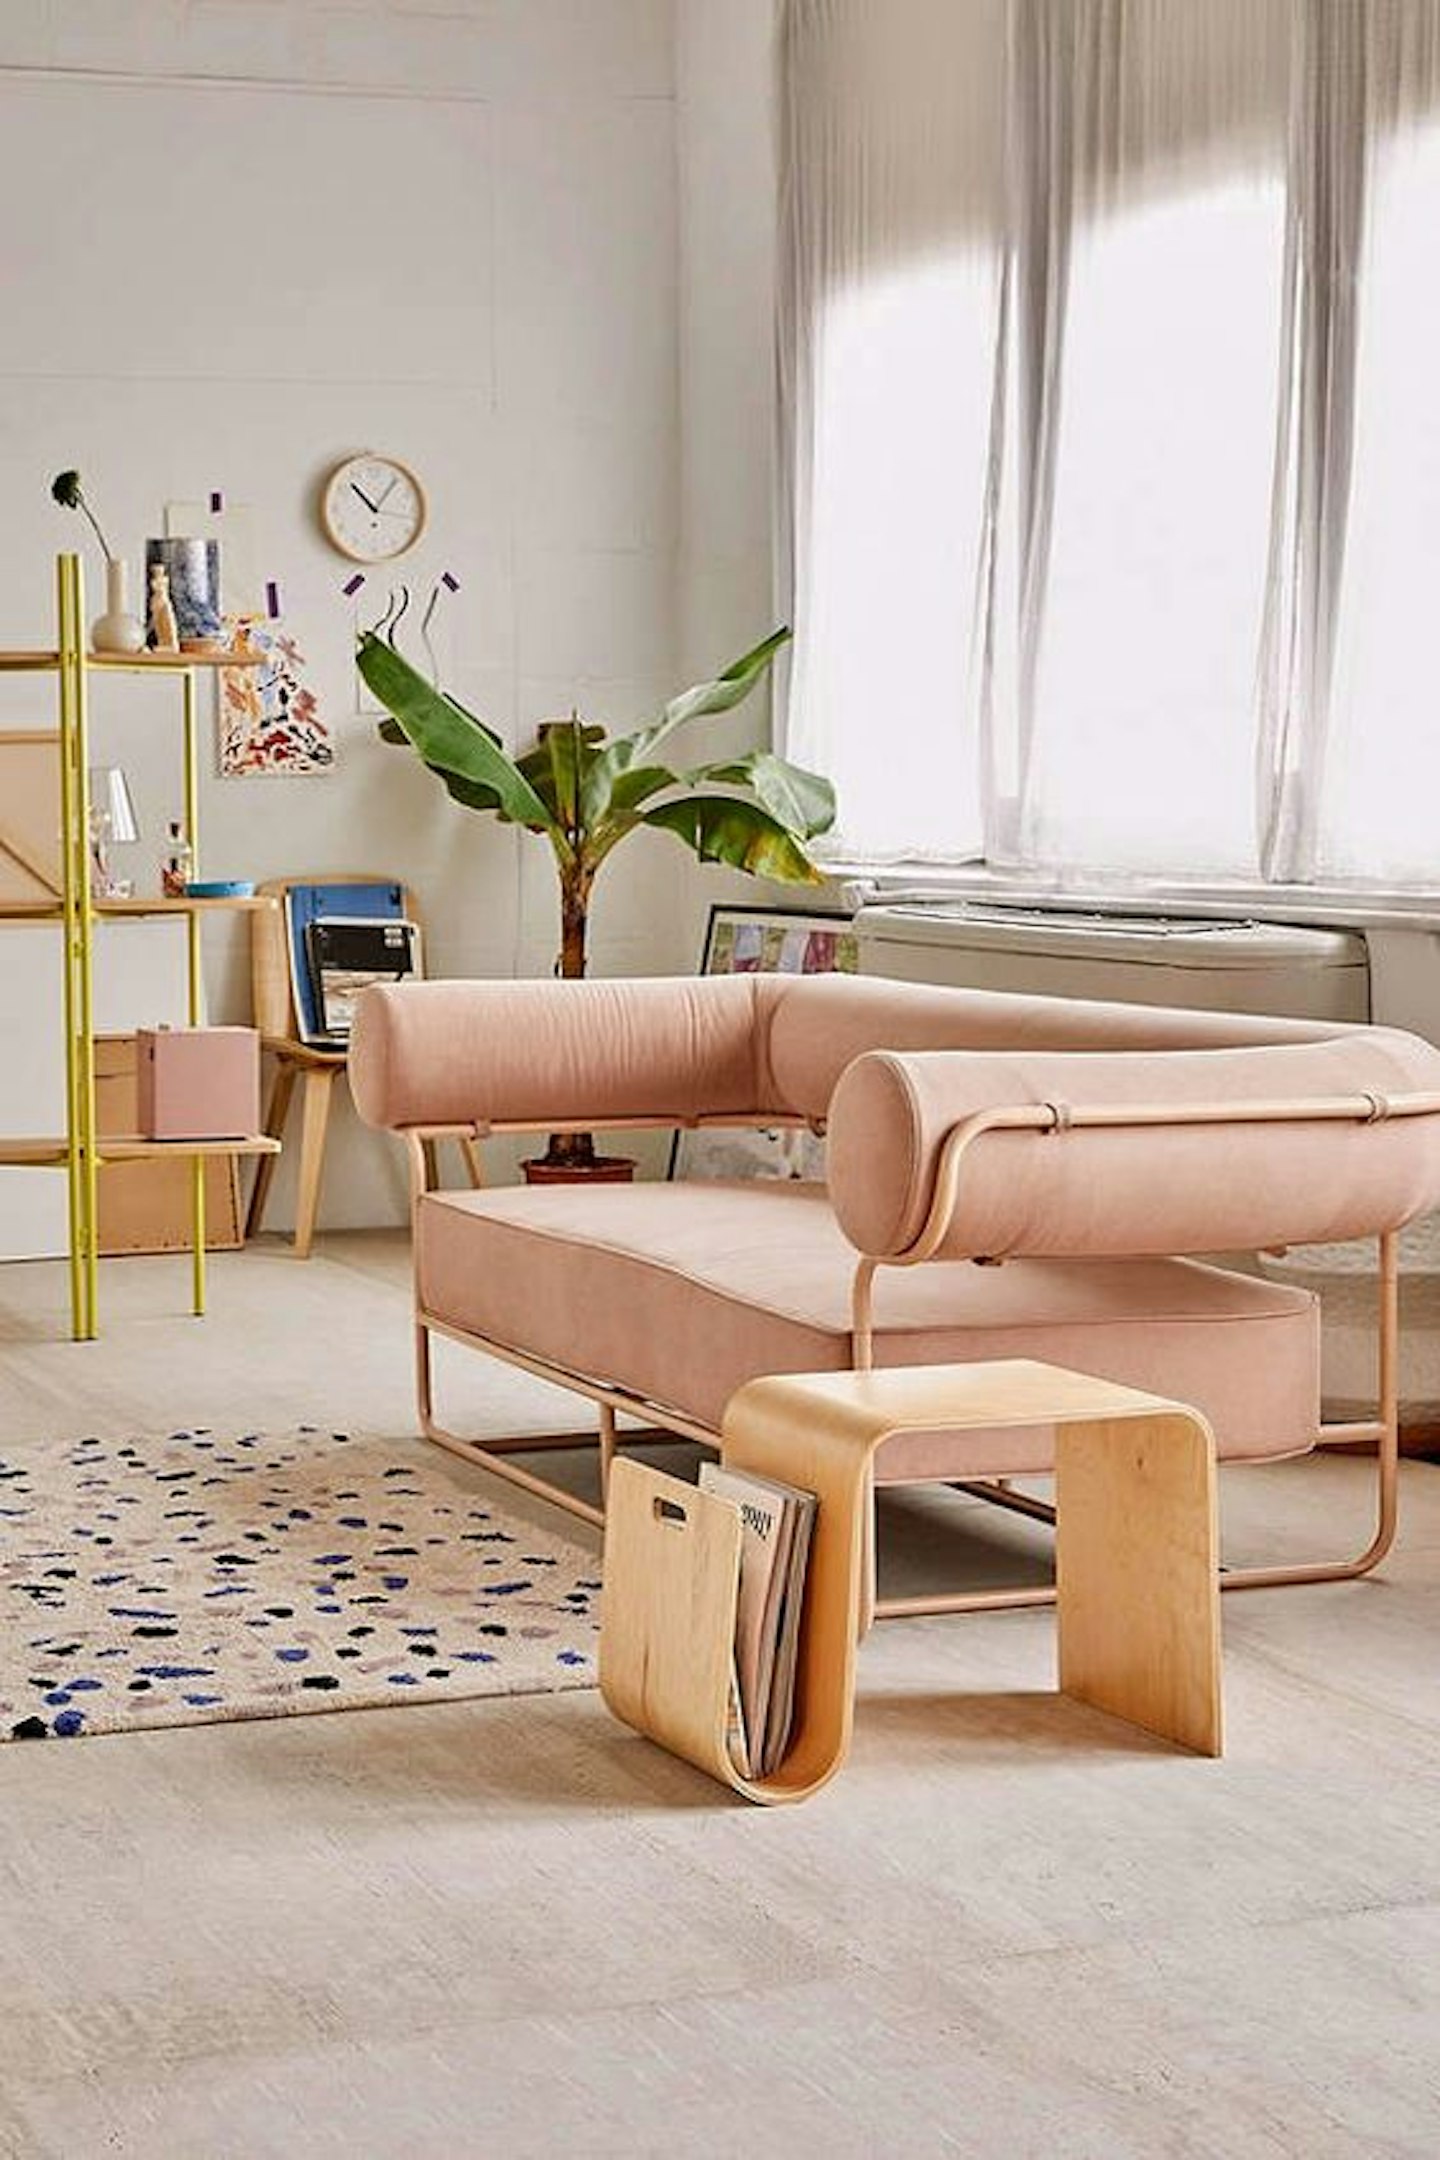
If a classic velvet sofa feels too traditional for your space, look out for pastel sofas in modern shapes like this one.
 12 of 13
pastel living room interiors inspiration
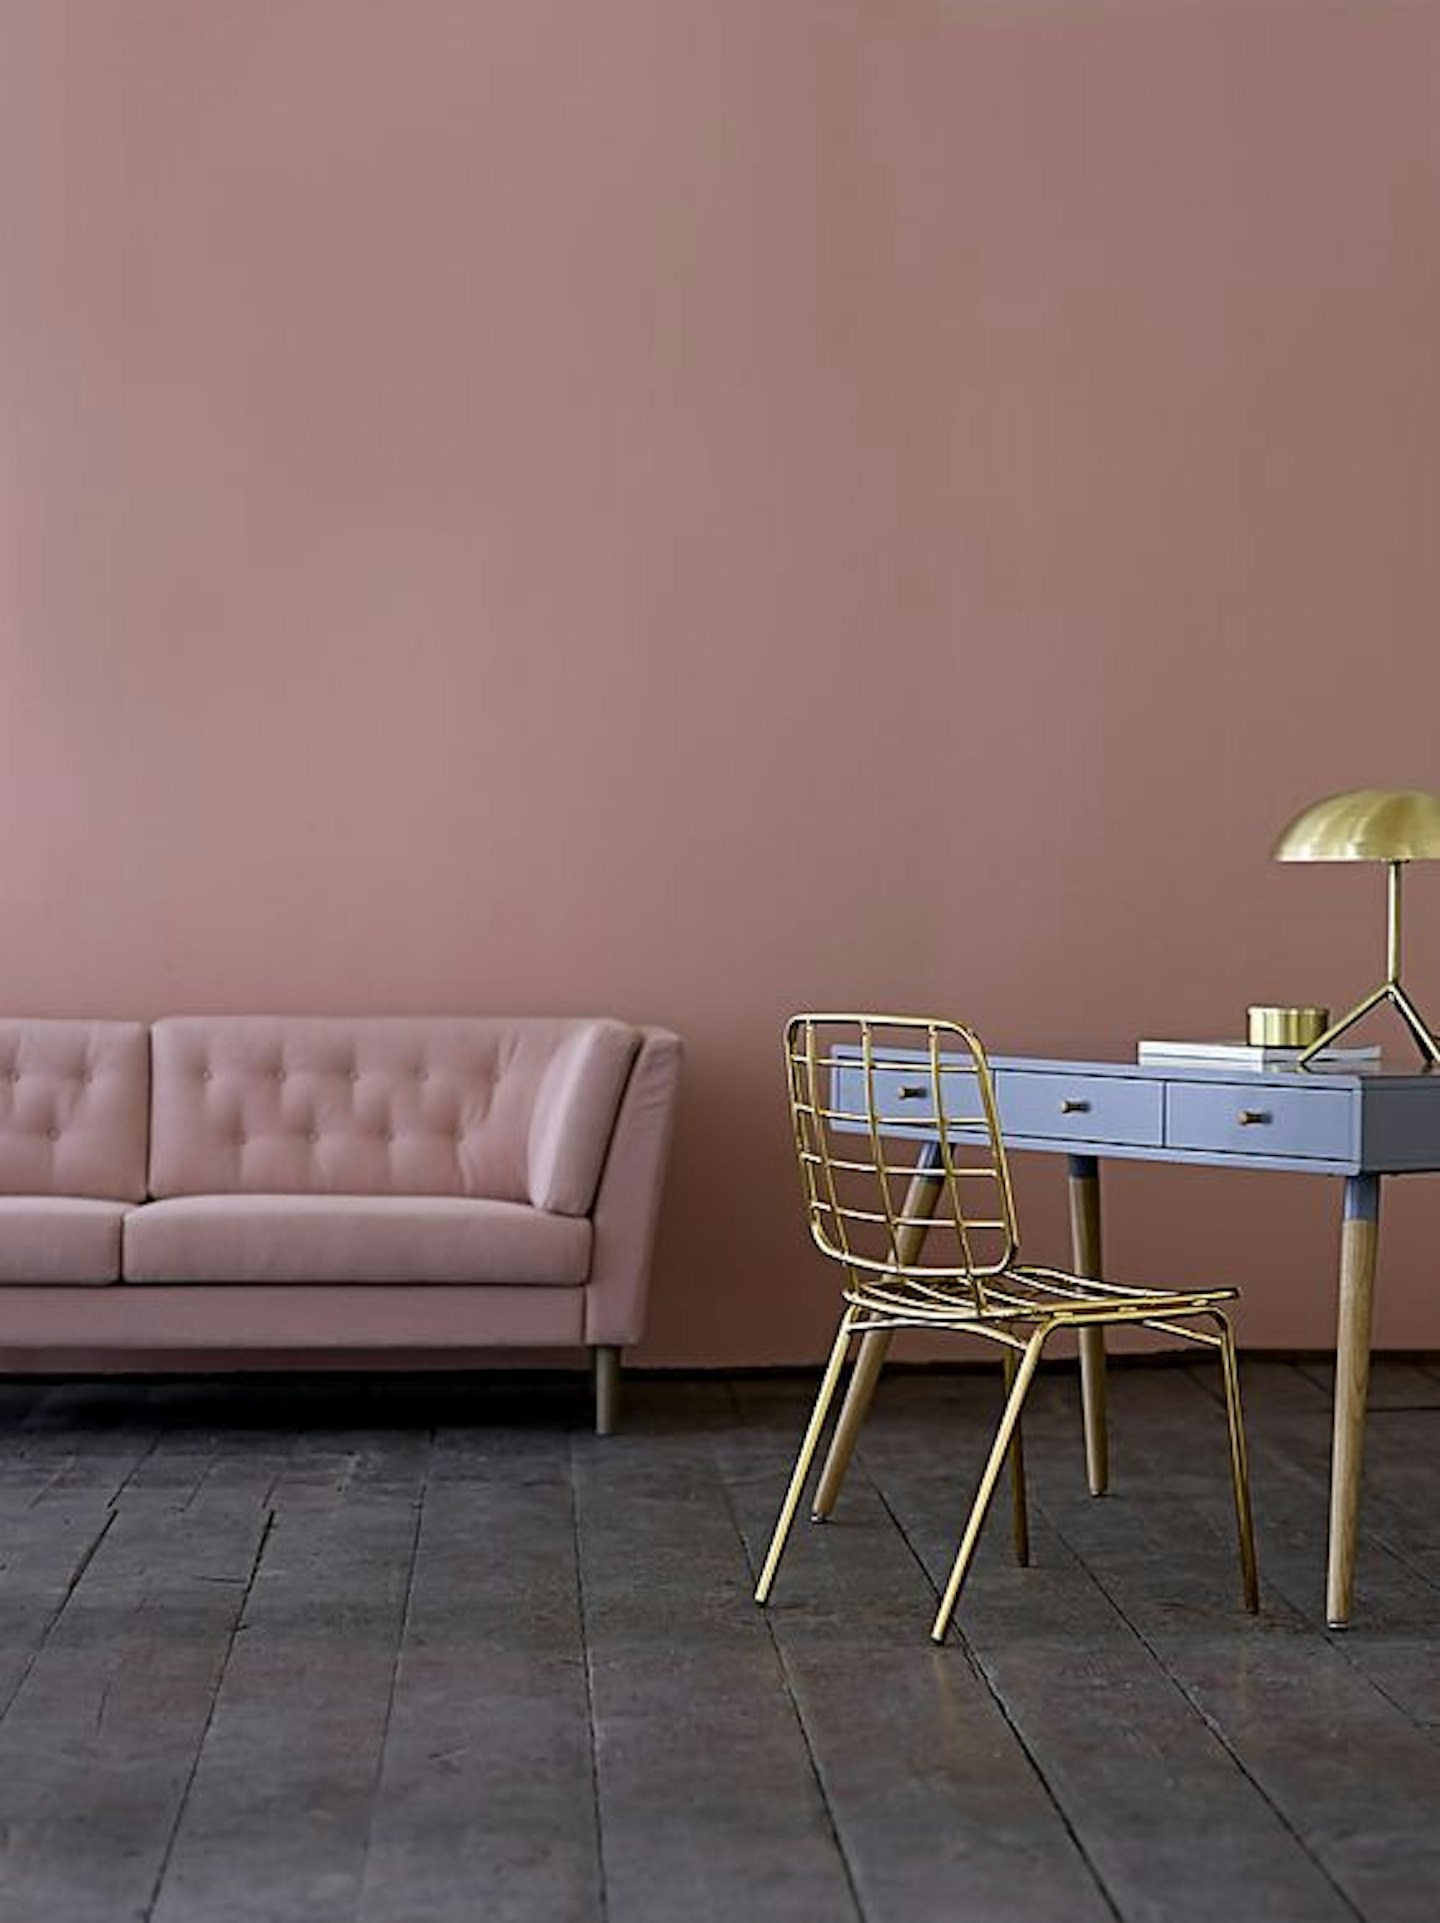
Metallic accents stand out against a millennial pink backdrop.
 13 of 13
pastel living room interiors inspiration
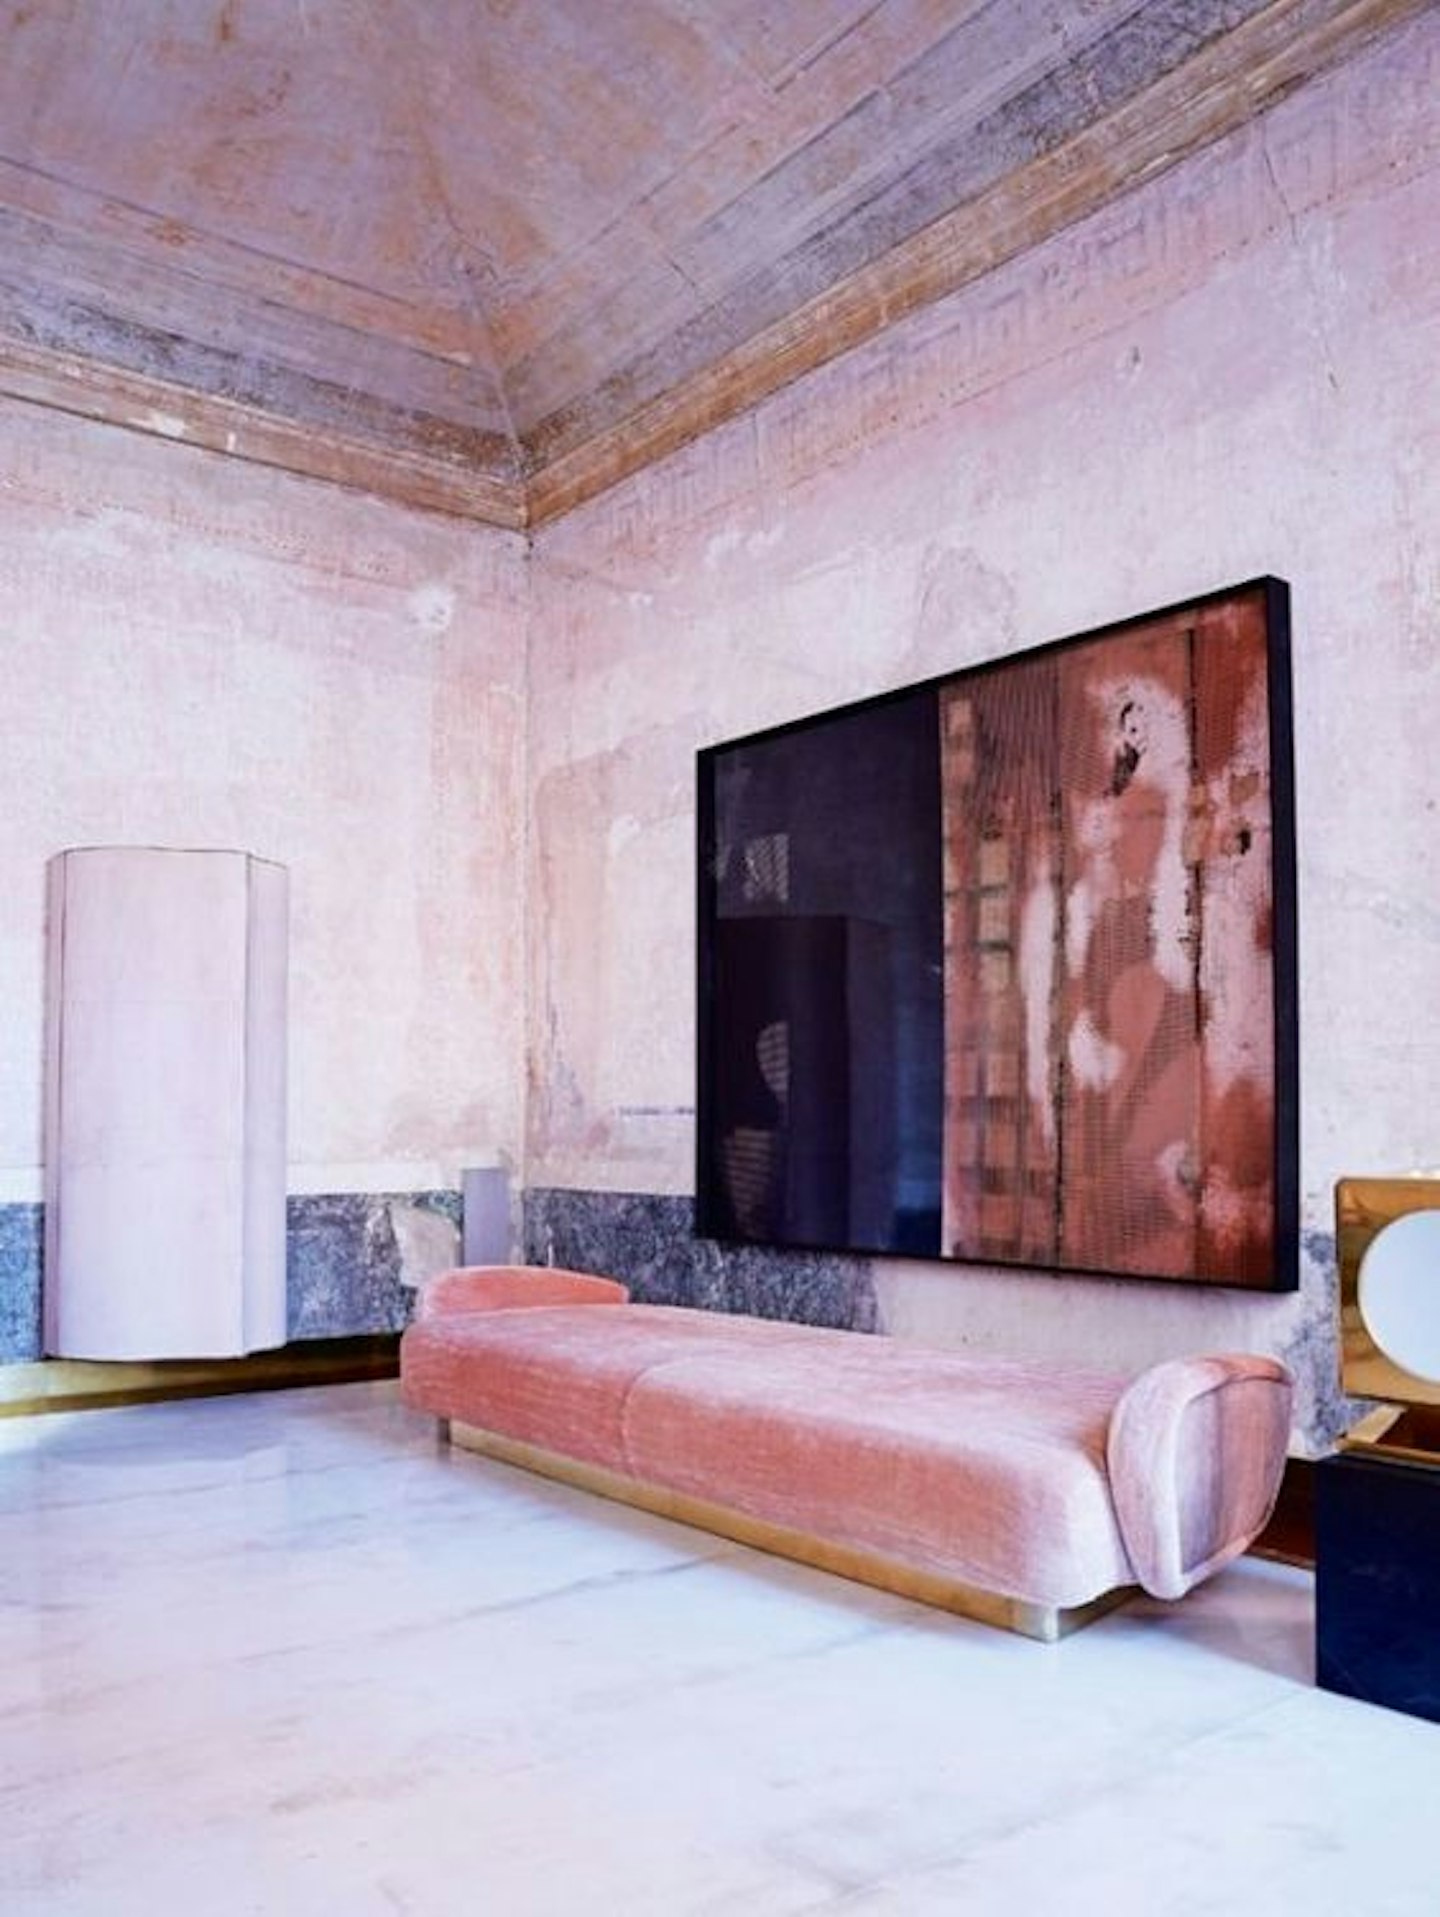
We can't all live in a pink palazzo, but we can dream__ of recreating these dappled walls...
Overlapping
‘A common mistakes is not overlapping – wallpaper shrinks as it dries so it’s best to slightly overlap each piece as you apply it,’ Cathryn advises. Allow a little overlap at the ceiling before trimming it down. ‘Don’t worry if your first attempt is wonky or slightly out of position,’ says Alex. ‘You can manouevre your sheets to get them into the perfect spot as the paste won’t dry immediately. Try to work away from the window so overlapping edges don’t cast a shadow.’’
Keeping switches and sockets tidy
'When wallpapering around switches and sockets, first make sure the electricity is turned off at the mains,' says Cathryn. 'Next, make diagonal cuts from the centre of the fitting to each of its corners, tap the excess paper against the edges of the face plate with a brush and trim off the excess paper. Loosen the plate of the socket and tuck the excess paper behind, then re-tighten. Once the wallpaper paste is dry, switch the power back on.' Simple.
