Can’t eat another Pret sandwich this week? Us either.
Sushi is a great healthy lunch, easy to make and once you have the basics down, you can go wild with ingredients, adding just about anything. It really is easier than it looks, and who doesn’t want a lunch made up of emoji faces and pandas?
Why not just buy the sushi? Because it costs a lot of cash that's why. The basic ingredients without optional garnishes, with stir fry veg comes to £7. A box this size from the shop will set you back a lot more than that. Plus you’ll keep the rolling matt and only use half the ingredients.

Emoji Bento BoxIngredientsA box to keep your sushi in, you could use any Tupperware, we used these cute snack boxes from Paperchase.Nori Seaweed sheets

Rolling mat
Sushi Rice
Rice vinegar
Stir fry vegetables
½ Avocado
2 carrots
½ a cucumber
Fresh salmon (this must be from a fish counter, the fresher the better) We paid £1.75 for a large piece
8 fresh tiger prawns (without shells and tail). You could also use Tuna steak, mackerel, sea bass and bream.
½ tsp. salt
½ tbsp. caster sugar
One sheet of greaseproof paper and cling film.

Optional extras
We added some spinach leaves to our box, as well as a tub of spiralized courgette and carrot, you can add as much or little veg as you’d like.
Sushi ginger (for garnishing)
Wasabi paste
Light soy sauce
**Method **
**The Sushi Rice **
-
Weight out 280g of your sushi rice. Place this into a sieve and rinse under cold water for about 3-4 minutes, or until the water runs almost clear. Then drain.
-
Pop the rice into a pan and add boiling water, about an inch above the rice, so it is completely covered.

-
Cover the pan with a lid and simmer for 10-15 minutes on a medium heat, until the rice is just soft but, to taste, has a slight crunch.
-
Turn off the heat and leave to steam for a further 10 minutes with the lid on.
-
Prepare the sushi vinegar (this will smell very strong but don’t worry, it won’t be that strong to taste!) Add 35 ml of rice vinegar, 1.5 tbsp castor sugar and 1.5 tsp salt into a microwavable dish. Heat in the microwave for 10-20 seconds, or until the sugar has dissolved.
-
Once the vinegar mixture is cooled, carefully fold into the rice. This is what will give it that great sticky texture.
-
Half your rice at this stage, so you have some for the roll and some for the rice balls. Pop it into separate bowls.
-
Line a tray with greaseproof paper and cover the tray using one of your bowls of rice. To do this, pop spoonful’s onto the paper then flatten with the back of the spoon. You want about 1.5 cm in thickness, with even coverage.

-
Place this and the other bowl of rice into the fridge until cool.
** The Nori Rolls**
-
Remove your cooled rice on the tray from the fridge.
-
Open your packet of Nori Seaweed sheets, you get about 10 in a pack which is great value! Place one sheet on top of your rice, in the centre
-
Prepare your veg and fillings at this stage, we steamed then cooled our veg that would go in our boxes, and cut out veg to fill the sushi. We cut 2 carrots, ½ an avocado and ½ cucumber into thin long strips for the centre of the sushi, do the same no matter which veg you choose.

-
Next, cut the salmon. Use a sharp knife to cut into thin strips to go into the sushi, as there was so much salmon, we cut small pieces for Sashimi.

-
To make our Nigiri Sushi, where the fish lays on top of the rice, we will need to butterfly prawns. To do this make a small slit in the underneath near the head, and using your knife push down on the top to flatten the prawn. We did this for 3 of our prawns, and left the others whole to add to our box.
-
Wrap your bamboo matt in cling film. Now’s time to flip your sushi rice, so the seaweed touches the matt (be brave! Use a hand over the centre to flip, use a tray if needed)
-
Position your fillings into the centre of the rice, we added carrot and cucumber at the side, with salmon and sushi ginger in the centre.
-
Now, let’s get rolling! It is a lot easier than it looks. Make a first roll, squeezing your hands quite tightly so the sushi sticks together. Once you have made one half turn, keep rolling and pushing the matt forward, and the roll with develop. Once it has become whole, give it a few little squeezes to make sure it’s set.
-
The edges won’t be neat at this stage, that’s expected. Take a sharp knife (and we mean sharp, the sharper the better, dip in boiling water if needed.) And slice of the two ends of the sushi, then make 1 cm –ish slices from the roll.
** The Rice Balls**
Now, for the fun bit! Once you’ve mastered the rice recipe, you can make just about anything. The great thing with the rice balls is, you can make any shape. Plus, you get so many sheets of the Seaweed in a pack, there’s loads to play with in terms of decoration. The sheets are easy to cut, so you can make just about anything. We cut our faces freehand, but you can buy stamps that do this for you, most come from Hong Kong however, so expect to wait about 2-3 weeks for delivery.
You can buy Panda stamps hereand here. How about a Penguin? There’s lots of different shapes to choose from.
-
Fill a bowl with warm water, you will need to keep dipping your hands clean whilst making your rice shapes.

-
Using the other half of your rice you set aside, take a pinch-full and using your hands, squeeze to make a ball. You have to squeeze quite hard to make the rice bind together. We made 4 balls and set them aside for decorating.
-
To make the Nigiri shapes, squeeze the ball together in your hand, to make an oval shape, then flatten the top and bottom, so you get a raised rectangle. Place a prawn or piece of sushi on top, and cutting a strip of seaweed, wrap around to secure. It’s great as everything sticks together easily.

-
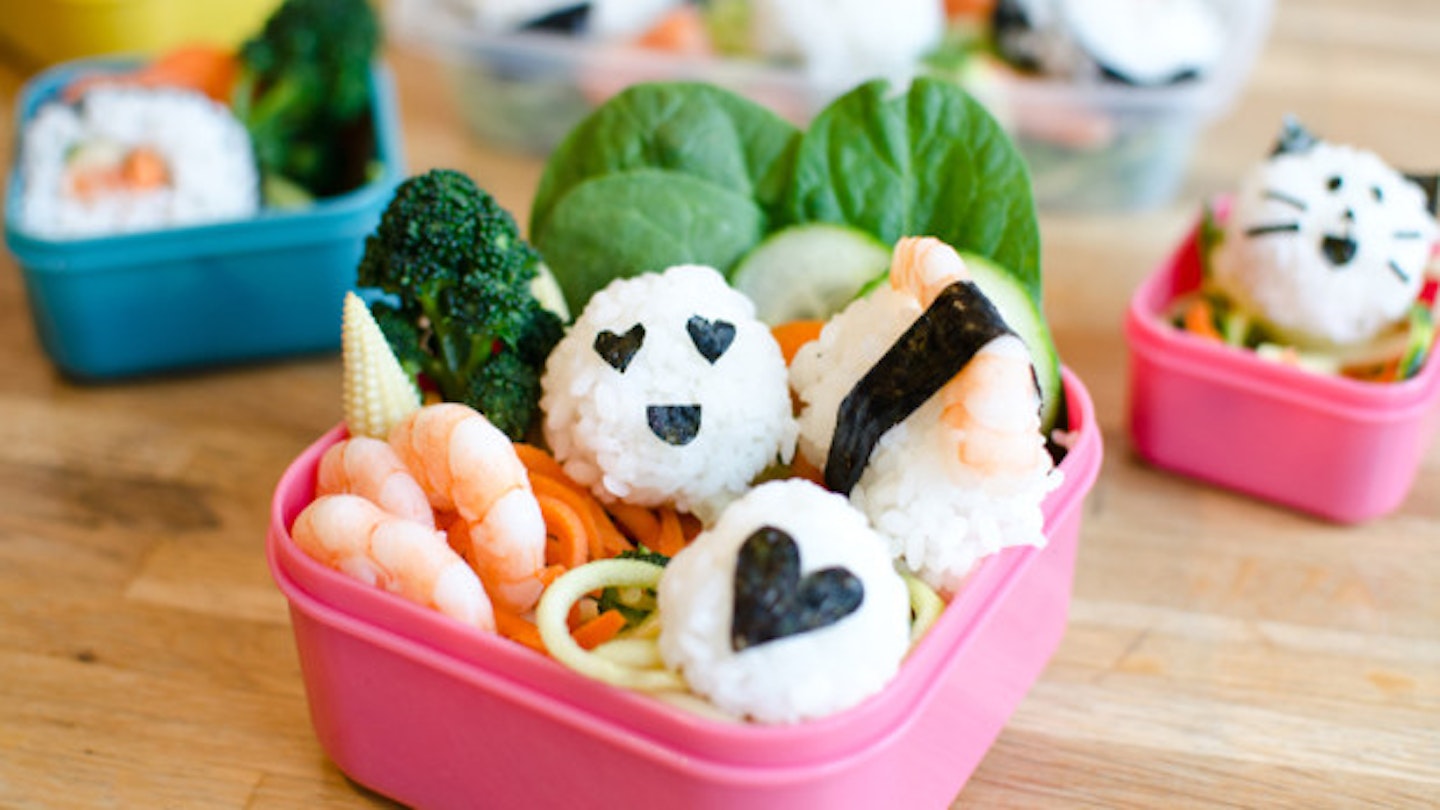
To make our panda, we made two small balls for ears, then cut out two half circles from seaweed for ears, two circles for eyes, a little nose and smile. You literally just place the seaweed on the ball, the stickiness ensures it stays on.

-
We cut out emoji faces, with heart eyes and little smiles, and a cat.

Place everything into your box and enjoy! Lunch is so much more fun with a face…Super Kawaii!

**Liked this? You might also be interested in: **
Follow Jenny on Twitter & Instagram @jennybrownlees
This article originally appeared on The Debrief.