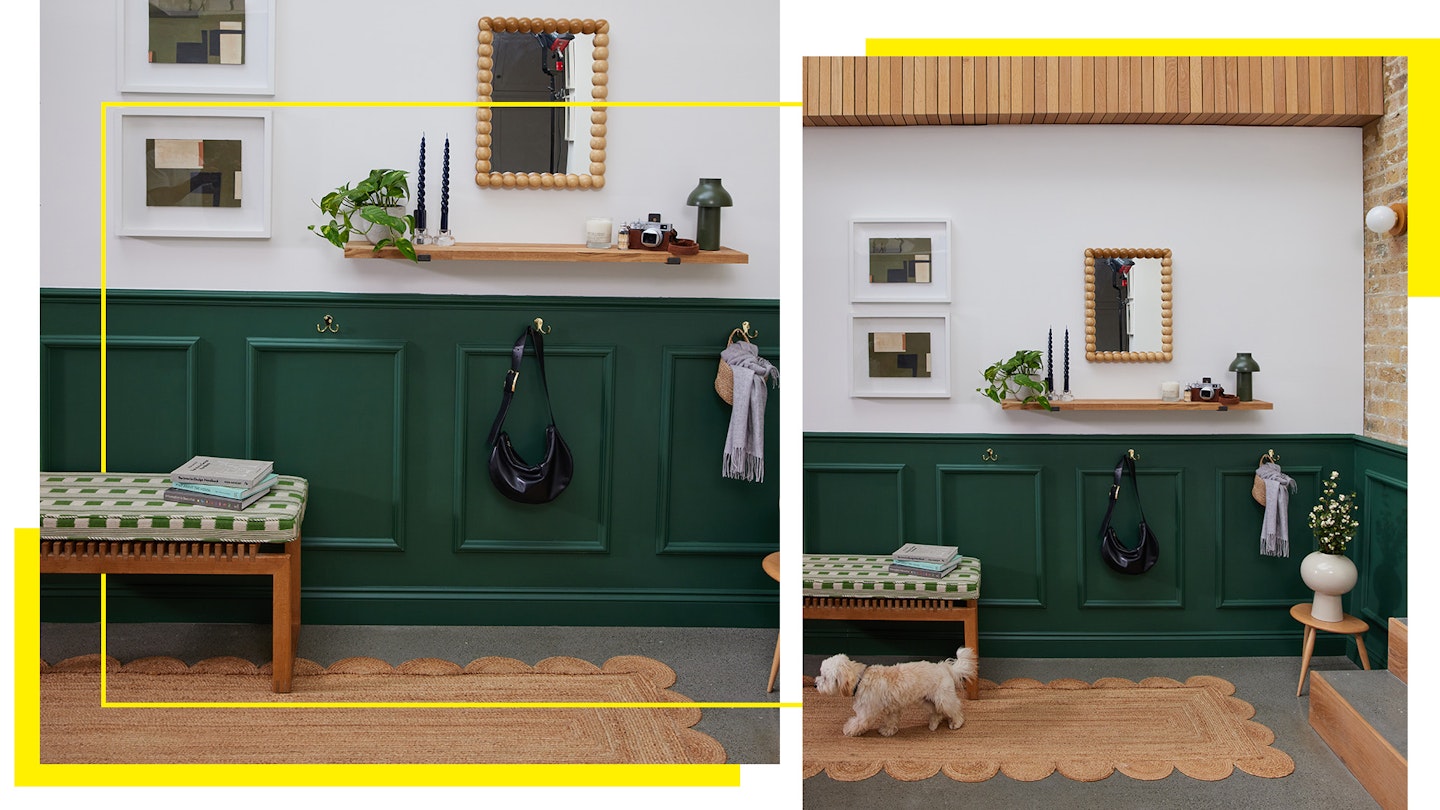
If you’re looking for a way to add instant style and character to a room, then mouldings are the answer. A type of wall panelling, they are slim lengths of wood which when glued to a wall instantly transform an uninteresting blank space into an eye-catching style statement. Buy them separately and cut to size or take the easy option with a ready-made kit such as the Cheshire Mouldings Decorative Wall Panel Kit from Wickes. Here’s how we used it to transform a dull hallway into a super-stylish space.

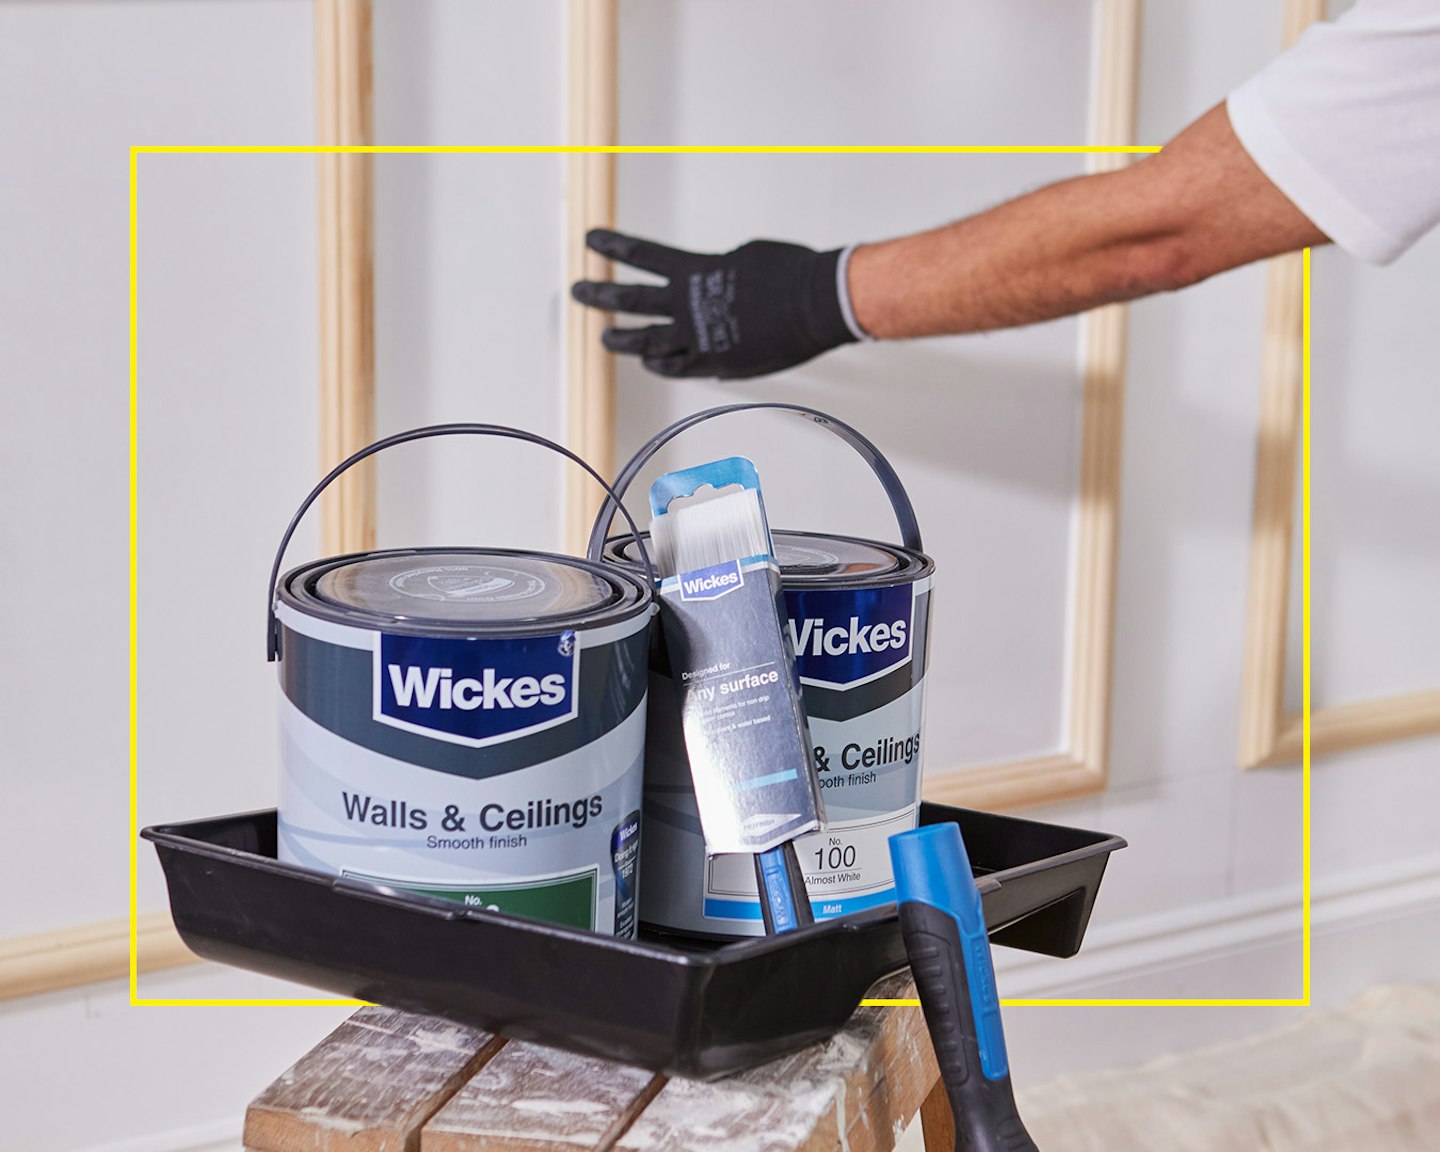
1. Set yourself up a workstation where you can put all your tools and materials. You will need: a Cheshire Mouldings Decorative Wall Panel Kit, panel pins, an angle finder, a spirit level, pencil, construction adhesive, decorators caulk, dust sheets, primer, roller and tray and paint brush, paint. For the shelf, brackets with screws and fixings, two pronged screwed hook, a screwdriver.
2. Put down dust sheets to protect your floor and tape off any joints, edges and other areas you want to protect.
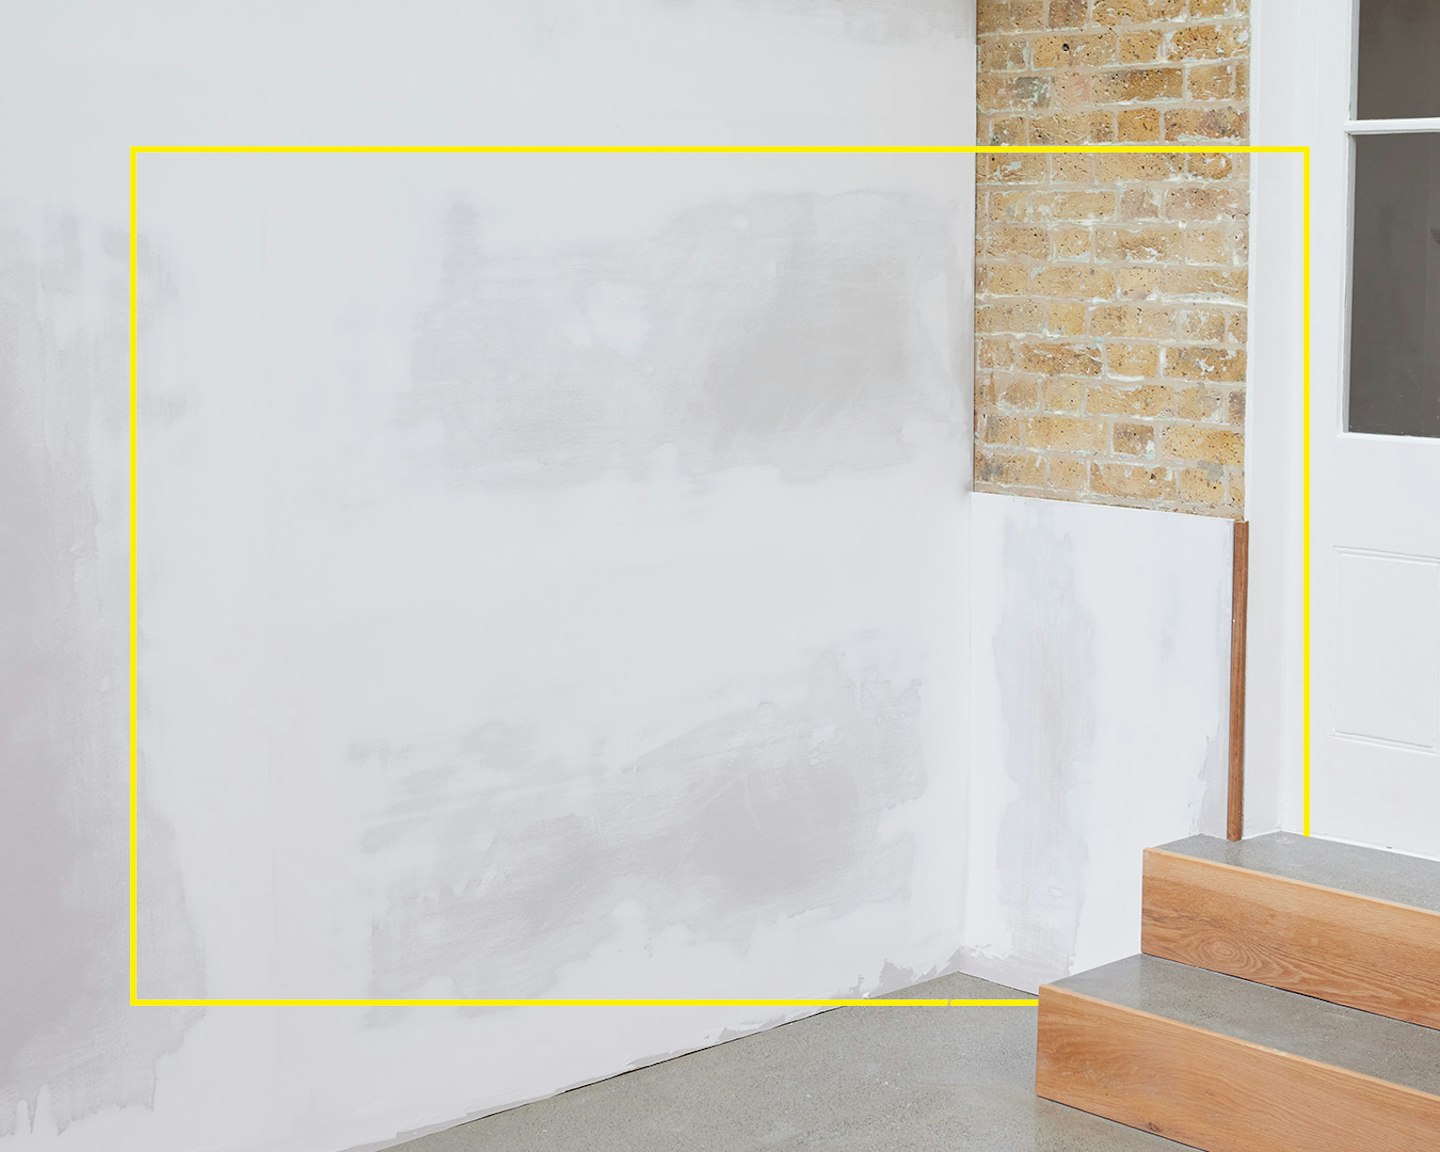
3. Prepare your wall by cleaning it, filling any holes and sanding it down to get a smooth surface. Check out the Wickes video on preparing a wall for painting.
4. If you’re fixing a skirting board apply glue to the flat side and then push it into place. When you’re happy with its position, fix it permanently with nails or screws. This Wickes guide on fixing a skirting board will show you how in more detail.
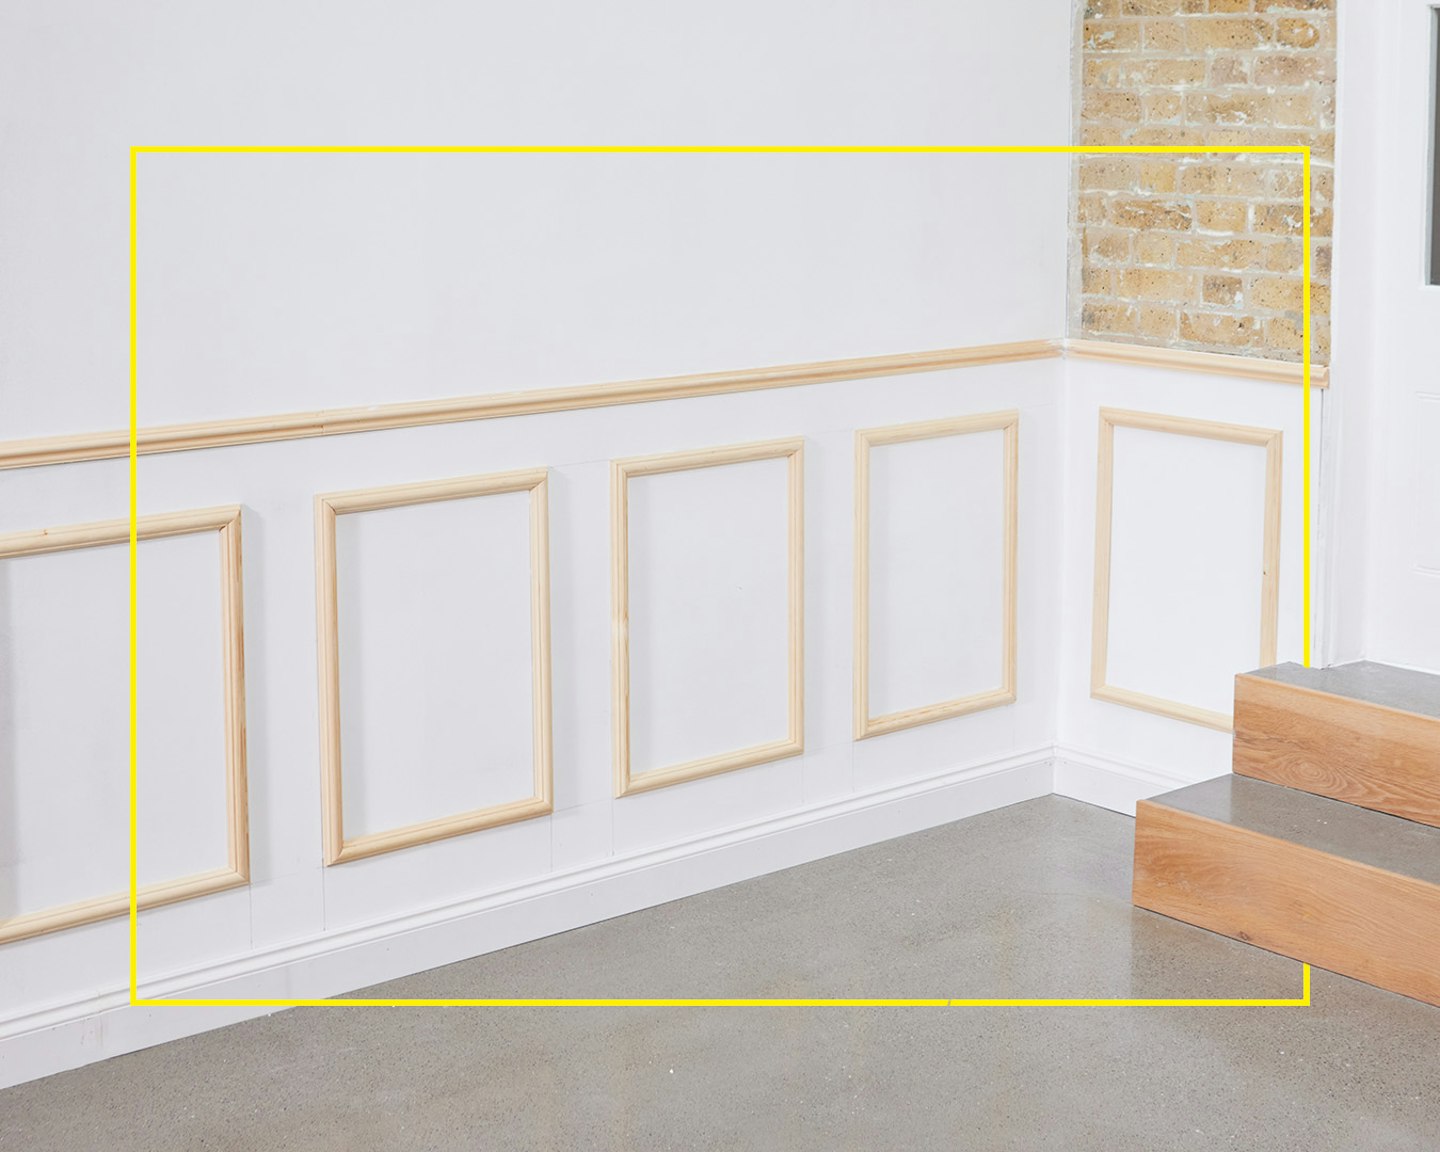
5. Measure your wall, and your panelling materials and work out how they will fit. Then use a ruler and pencil to sketch the positions of the mouldings onto the wall.
6. Glue one piece of moulding and position it on the wall. As you do so, place the spirit level right next to it to make sure it’s straight; if it is, move it gently until it is. Then nail the moulding in. Do this until all the mouldings are in place, including the dado rail.
7. Take the caulk and fill in the holes where your pins are as well as any small gaps in and around the timber. Smooth it using a damp cloth or wipe. Leave to dry.
8. When it’s time to paint, paint the section of the wall above the dado rail. Prime the rail and mouldings. Do a second coat of the wall if needed. Leave to dry.
9. Protect the wall above the dado rail with masking tape. Paint the mouldings with a brush. Then paint the surrounding section of wall with a roller until your entire wall and panelling is painted. Once your first coat has dried, you might need to second and possibly even a third to achieve an even finish with your desired colour.
10. To attach the shelf, measure where you want it and mark where the brackets need to be screwed in. Fix the brackets and then slot the ledge into place.
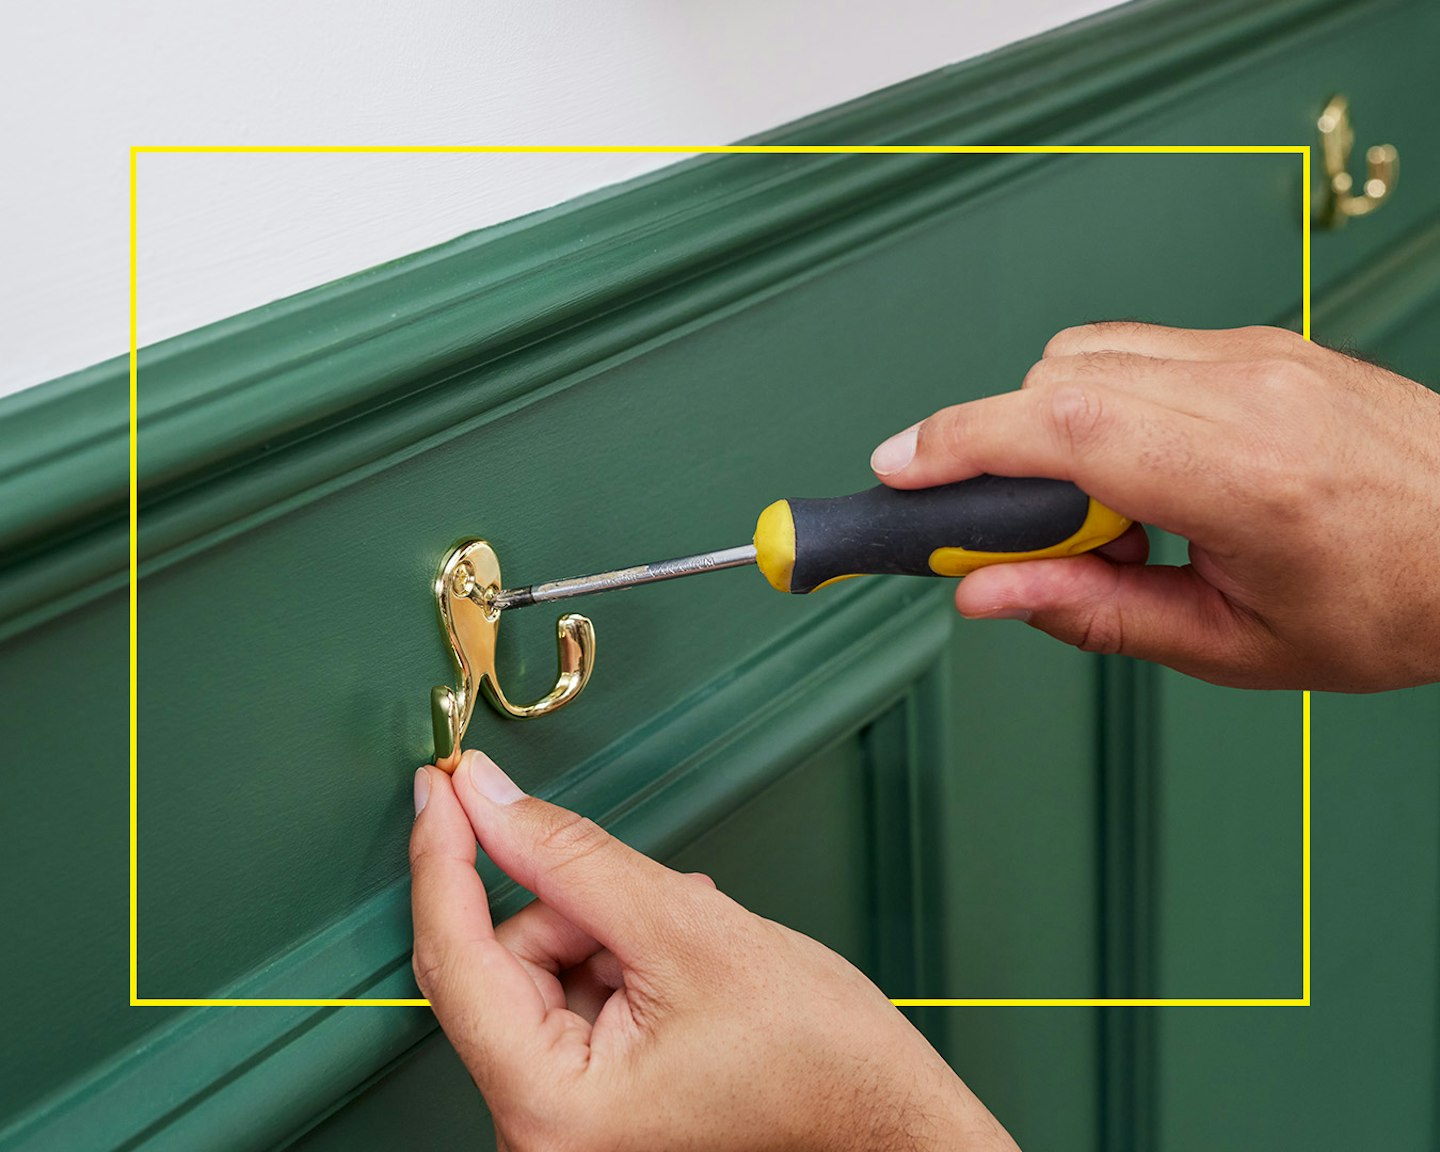
11. Similarly, with the hooks, mark where you want them to go and fix them to the wall.
For more information and inspiration – including other decorative wall panel kits, visit www.wickes.co.uk.