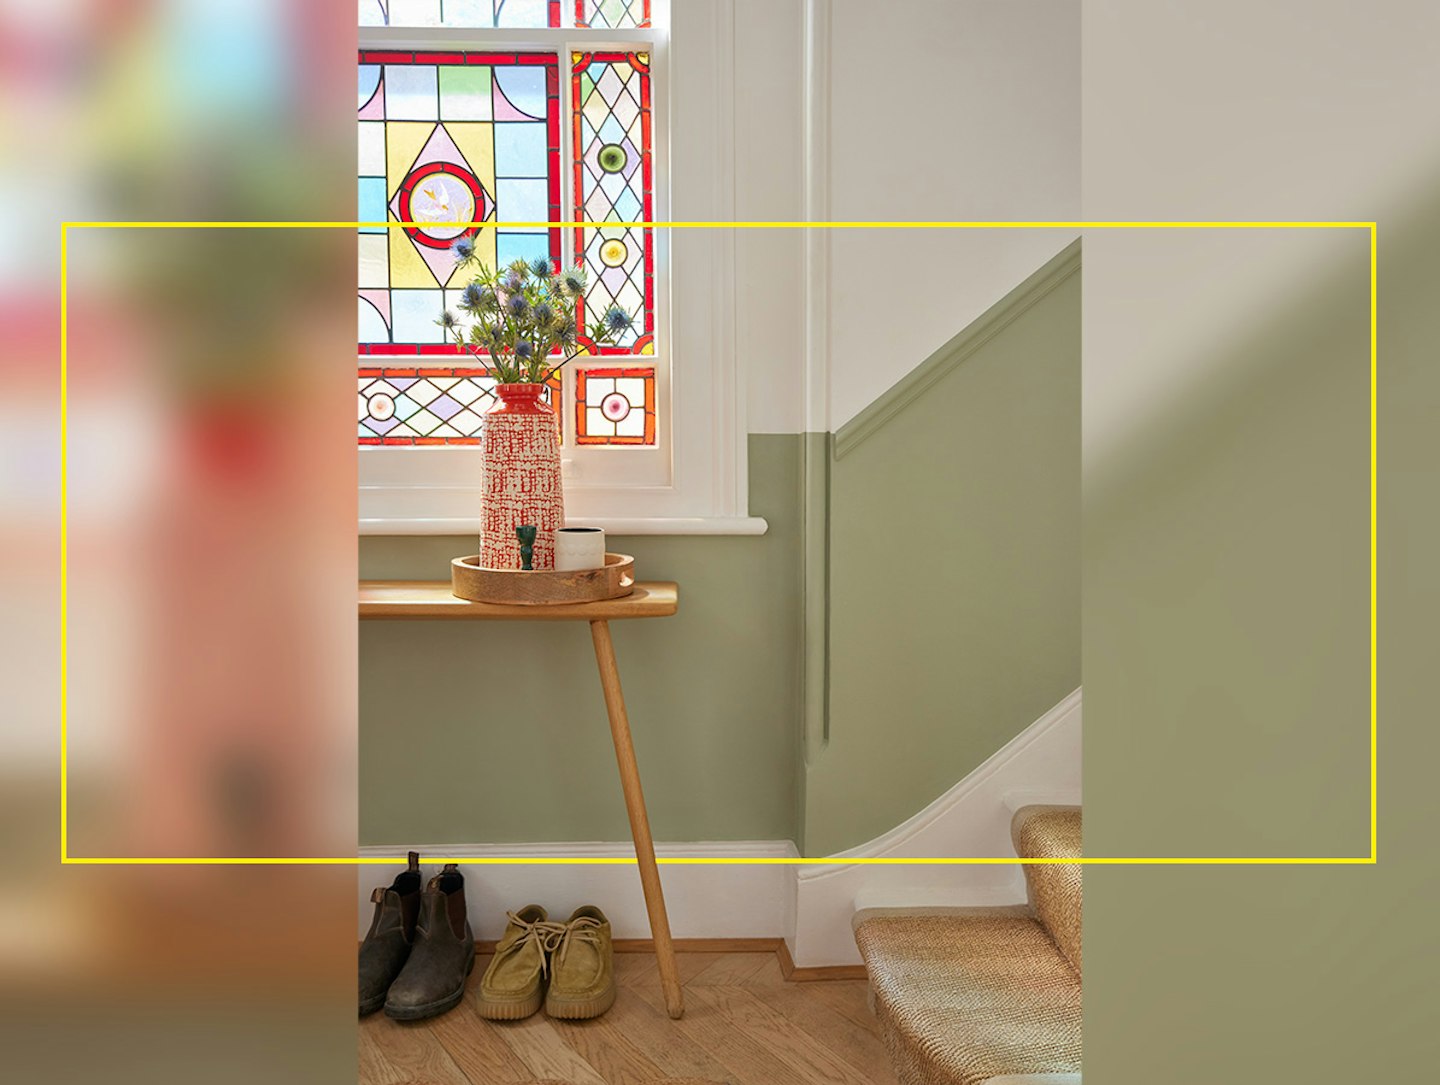
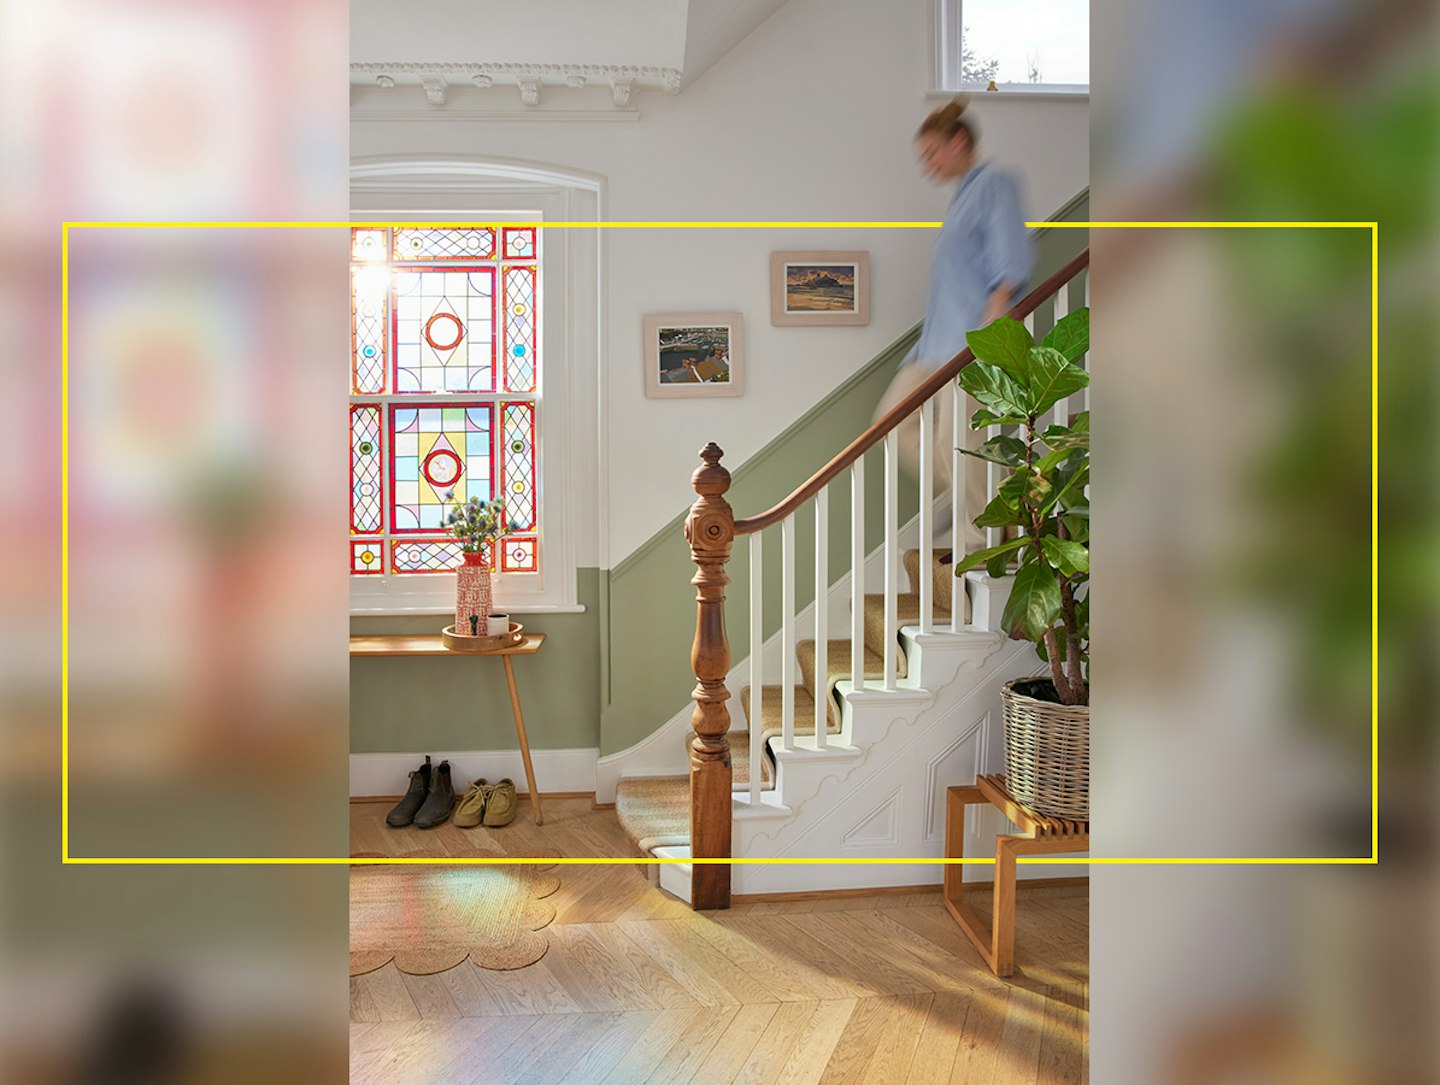
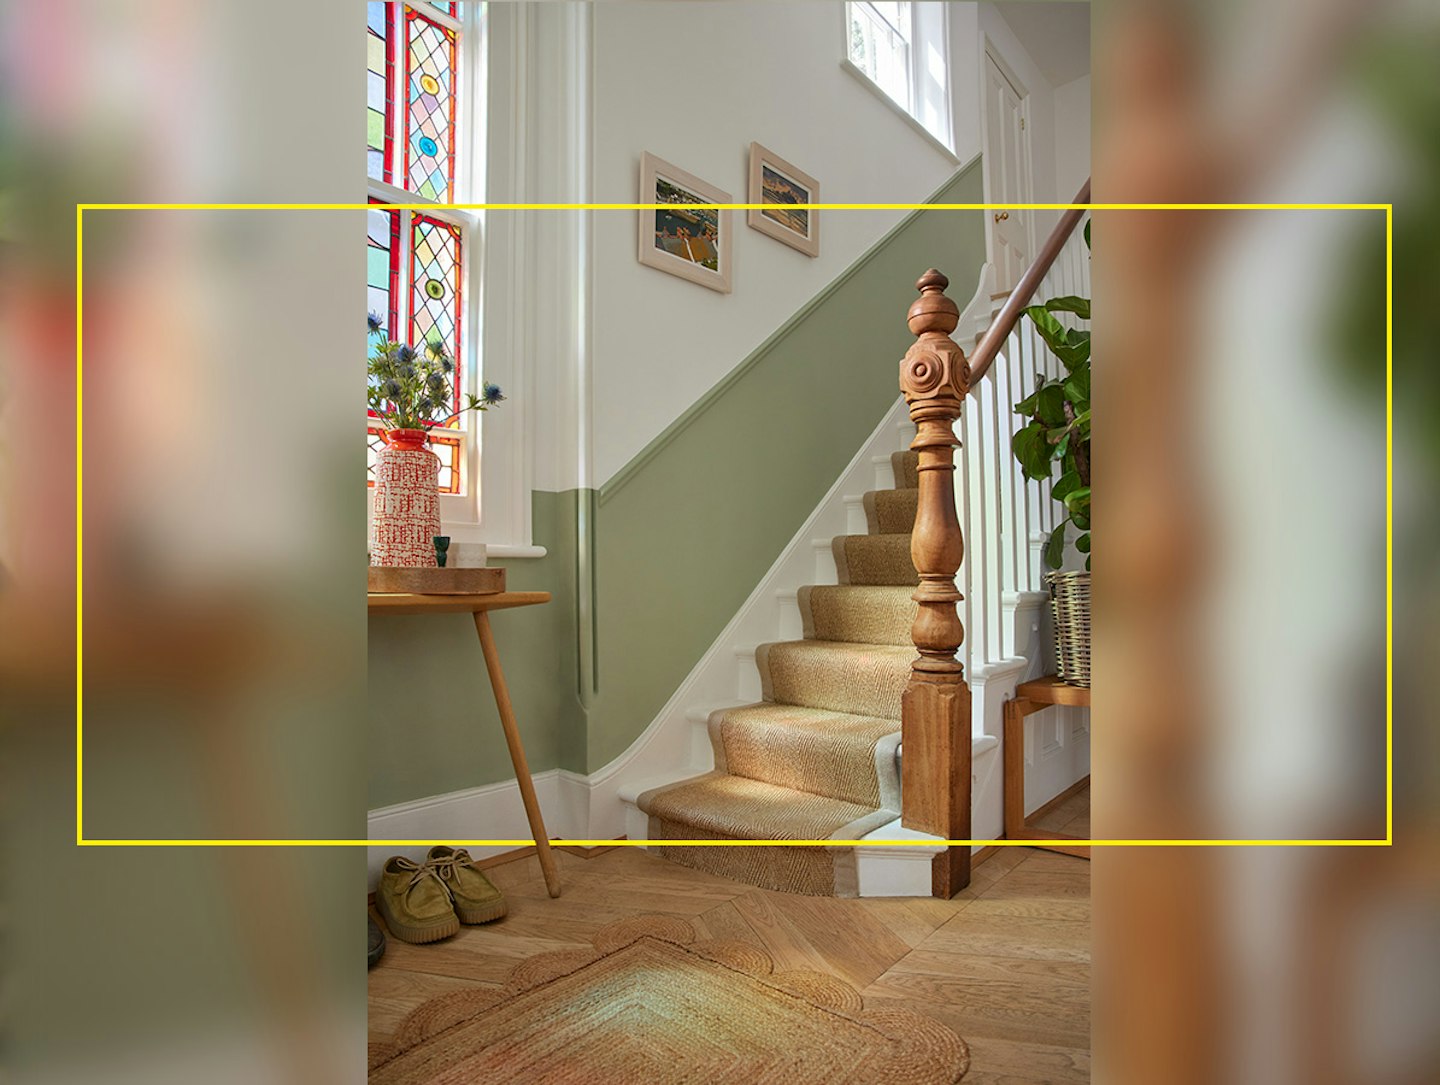
Sage is an on-trend green shade that’s perfect for creating a space that makes you feel good. Called ‘nature’s neutral’ as it’s found in the foliage of trees and shrubs, it brings a sense of the outside in, for a calming yet uplifting vibe.
To create this stunning hallway, we used Subtle Sage, a lovely new paint colour from Wickes, made in collaboration with presenter, singer and actor Kimberley Walsh. With delicate hues of grey, it’s a brilliantly versatile shade that works in both contemporary and period properties. It also complements lots of other shades from neutrals to wood tones, as well as blues, pinks, mustard yellow and orange.
Subtle Sage is soft enough to work on all four walls but to create this statement hallway we followed the line of the stairway moulding and painted just the lower portion of one wall for a cool colour-blocking effect.

To do the same, first assemble the tools you will need – as well a pot of Subtle Sage, a paint kettle, paintbrush, and short pile roller and tray. Use dust sheets to protect the stairs and surrounding area.
Make sure the wall is clean and free of dirt, then cover the area of wall immediately above the moulding with masking tape, following the same line on either side of the window. This will make it easier and quicker to paint below the tape.
Stir your paint thoroughly for a couple of minutes, then pour some into the paint kettle. Use a small brush to carefully paint over the moulding and just below it. Then use it to paint a 50-70mm thick strip above the skirting board and around the window frame and door frame (out of shot). This is a process known as ‘cutting in’.

Next, pour some of the paint into a tray and load the roller, being careful not to overload it. Start from one end of the stair wall and roll smoothly and steadily with a mixture of up and down movements until the wall is covered. Do the same for the wall around the window, including the corner. Paint the entire wall in one go as this will result in a consistent, professional appearance and reduce the chance of tide marks.
Leave the paint to dry per the instructions on the tin before applying a second coat. Rather than cleaning the roller and brush in between coats, prevent them from drying out by wrapping the roller in a plastic bag and securing it with a rubber band, and wrapping the brush in cling film. Don’t leave them this for more than two days, though.

Once you’ve done the second coat, clean the brushes thoroughly. Carefully remove the masking tape, and finally the dust sheets. And your stunning new hallway is ready!
For step-by-step decorating guides including how to paint a room, see the Wickes website. As well as plenty of great advice, it also has all the products you need for your DIY project.

