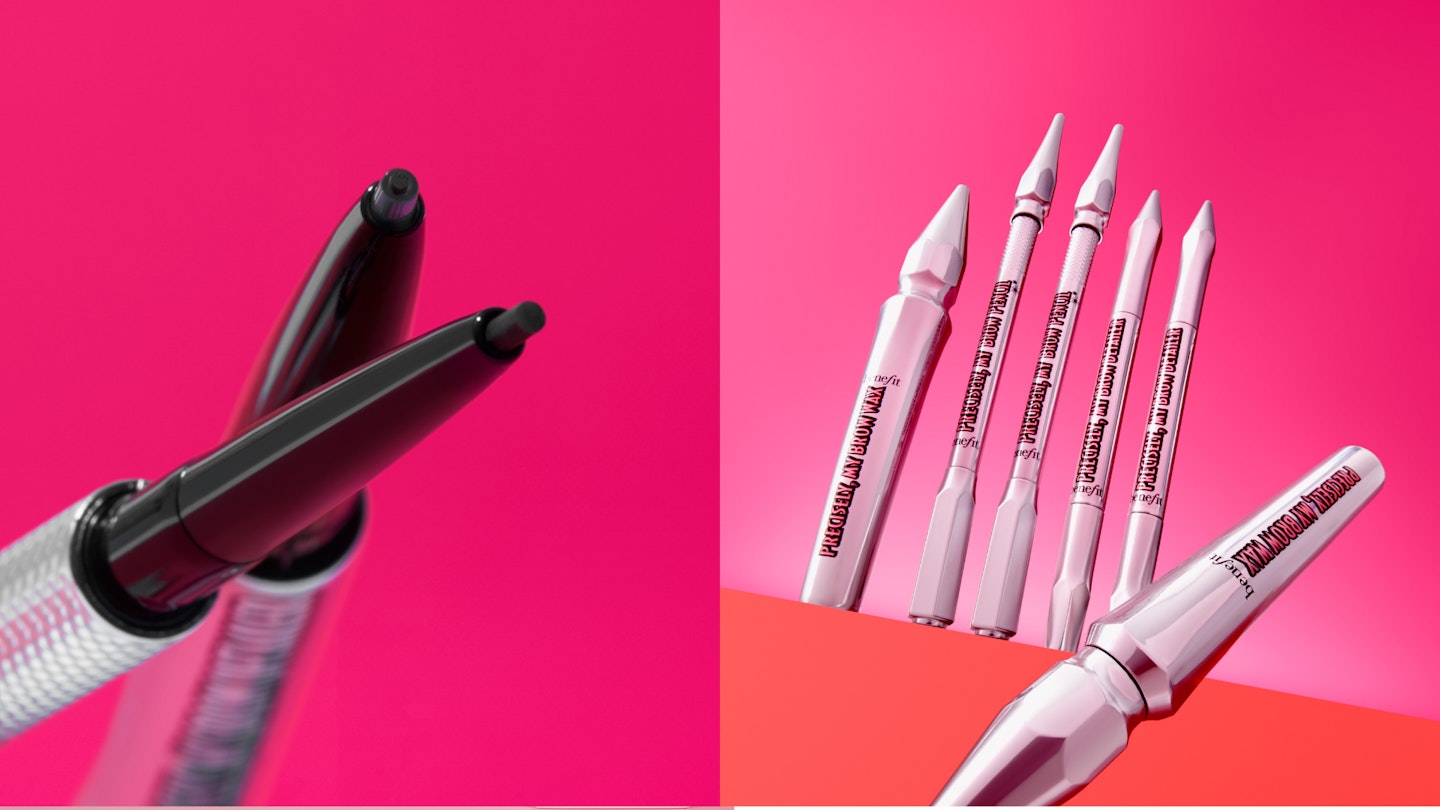
There’s no denying that eyebrows have the power to change your face shape, which is why it’s so important to invest in the correct products - and take the time to perfect your technique. Luckily, we’ve got some expert tips from Jared Bailey Benefit's Senior Director of Brand Engagement, Global Brow & Beauty Authority who is ready to share definitive advice for achieving the best brow for your own unique face shape. Pencils at the ready…

Learn How To Brow Map
While it may seem overwhelming, Bailey ensures us brow mapping is anything but. A little patience may be needed initially, yes, but practice will make this one easier every time.
‘Brow mapping is Benefit’s custom approach to shaping and styling brows,’ explains Bailey. ‘It uses one anchor point of the face to design both brows, no matter the face shape. Doing this helps create the illusion of balance and symmetry from side to side’.
Here’s how it works:
-
Using a micro-liner, measure straight up from the dimple of the nose to the beginning of the brow bone and make a tiny mark. This is where your brows should start. This helps to contour and slim the bridge of the nose.
-
Next, measure from the outer nostril across the centre of the iris, and this will point to where your brow is the highest. Make a little mark there. This will give you maximum height in your brow and help open the entire eye space.
-
Finally, measure from the outer portion of the nose, across the outer corner of the eye, and make a little mark. This is where your brow should end. This will keep the brow from overextending and pulling the eye shape downward.
benefitcosmetics.com
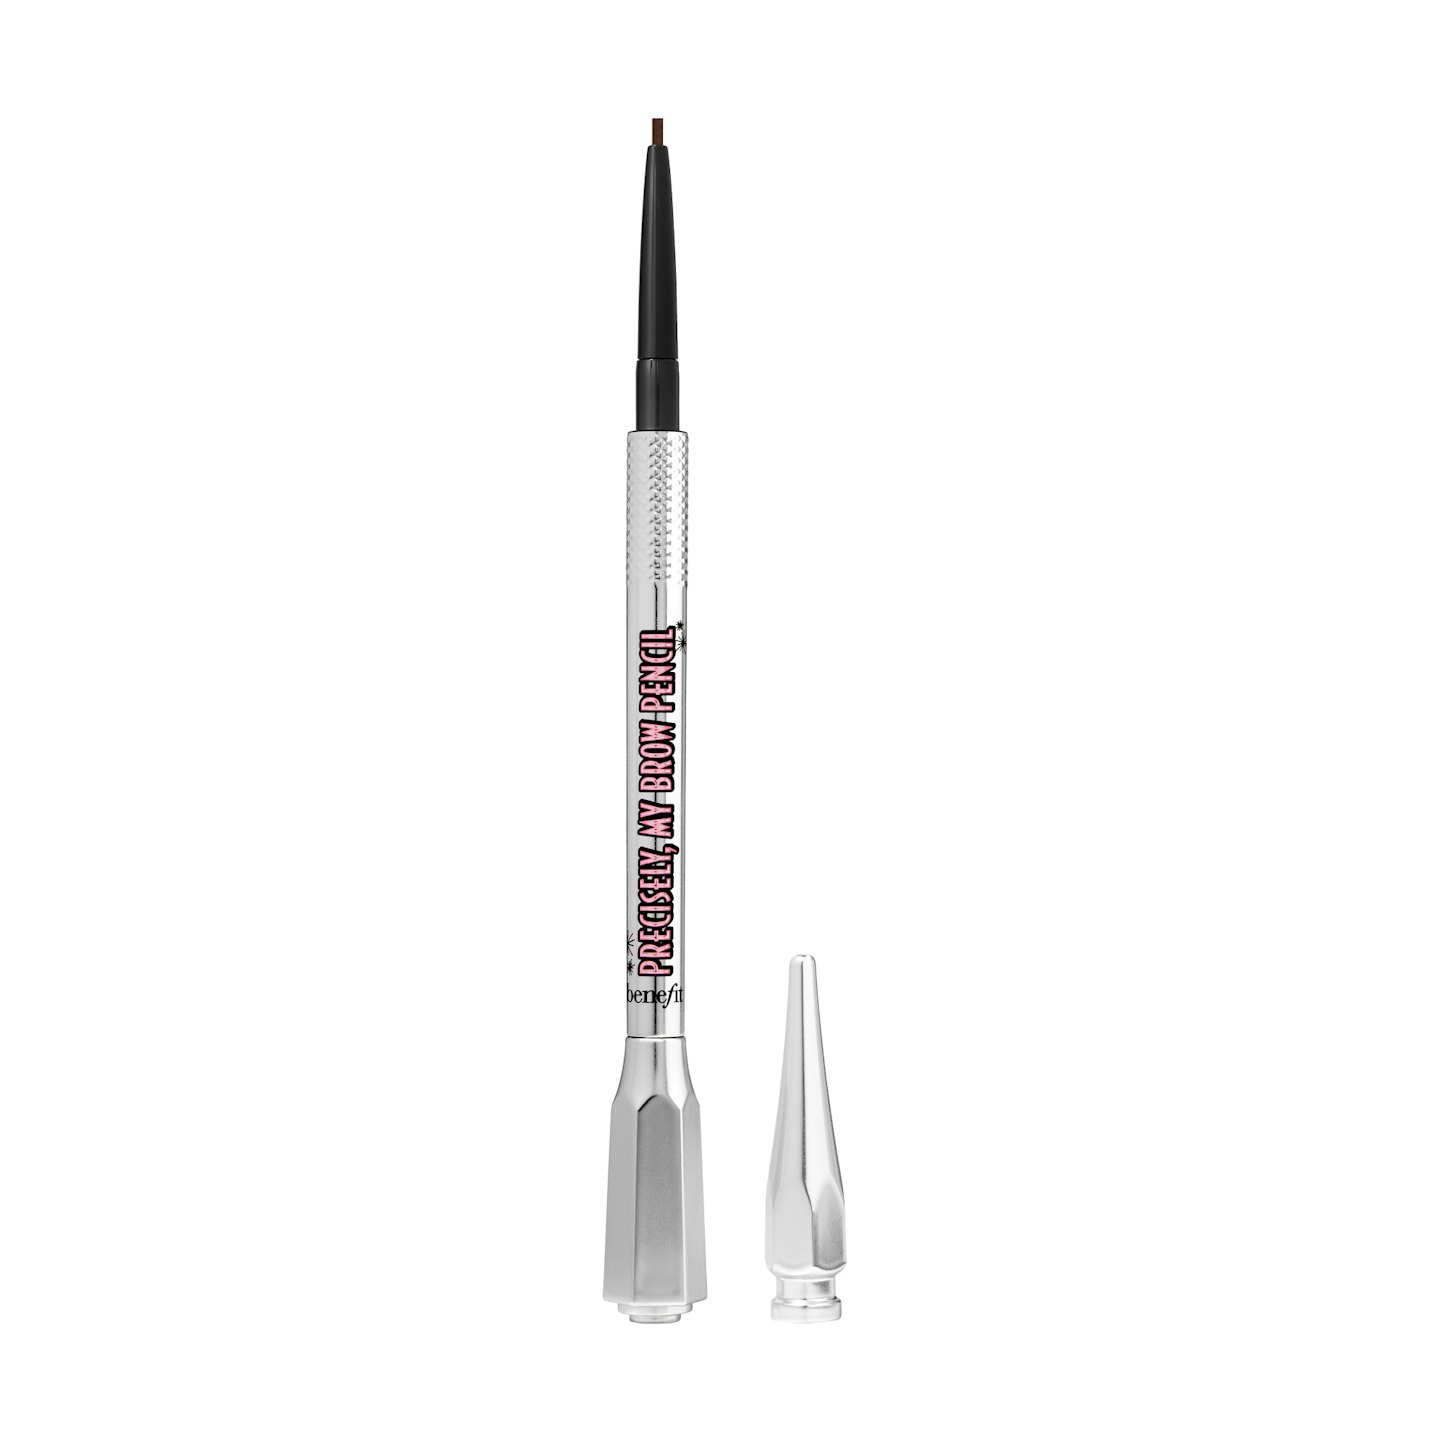
A brow icon if there were one, Benefit’s Precisely My Brow Pencil is waterproof, smudge-proof, and a total treat to use. Plus, it’s available in an impressive 12 shades – it’s no wonder there’s one sold every six seconds. ‘This pencil is the perfect, easy way to add structure to the brow,’ explains Lauren Hogsden Benefit National Brow Artist. ‘Use small flicks of the wrists for hair like strokes, and go over with the spoolie end if you feel like you’ve been too heavy handed.’
Add Volume
So, you’re a dab hand at filling in your brows with a pencil, but what about adding that enviable ‘oomph?’ Bailey has us covered here, too.
‘If you have sparse brows and want to wear a brushed-up brow style, it’s important to use a product that is buildable, but also has wearable hold - meaning it’s not crunchy or stiff,’ he explains.
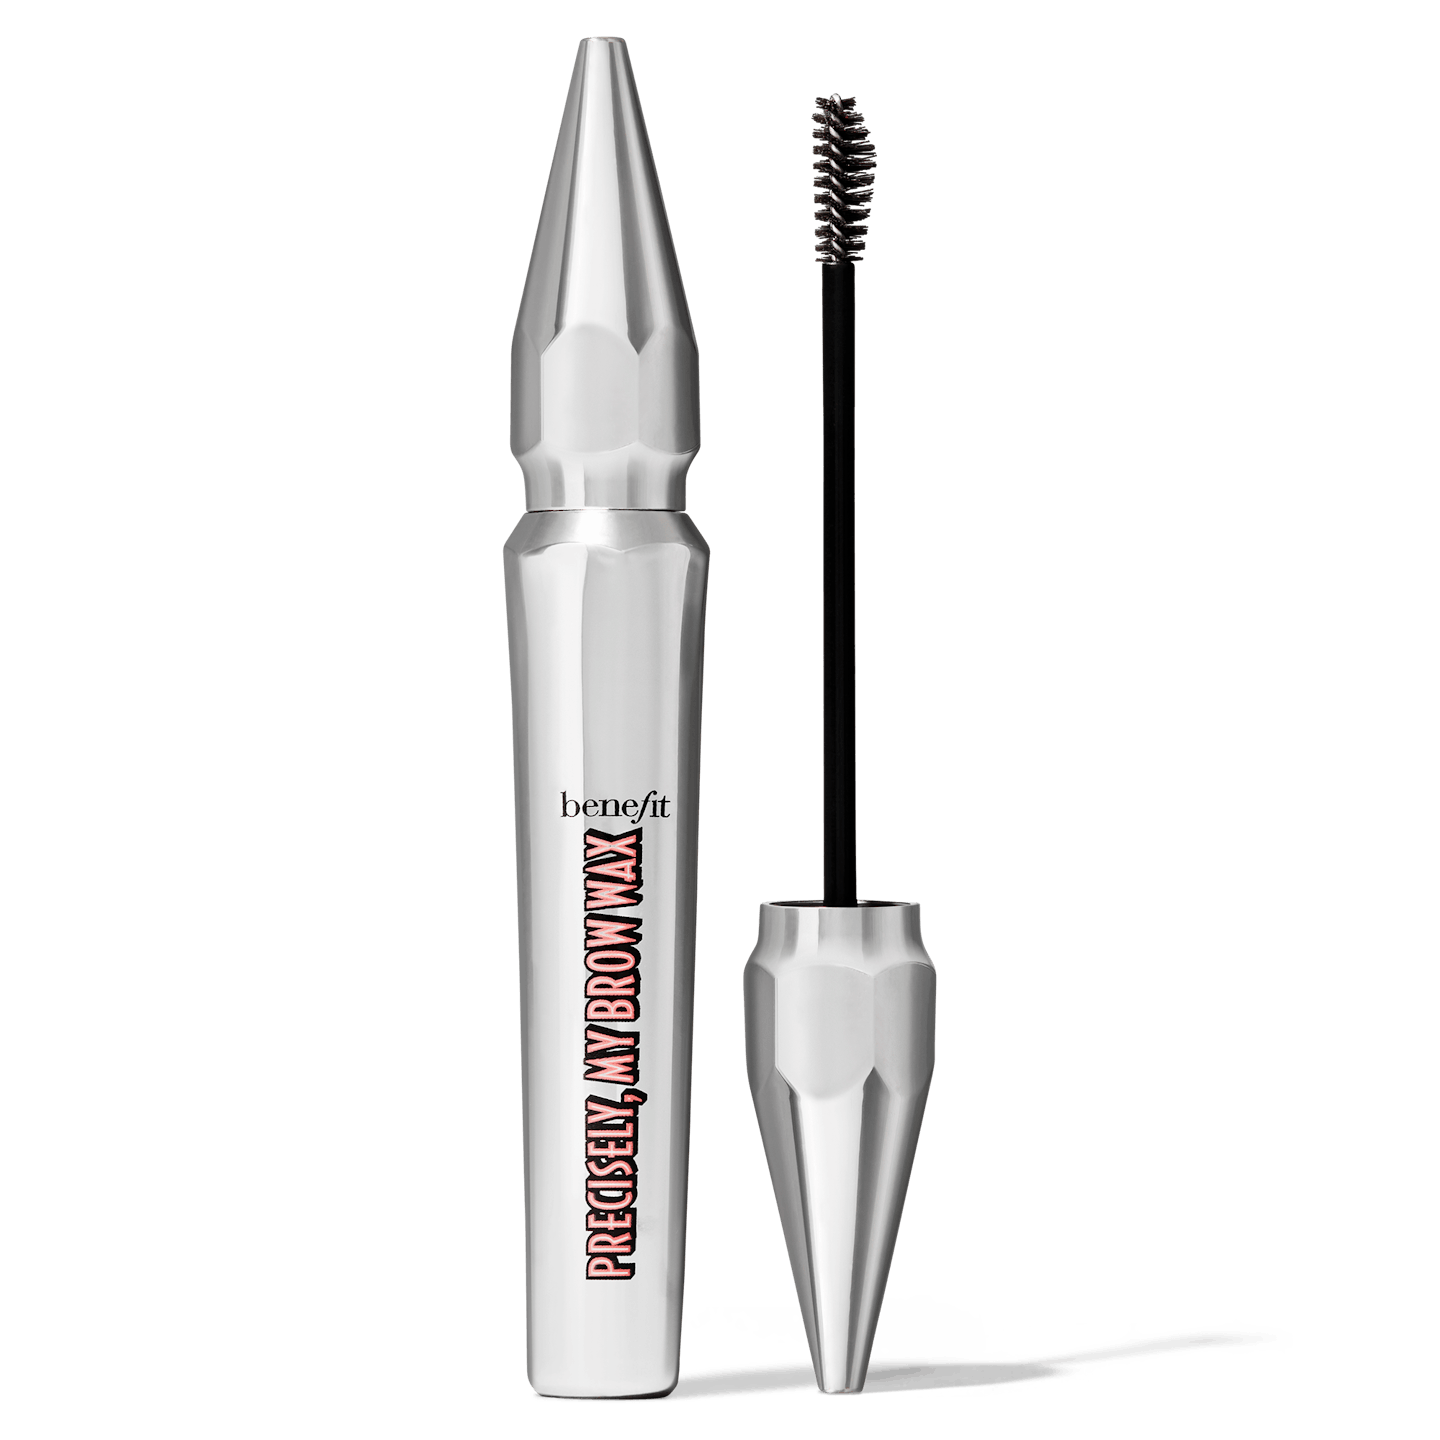
And to achieve that volume? You’ll want to try the Benefit Precisely My Brow Wax pronto.
‘Start by brushing the wand through your brows using the flat side of the wand,’ Bailey instructs. ‘The bristles here are a bit shorter and denser, delivering the perfect amount of formula onto the skin and brows – which is key to filling a sparse brow. Next, use the domed side of the brush to blend the formula and style the hair upwards to create a lift. The domed side has more space between the bristles that apply the majority of product to the brow hair.’
Big, beautiful brows in an instant.
benefitcosmetics.com
It may be one of the new Benefit brow products, but we predict it’s set to be one of the best in the brand’s collection. Expect a rich colour pay-off that adds serious fluff to sparse brows. It’s fool-proof and even suited to brow novices - trust us. ‘The flat side of the brush will add pigment to both skin and hair – ideal for those with sparse brows,’ explains Hogsden_._ 'Then use the domed side for the arch and tail end as it allows for less dense application.’
Achieve The Perfect Stroke
If you want to create the most believable-looking brow, then you’ll want to replicate natural hair strands throughout - no ‘block brow’ in sight.
‘I’d suggest using two different sized pencils,’ recommends Bailey. ‘This not only makes the job easier, but it will also create the most realistic looking brow.’
Here’s the technique:
-
Start by brushing through your brow hair in the direction you want them to be styled.
-
Next, use a think liner like Benefit’s Precisely My Brow Pencil to fill in areas of the brow that lack density. Start at the base of the brow and flick upward to create a stroke. Remember, leaving pops of skin in-between each one is key to making it look real.
-
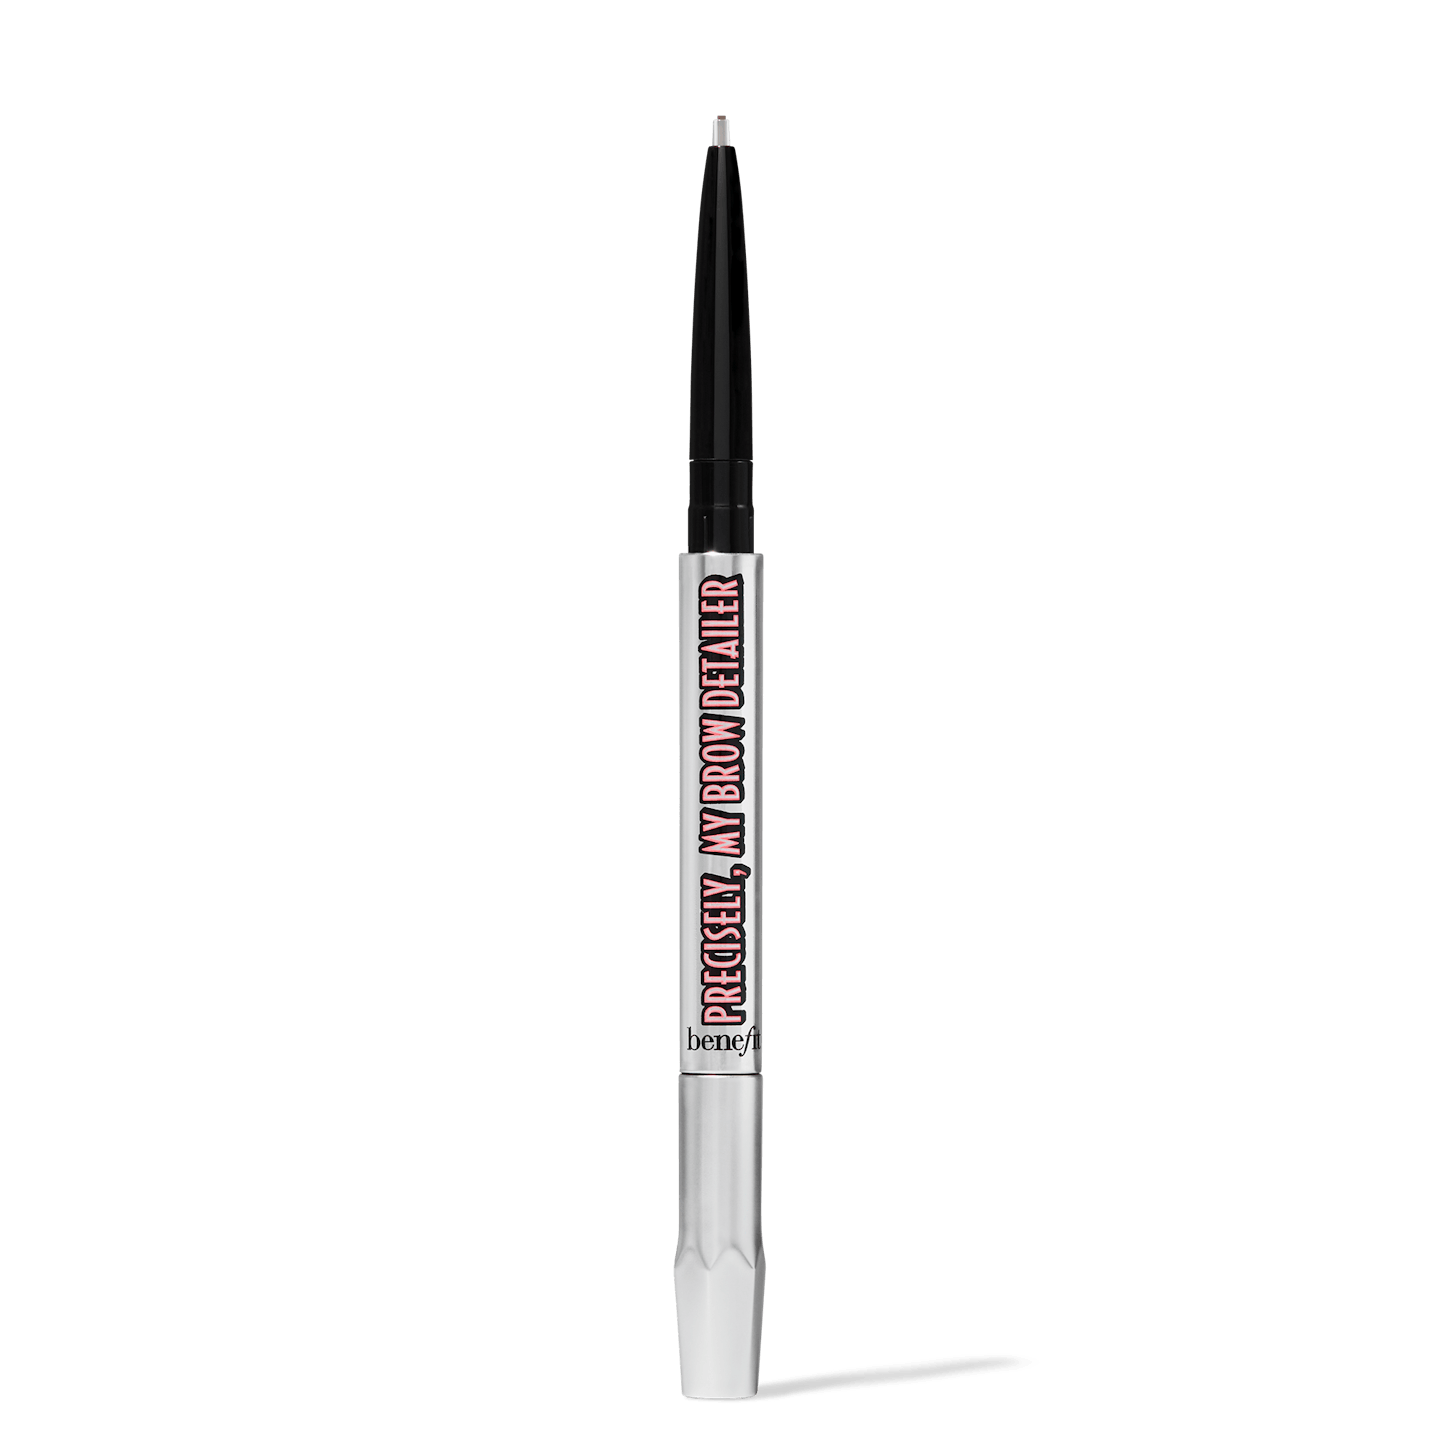
Finally, it’s time to recreate that natural wispy start and end to the brow. To recreate those hairs with makeup, you’ll need to use a micro-liner that has the tiniest pencil tip on the market: the Benefit Precisely My Brow Detailer. Simply twist the formula until it is at the edge of the retractable tip and add a few hair strokes to the start and end of the brow.
benefitcosmetics.com
When it comes to brow pencils, tips don’t get more daintier than Benefit’s new brow detailer. It’s teeny tiny, making it perfect for creating realistic, hairlike strokes. And, as expected, it’s smudge-proof and waterproof. It’s a miracle worker. ‘Keep it in line with the silicone nib so it doesn’t break. You’ll just glide the creamy formula through – it’s about detail and dimension. The biggest impact comes with the smallest details,’ says Hogsden.
Get The Right Shade
Unsurprisingly, the foundation to achieving a really great brow look is in the colour of the product you choose.
‘There are two things to remember when trying to choose a colour,’ says Bailey, ‘The under-tone of your hair and the depth of colour. Start with the undertone. If you have cool hair, pick cool brow products.’ Warm hair? ‘Pick a warm brow product.’ And if you have a mix of both, or have a fun colour? ‘Then pick neutral tone,’ hey says. ‘After that, select a shade that mirrors the undertone and depth - whether it’s brown, red, blonde etc.’
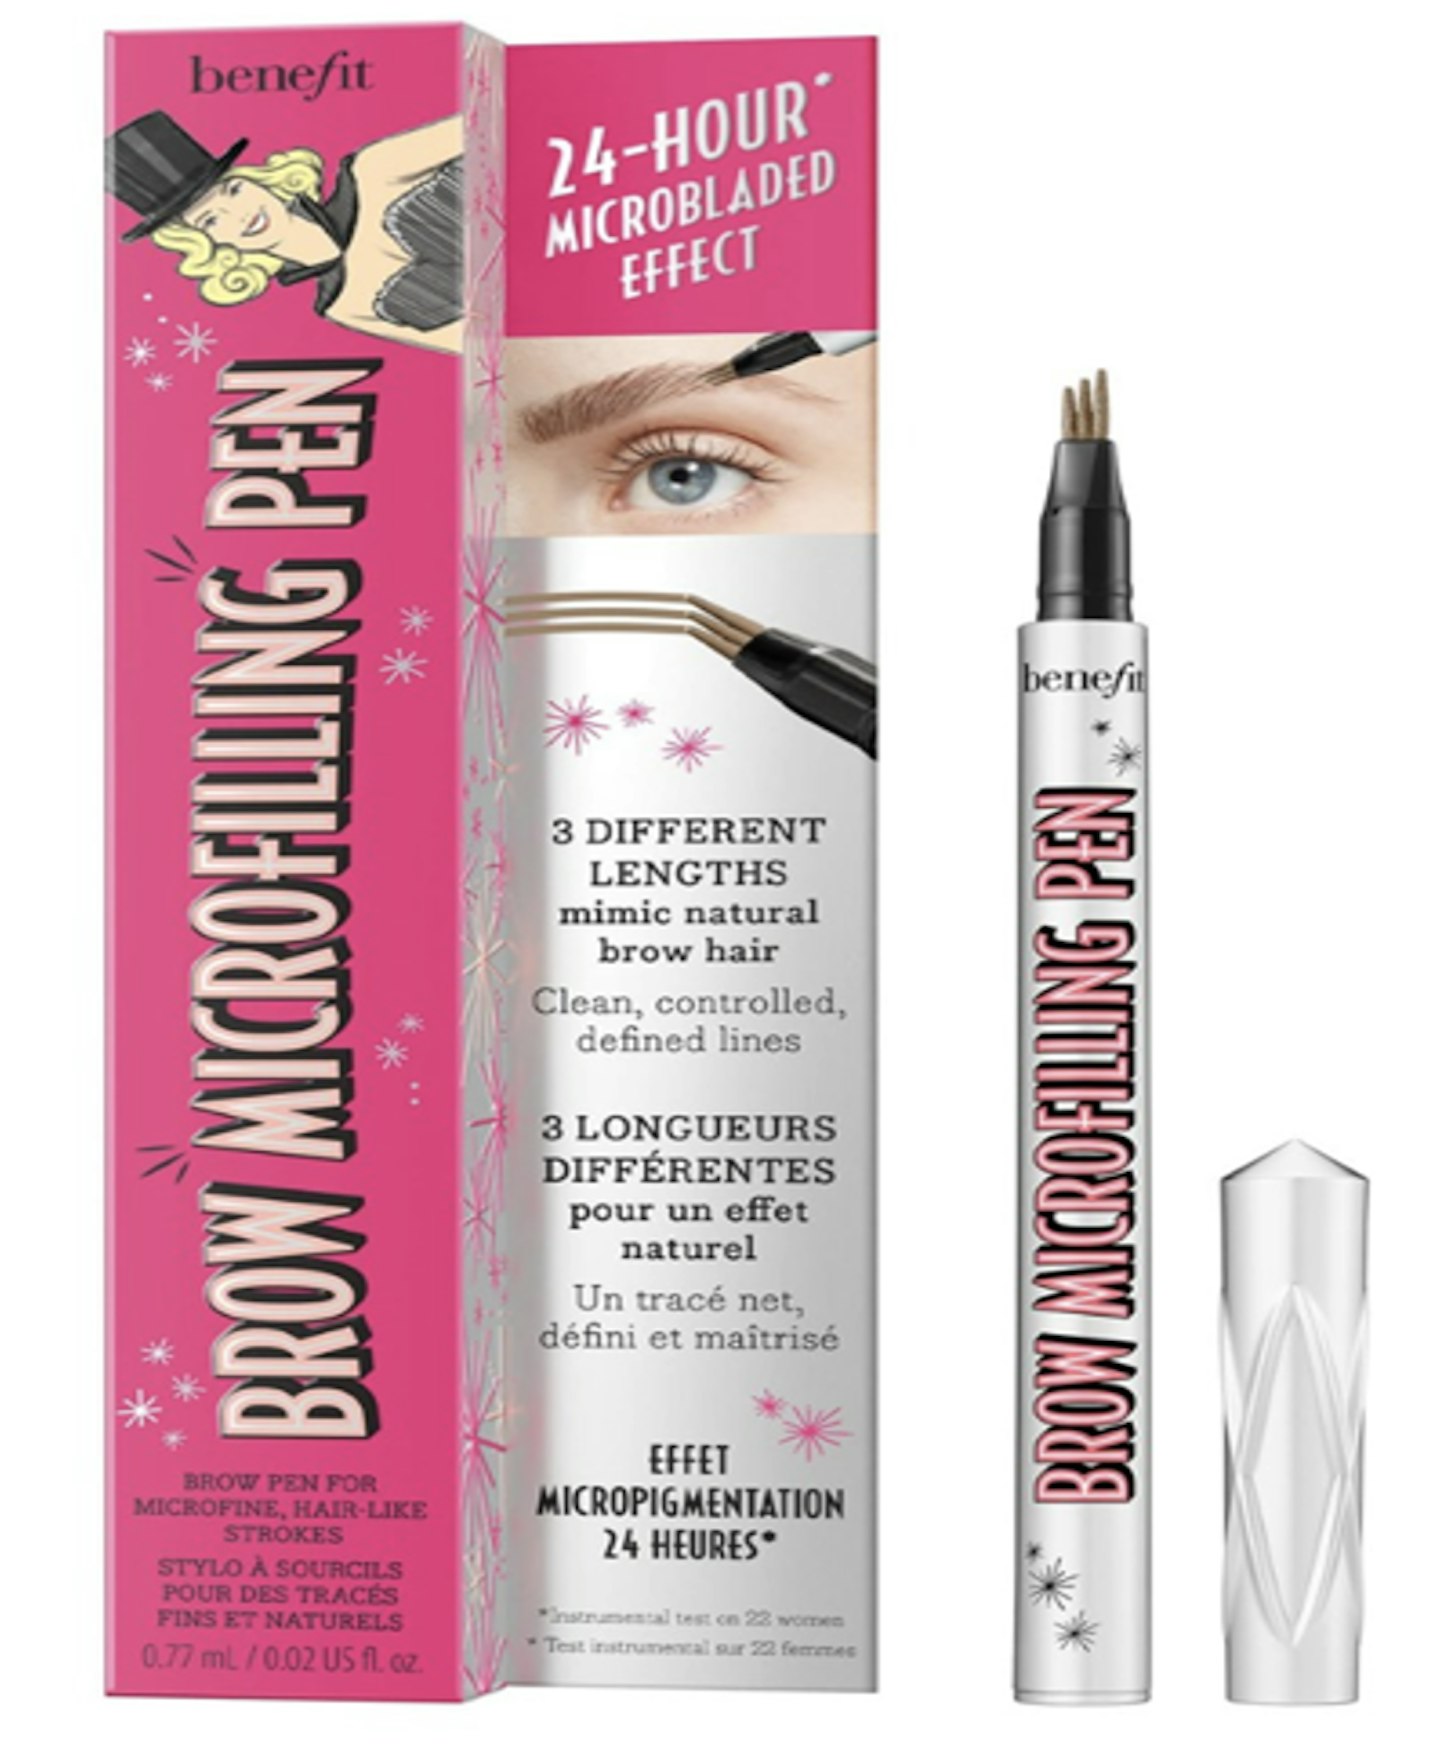
benefitcosmetics.com
Available in several shades, Benefit’s Microfilling brow mimics the effects of microblading thanks to the fine, three-pronged nib. Apply in sharp, deft movements for the best, most natural brow look. This one allows for a nice, inky finish that’s great for anyone with sparse brows,’ says Hogsden. ‘As ever, follow the direction of the hair growth for the most natural finish.’
Highlighting Makes For The Perfect Finish
You’ve put in all the hard work already, so what better excuse to draw attention to your newly perfected brows?
‘Highlighting the brows is the perfect finishing touch to open up the eye space and even add a little more lift to the entire area,’ advises Bailey. ‘You can choose to use a matte or slightly reflective product. Once your brows are filled, apply a light-handed line along the base of the brows with either side of the pencil. Next, use your ring finger to gently pat and blend to soften. Adding this below the brow will create the illusion of a more open eye.
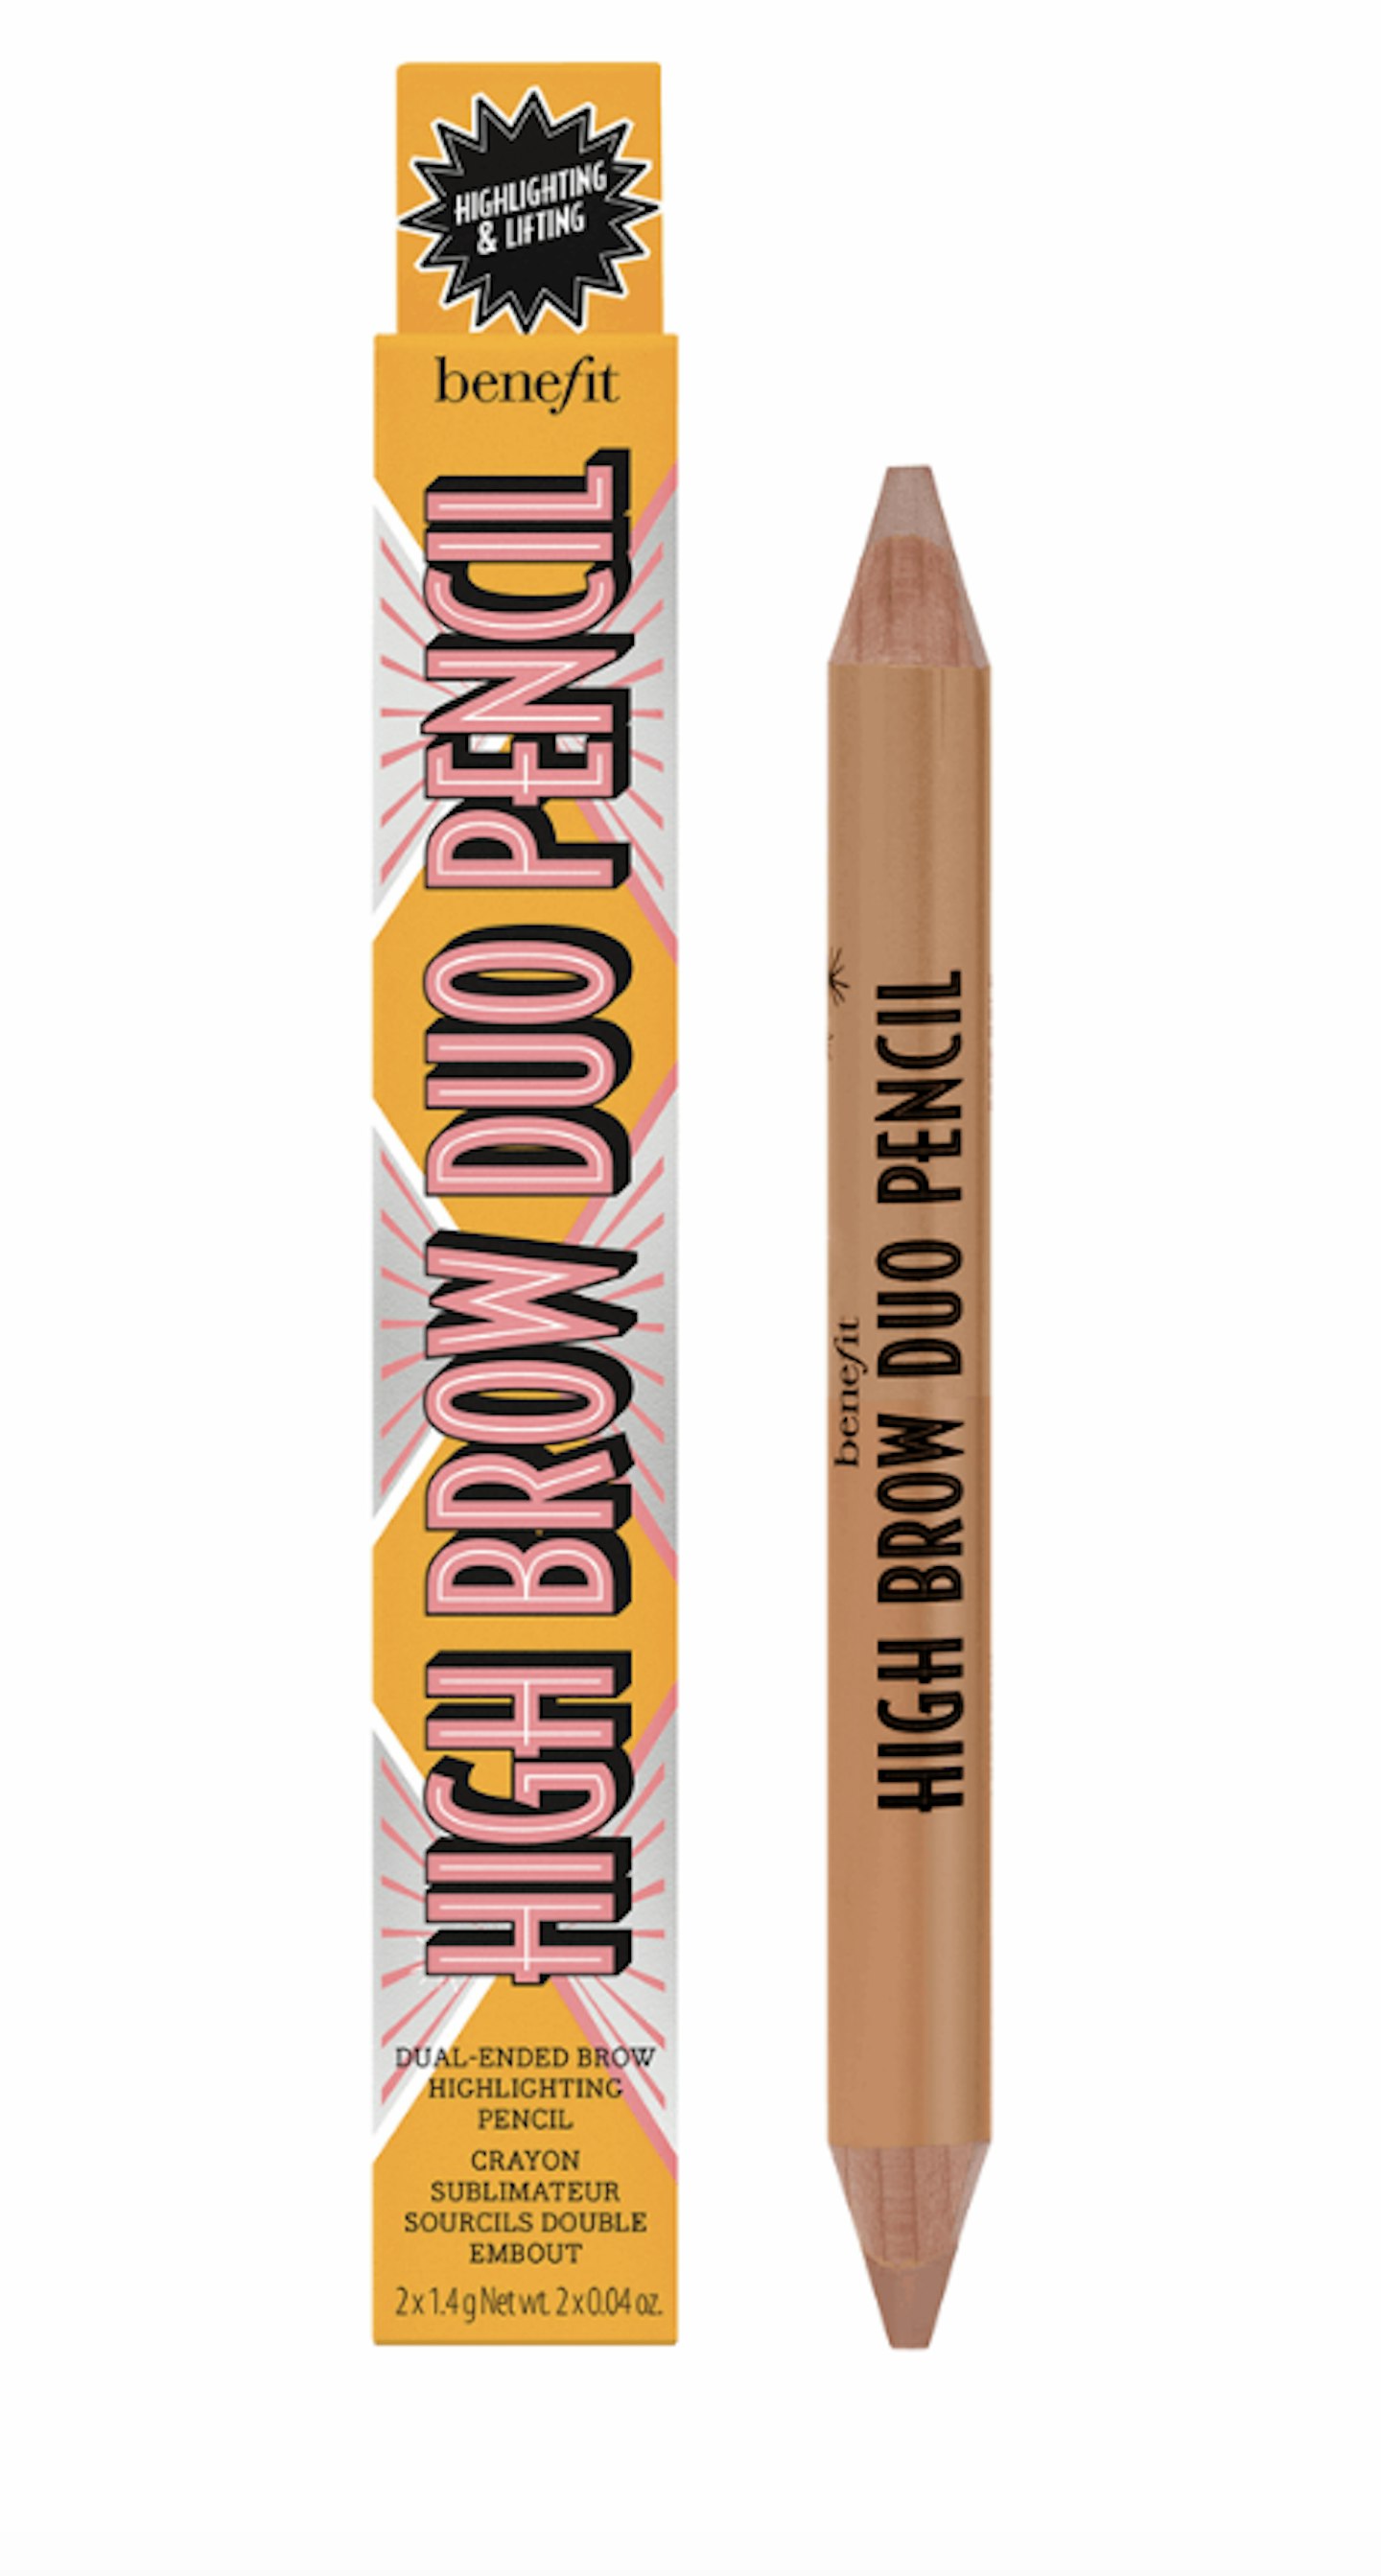
benefitcosmetics.com
Not only is this brow finisher dual-ended (there’s a matte and shimmer pencil) but the formula earns it bonus points – it’s beautifully blendable and never drying. ‘This is really great for adding lift to the brow,’ explains Hogsden. _‘_Place it just under the brow bone but leave a tiny gap so there’s room for blending. You’ll avoid putting product into the brow this way.’
We’ve also got some good news for Grazia readers. We’ve teamed up with Benefit to offer the Benefit everyday brow trio (worth £21) for free when you buy two full-sized brow products, while stocks last. Just enter the code: BROWTRIO at check-out
And the good news continues - Benefit have announce the return of the Bold is Beautiful philanthropy programme, with the brand pledging to donate £5 from every brow wax to its charity partners, Look Good Feel Better, Daisyhouse, and Refuge. Benefit say, 'through our Bold is Beautiful campaign, your wax makes a difference, providing and empowering women and girls through education, mentorship, access to wellness, and financial self- sufficiency.' As if we needed an excuse to book in.
