You’ve had your trusty denim skirt for yonks, but suddenly everyone’s looking swish and 70s with buttons up theirs and you’re like, I need me some of that action. If payday won’t come quick enough for a brand new denim friend, may we suggest a DIY upgrade?
You’ll Need

-
A denim skirt
-
A hammer (failing that, something large and heavy to bang the buttons with, a book perhaps?)

We got our denim skirt for the bargain price of £3 from charity shop Scope - support the cause people! Though not 100% necessary, we bought a skirt one size bigger than our usual, as when you pull the buttons in, it will make the skirt a tiny wee bit smaller.
We promise this is entry level DIY easy friends, don’t be put off by the instructions. You got this...
How to
-
Lay your skirt flat on a surface, and cut close to the seam right up from the bottom to top, past the zip. Ideally, use fabric scissors, but very sharp regular scissors will do.

-
The top button, above the zip, is already secured in place, but we are going to add buttons to match that, all the way down to the hem. Plot out how many buttons you’ll need for the entire skirt, we made our buttons 1 1/2 inches apart. We wanted two buttons in the ‘zip pocket’ area and 5 equally distributed down the skirt. The buttons came in packs of 8, which was perfect for the length of our skirt. If you want to do this on a longer skirt, simply work out how many you’ll need and order a couple of packs or spread them further apart.
-
Measure how far down you want your first button hole, the button holes will go on the left of the skirt, and the buttons on the right.

-
Mark with a biro pen where the button hole should be, and make a small slit (just enough for the button to go through, start small, better to make it bigger than have your button slip through).
-
On the part where the zip is, you will have to cut through a few layers of fabric, when you get through the denim, line up the right hand side piece of fabric about two inches under the left-hand side of the skirt.

-
Make a mark with your biro pen, through the slit you just made, that will tell you where to place your button.

-
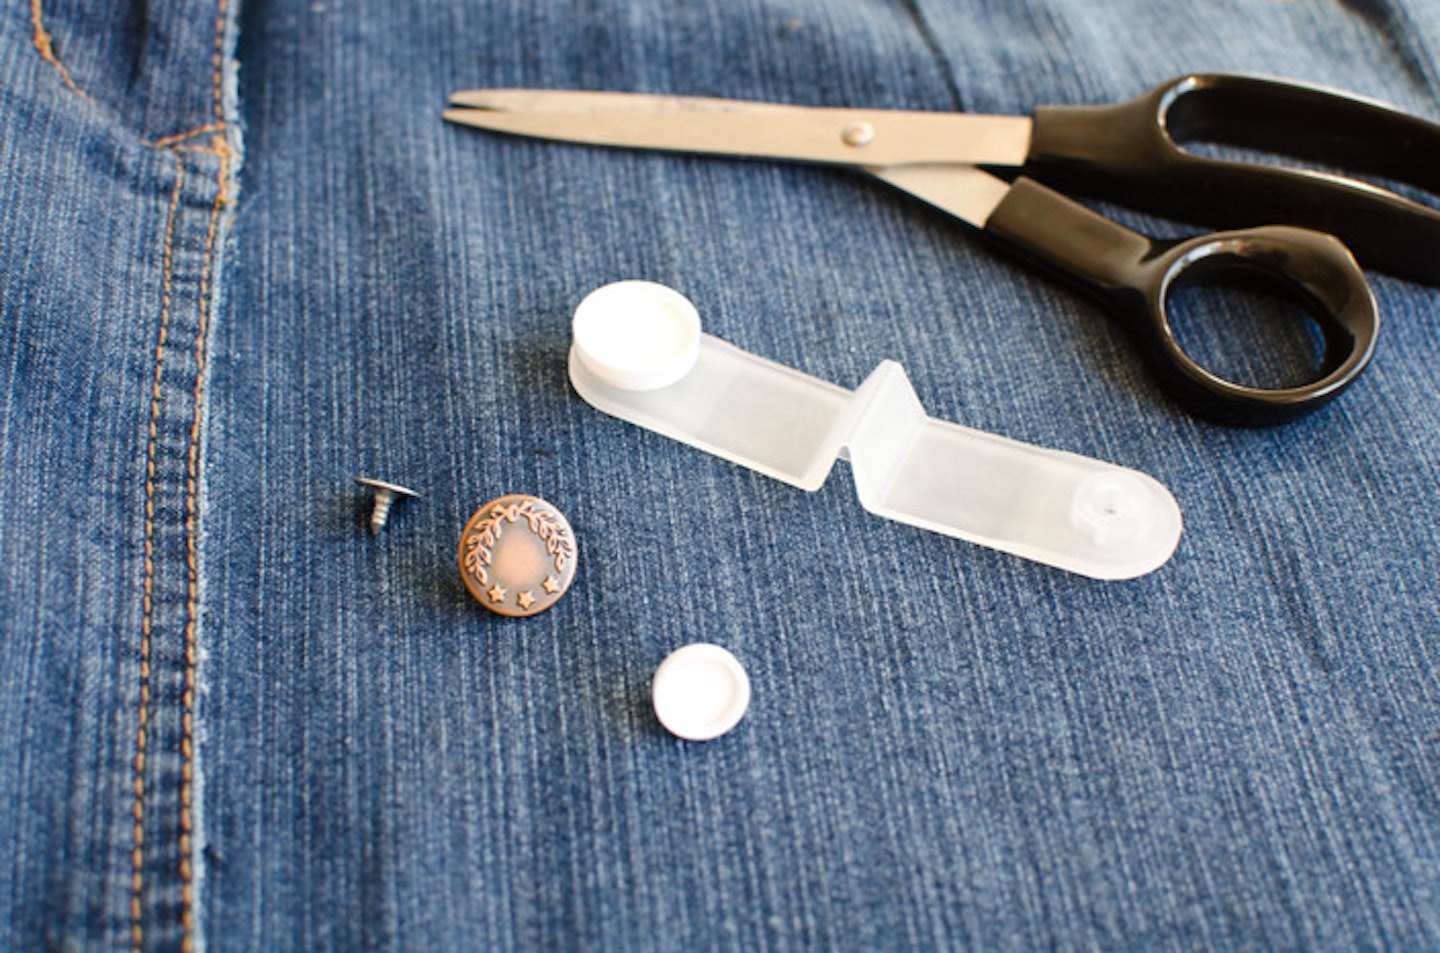
Follow the instructions that come with your chosen buttons, ours had a snap device with it. You add the button to one side, the silver screw to the other, and placing button on your mark, press, then tap lightly with a hammer to secure. When you remove the snapper, the button will be in place.

-
You’re ready to make your next button hole on the left, and continue this all down your skirt!
You’re done! Button it up and wear with a cool stripe tee.

**Like this? Then you may be interested in: **
Follow Jenny on Twitter @JennyBrownlees
This article originally appeared on The Debrief.
