With the changing of the seasons, logic dictates you shield yourself from bitter winds with cashmere scarves and duvet coats, but your beauty routine requires the same consideration. Sure, layering is a concept to get behind all year round, but winter, with the havoc it wreaks on your skin, is the perfect time to hone a skincare wardrobe that you can tweak and take through to spring.
‘Layering skincare lets you craft the most appropriate regime for your skin and allows you to adapt it as your requirements change,’ says Dr Virginia Hubbard, a consultant dermatologist.
And while a multi-step regime was perhaps once the preserve of ahead-of-the- curve Korean beauty buffs, increasingly savvy consumer habits means we are becoming more experimental with the products we use and how we apply them. 'Expert advice is increasingly accessible and dermatologists are getting involved in mainstream beauty, which means high-quality scientific research is being shared more widely,’ says cosmetic dermatologist Dr Sam Bunting. But, she advises, don’t get layer-happy for the sake of it. You’ll avoid pitfalls and reap the most benefit by learning from the pros: ‘There’s always the potential for irritancy when you start using active products like retinoids, and too many of the wrong layers can be counter-productive, leading to dull, congested skin.'
Not sure what to use and when? Don’t panic. ‘The general rule for layering is from thin (eg, toner, serum) to thicker (moisturiser, oil),’ says Dr. Hubbard. Cut out and keep our skincare cheat sheet and master the art of layering, fast.
.jpg?auto=format&w=1440&q=80)
Step One: Cleanser
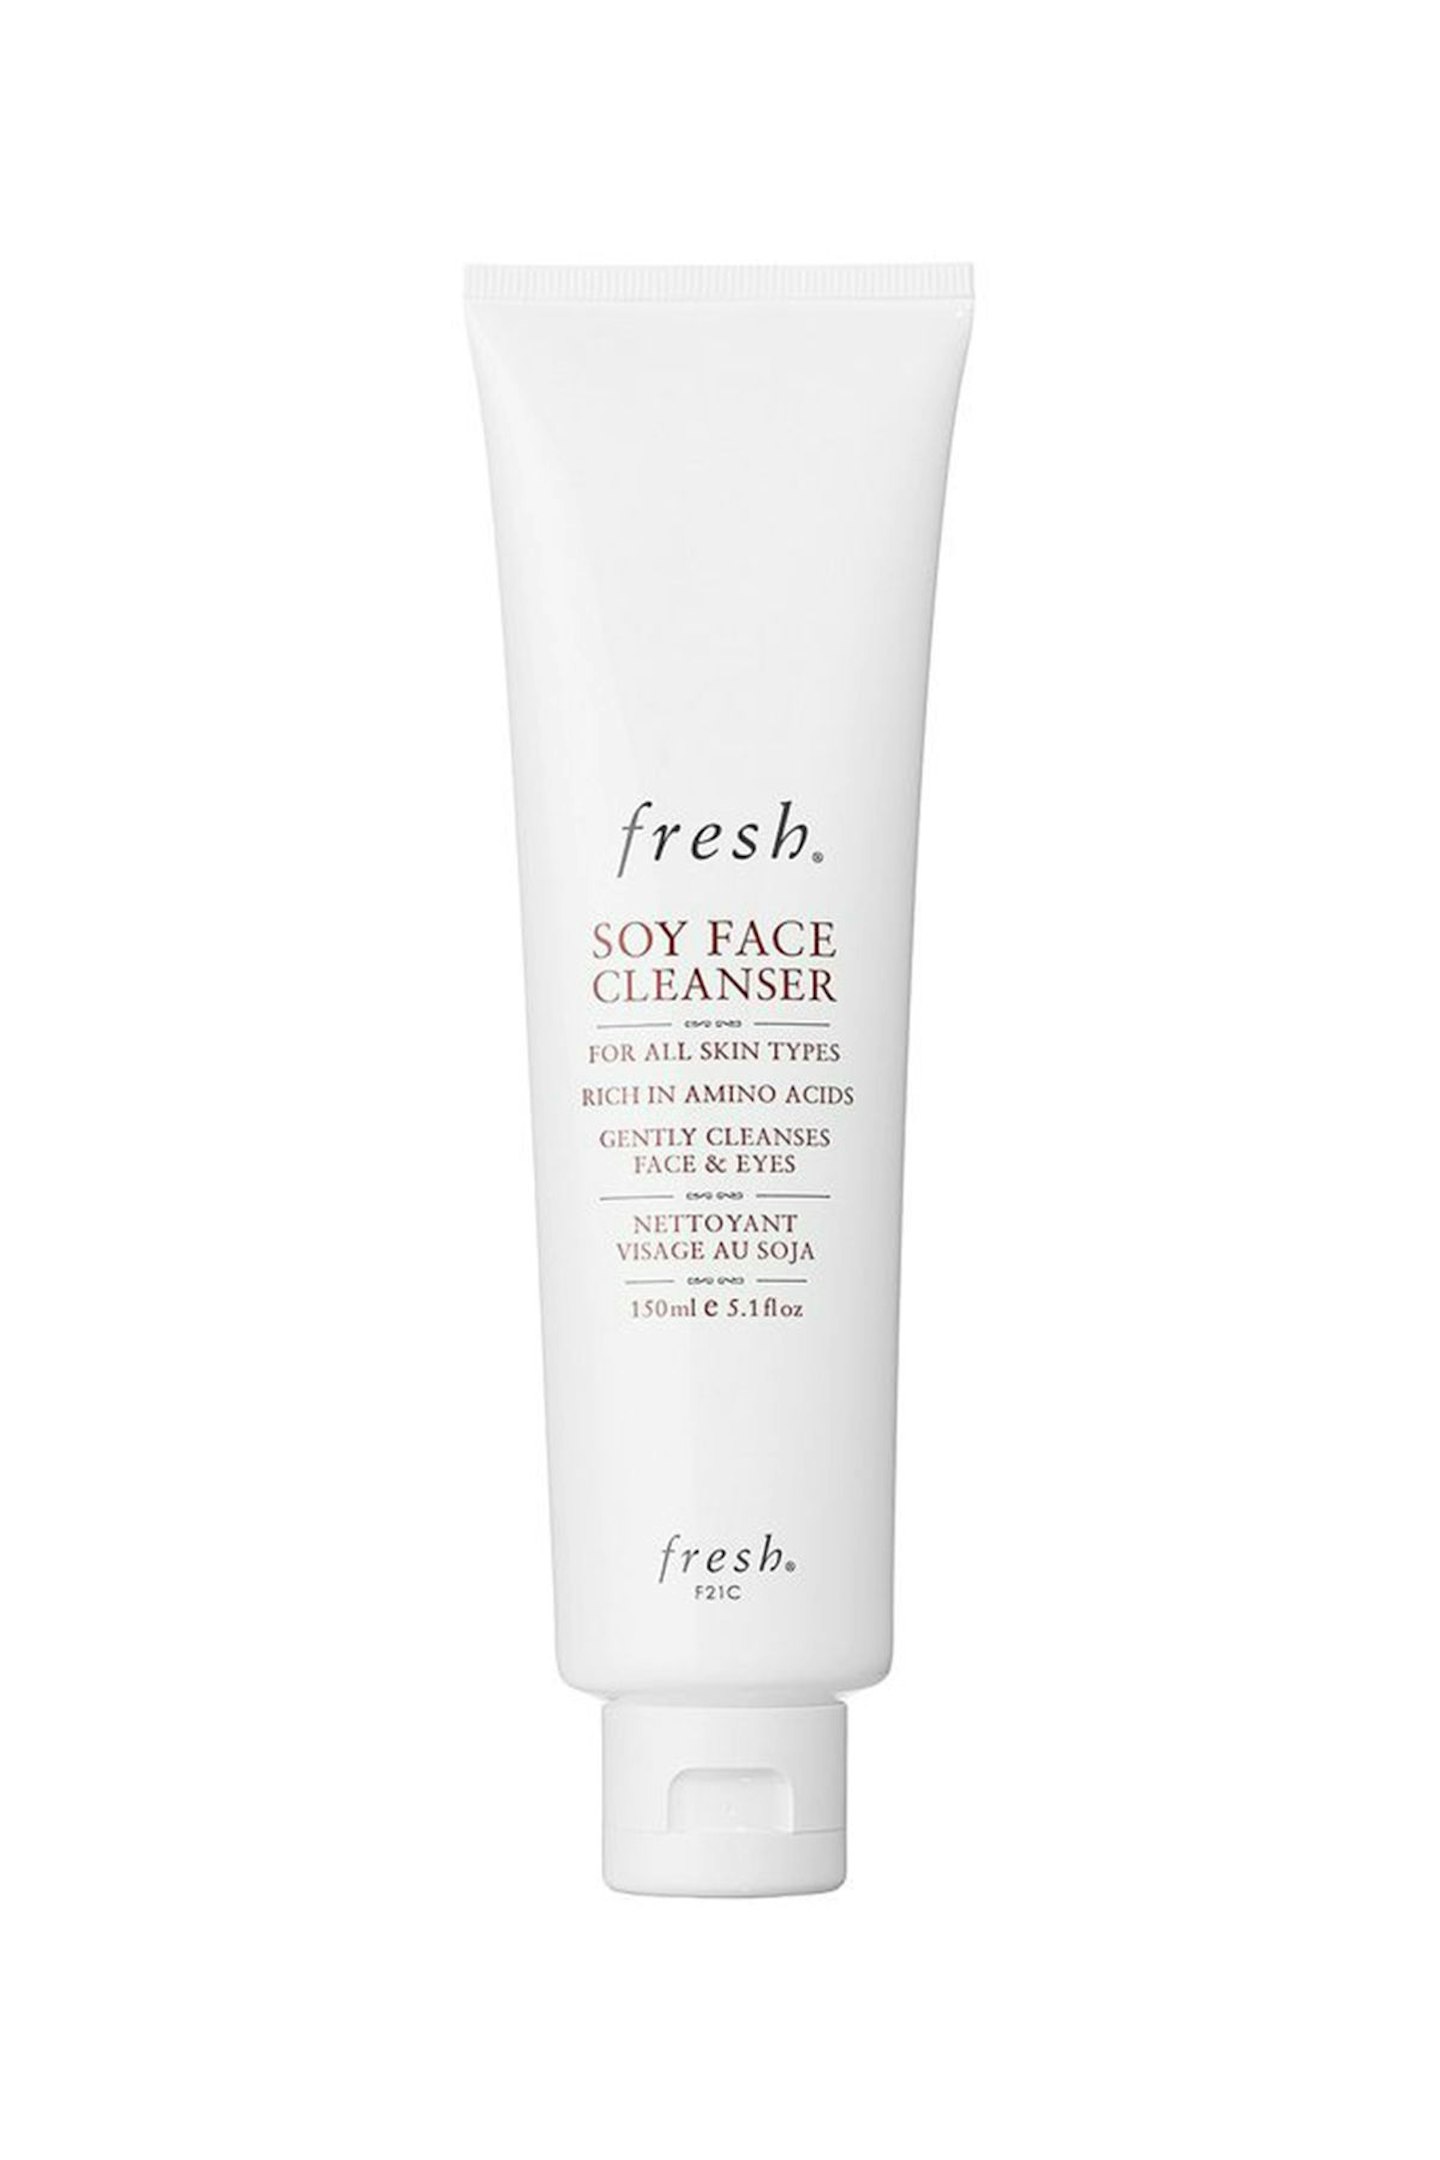
The first thing that should hit your skin, a cleanser removes make-up, dirt and impurities, leaving it ready to receive whatever you apply afterwards. The texture is up to you – dry skin may crave unctuous balms, while oily skin may prefer a lighter milk – but aim for one long, thorough cleanse morning and evening.
Step Two: Exfoliate (1-2 Times per Week)
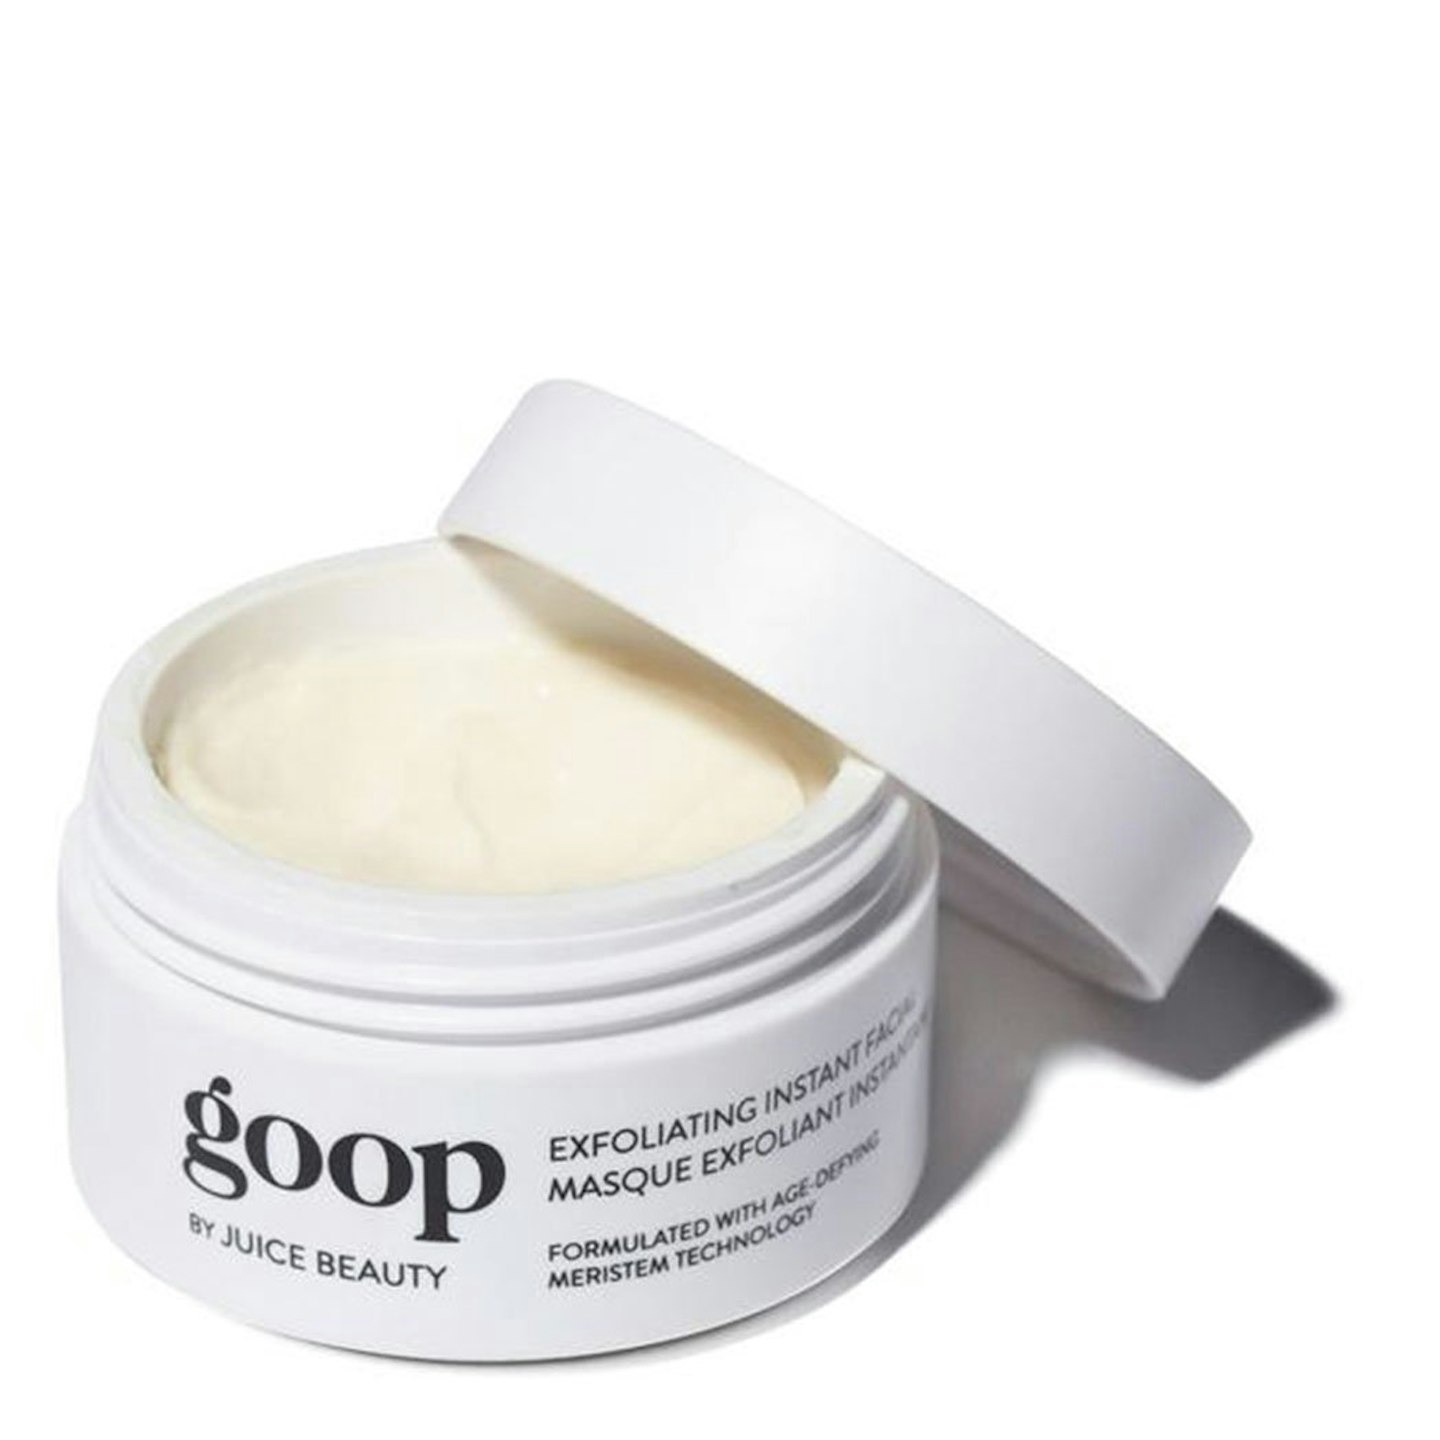
Aim to exfoliate your skin once or twice a week to remove the build-up of dead skin cells and keep healthy cell renewal on track. Diligent application will also mean products applied afterwards will have a greater effect, so it’s a win-win.
Step Three: Toner
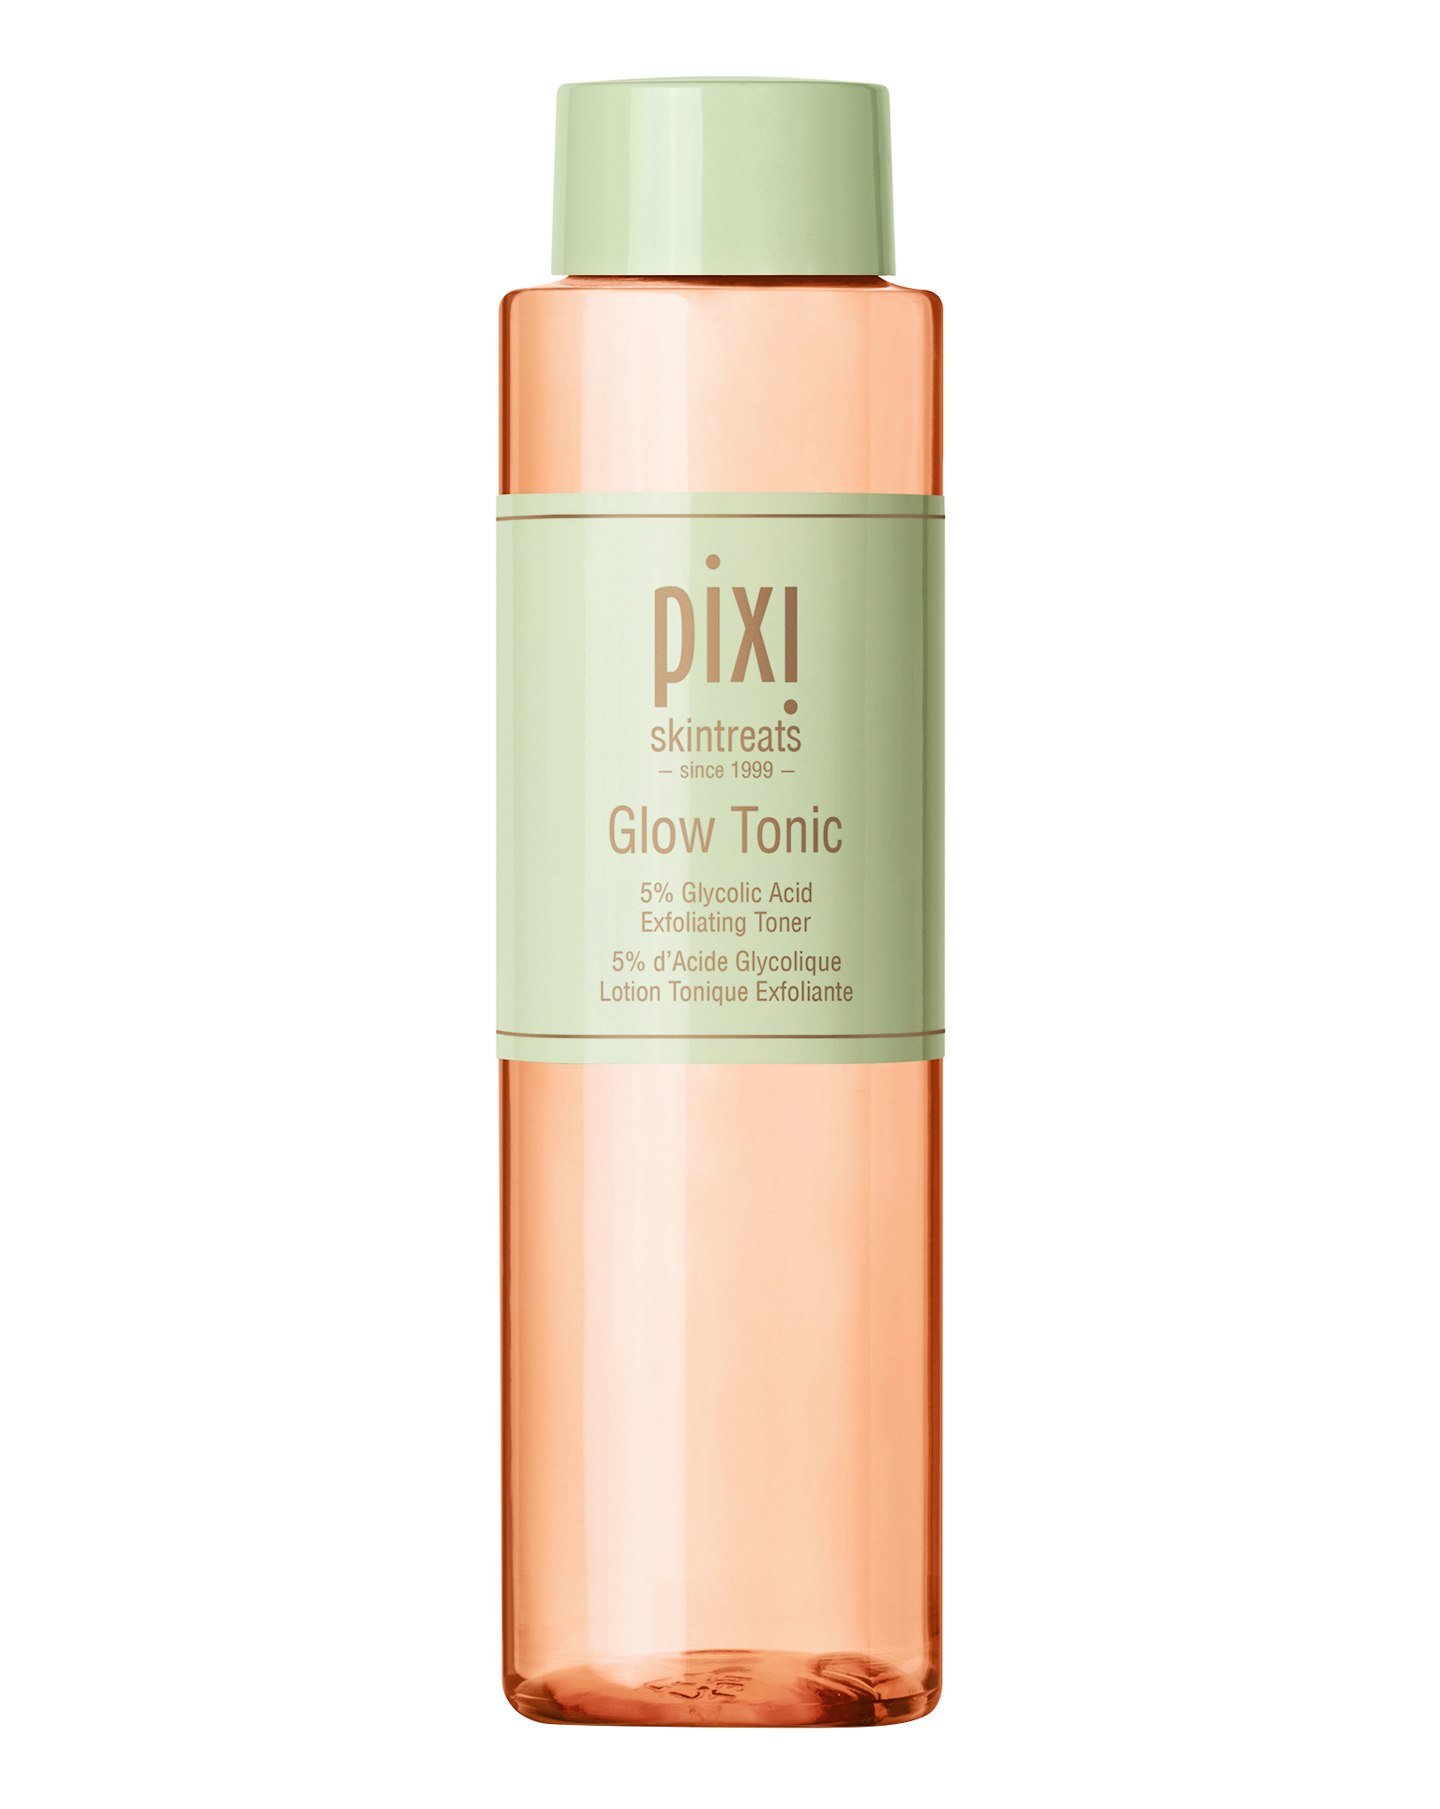
Although not strictly a necessity, a toner can effectively enhance the skin’s surface, whether that's through hydration or gentle refinement. If you’re looking for better clarity, you can’t beat one packed with AHAs (enzymes that gently exfoliate the top layer), while moisturising ingredients such as aloe vera hydrate thirsty skin. Make sure to not over do it on the AHAs if you've just exfoliated with a scrub previously though!
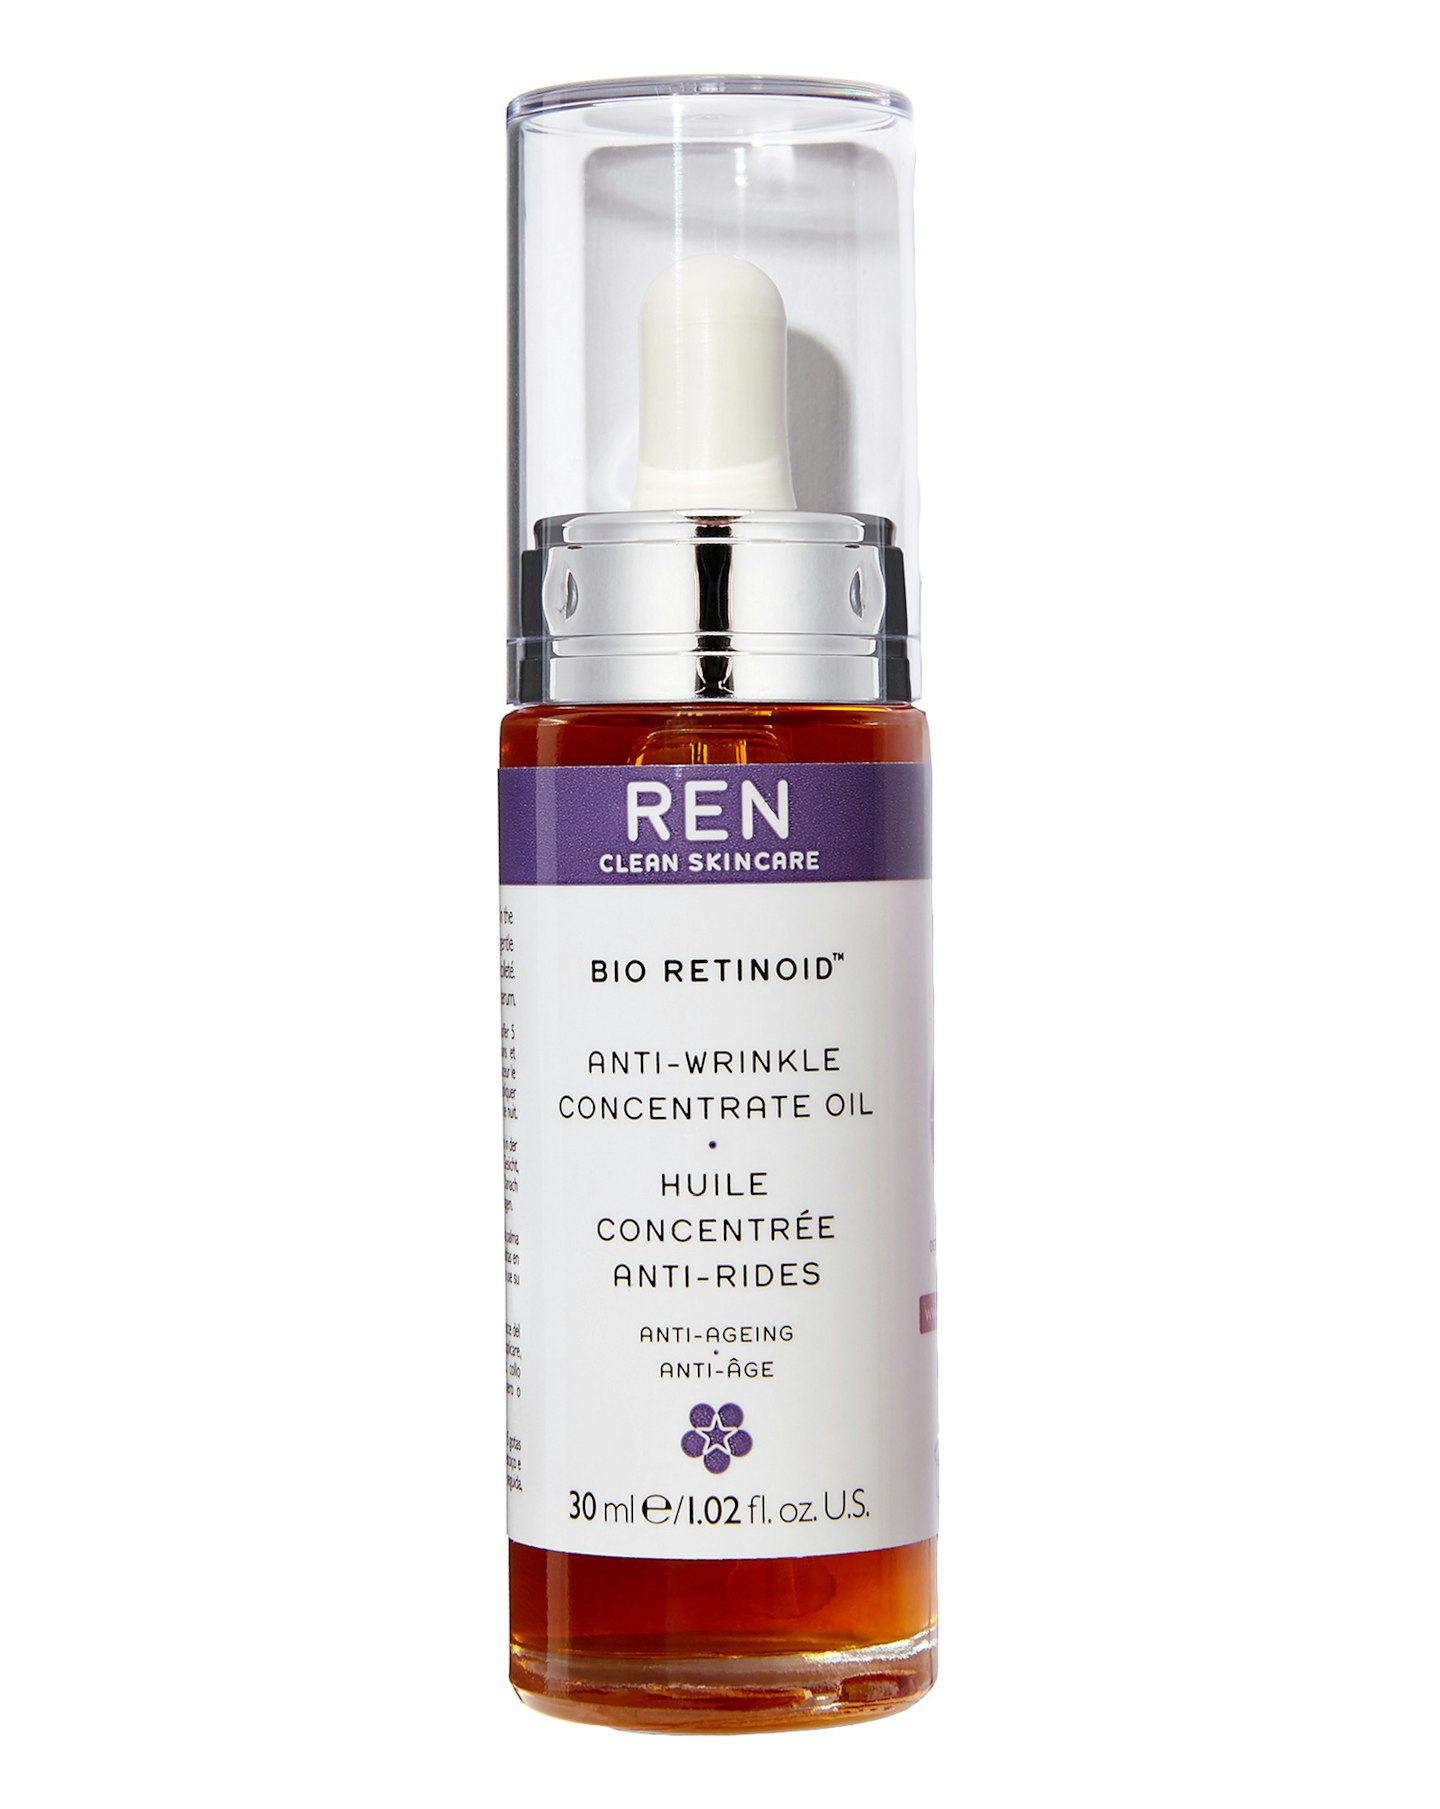
Step Four: Retinoids (PM Only)
If you’re over 25 and not using a retinoid (a derivative of vitamin A), it’s time to reconsider. A transformational ingredient proven to seriously reduce the signs of ageing; it’s a skincare powerhouse. Be sure to only carry out this step in the evening however, as UV exposure can break down retinoids, rendering them ineffective. Sensitive skin? Use retinoids sparingly at first as throwing your skin into the deep end could cause potential irritation.
Step Five: Antioxidant (AM Only)
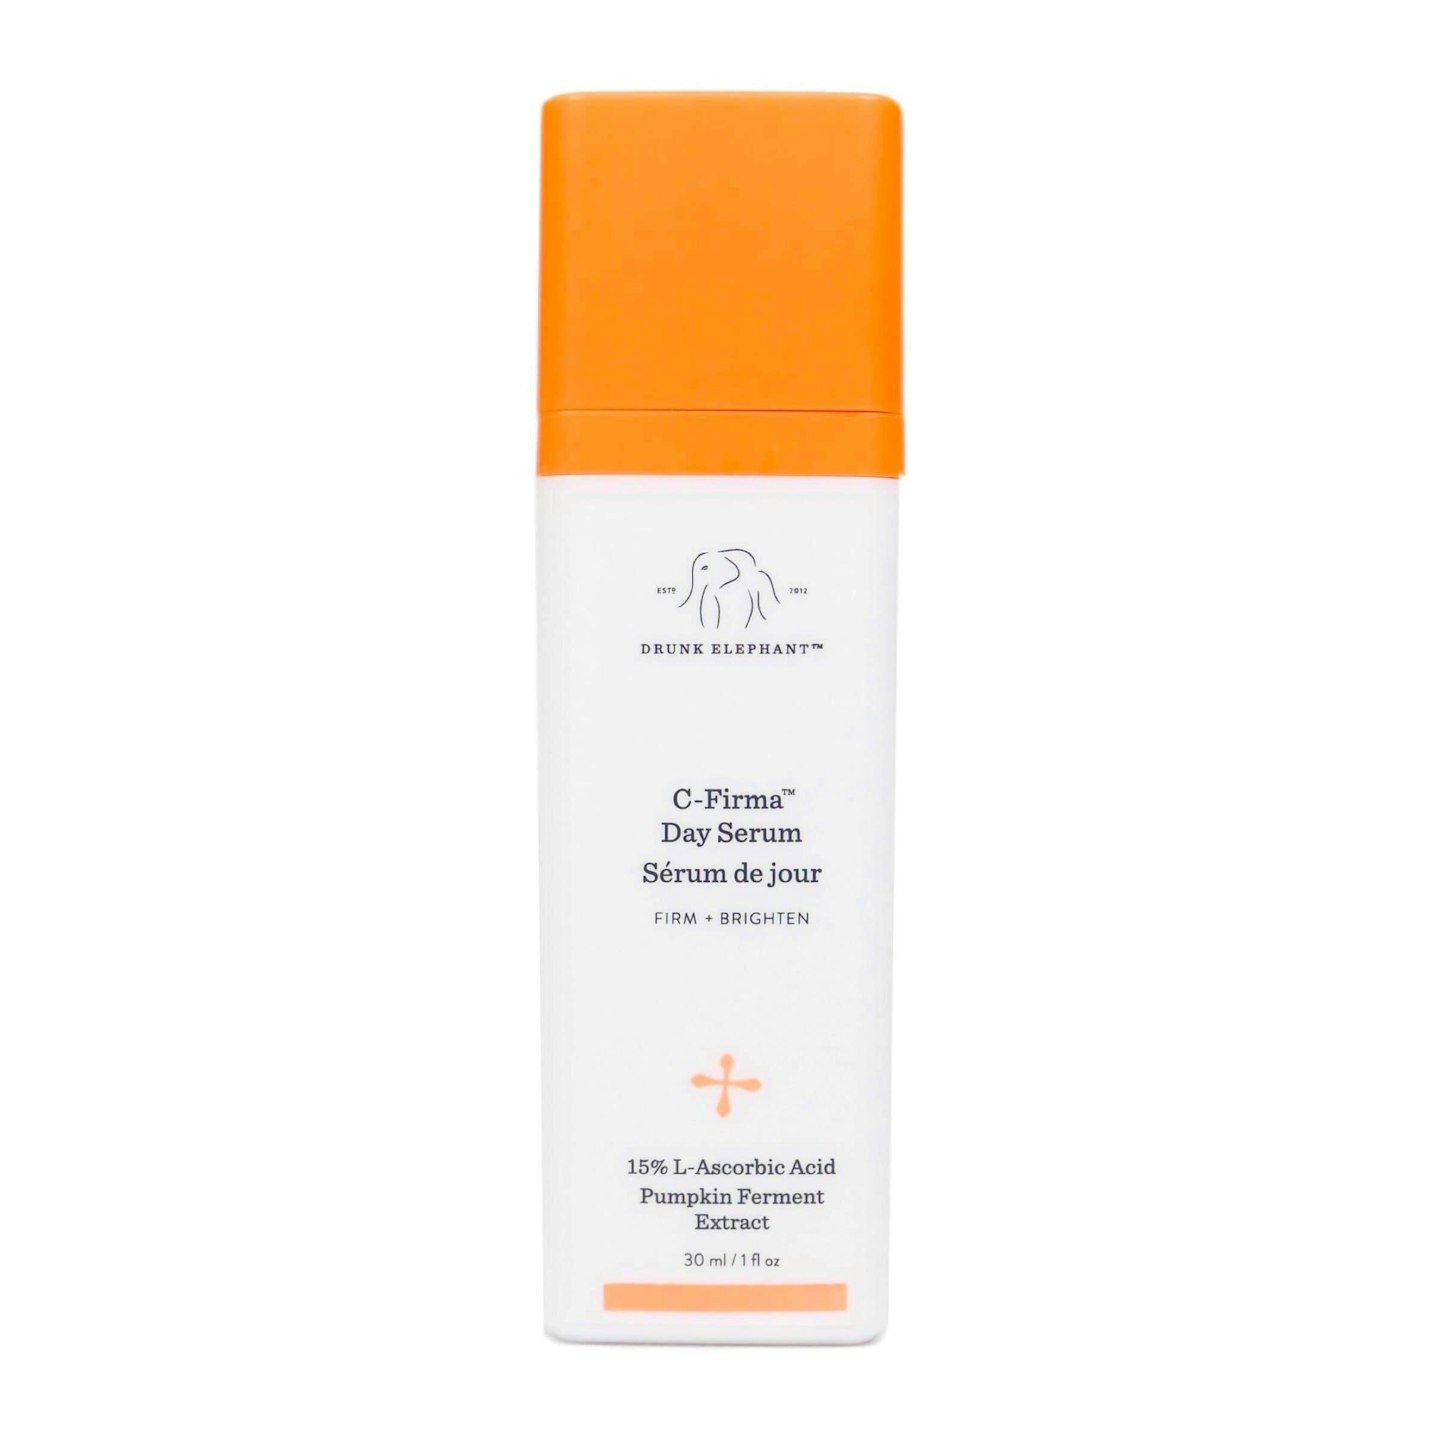
Loved by pros for its ability to mop up damaging free radicals, an anti-ageing megastar like vitamin C (ascorbic or L-ascorbic acid is the derivative most widely used), should be incorporated in every skin routine. For optimal results, use a percentage upwards of 0.06%. Apply straight after cleansing and toning to ensure maximum absorption. An important thing to note: don’t use vitamin C at the same time as retinoids as they can cancel each other out; defeating the object entirely.
Step Six: Serum
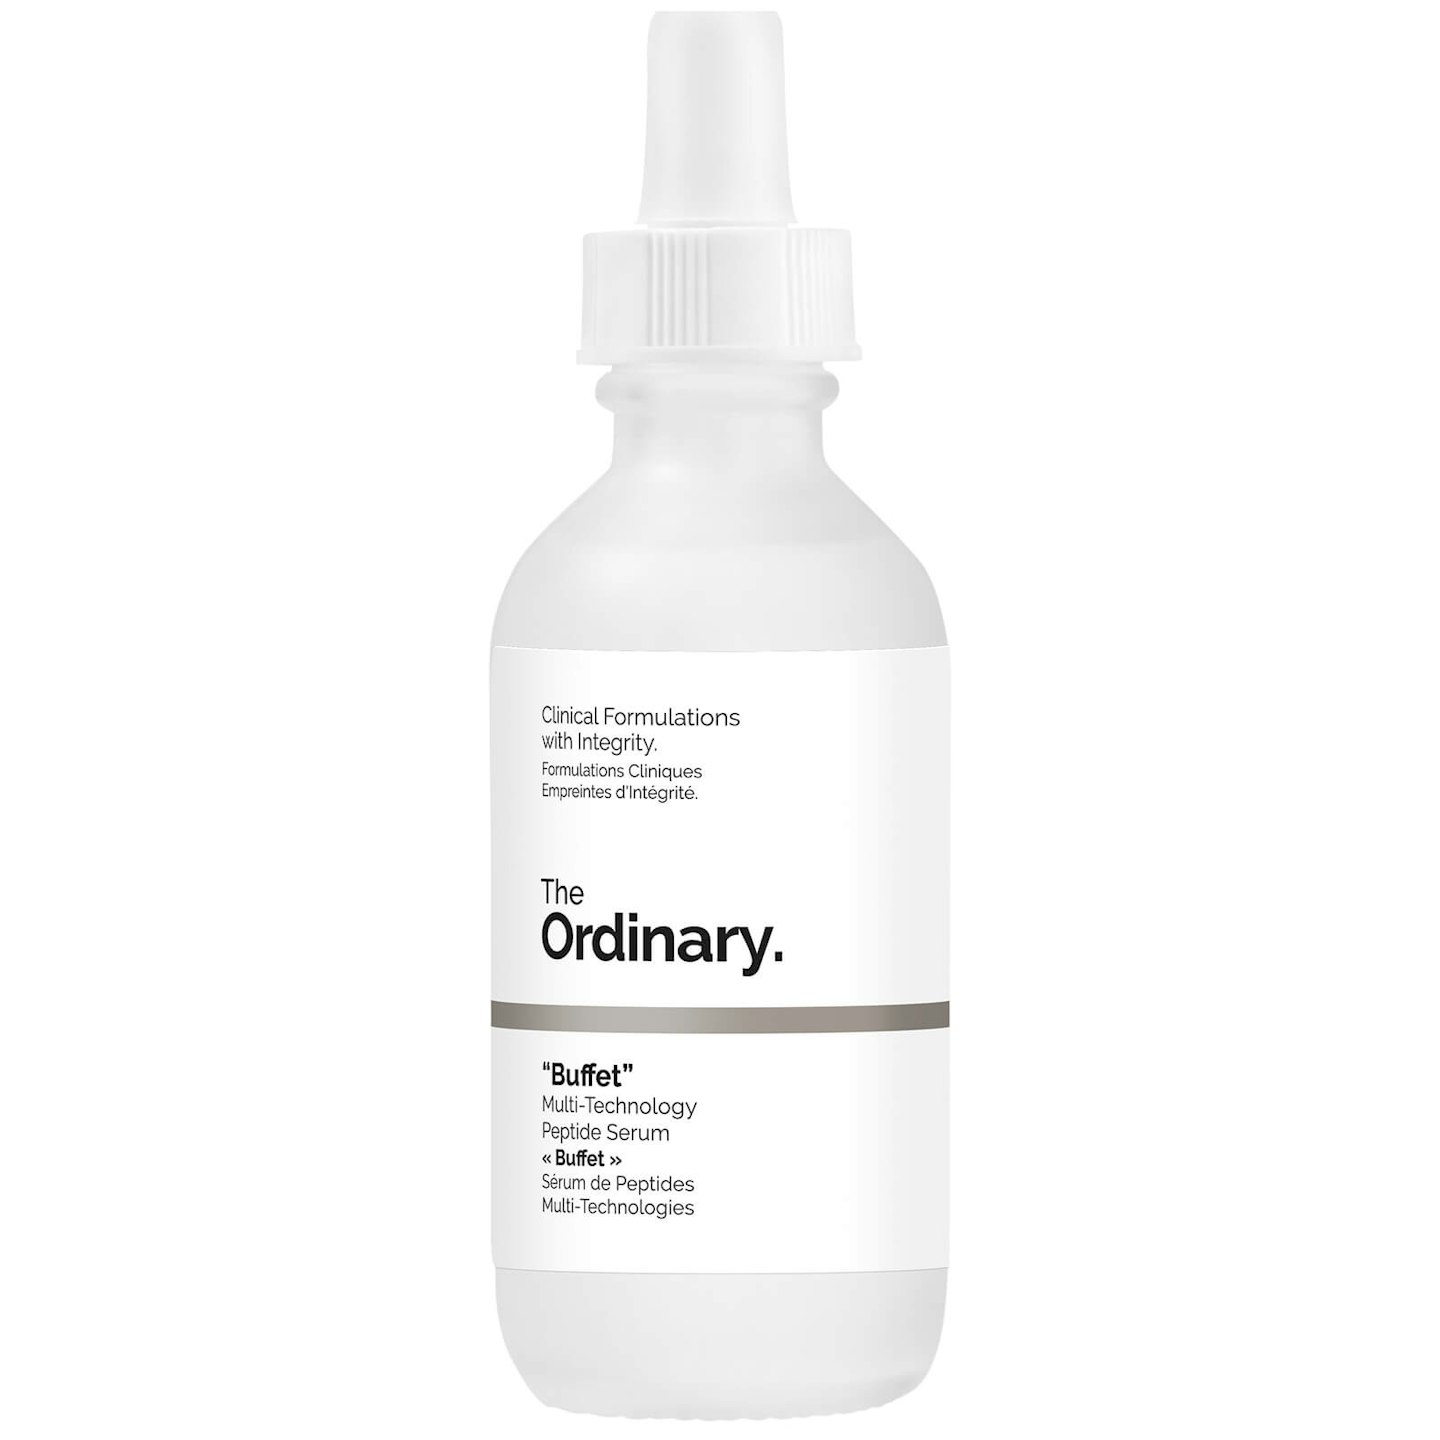
Packed with potent active ingredients and made up of small molecules that can penetrate deep into the skin, serums deliver targeted results. Hyaluronic acid is great for dehydrated skin as it can hold a thousand times its own weight in water. Apply pre-moisturiser to slightly damp skin to increase product performance and penetration.
Step Seven: Day Cream/Night Cream (AM/PM)
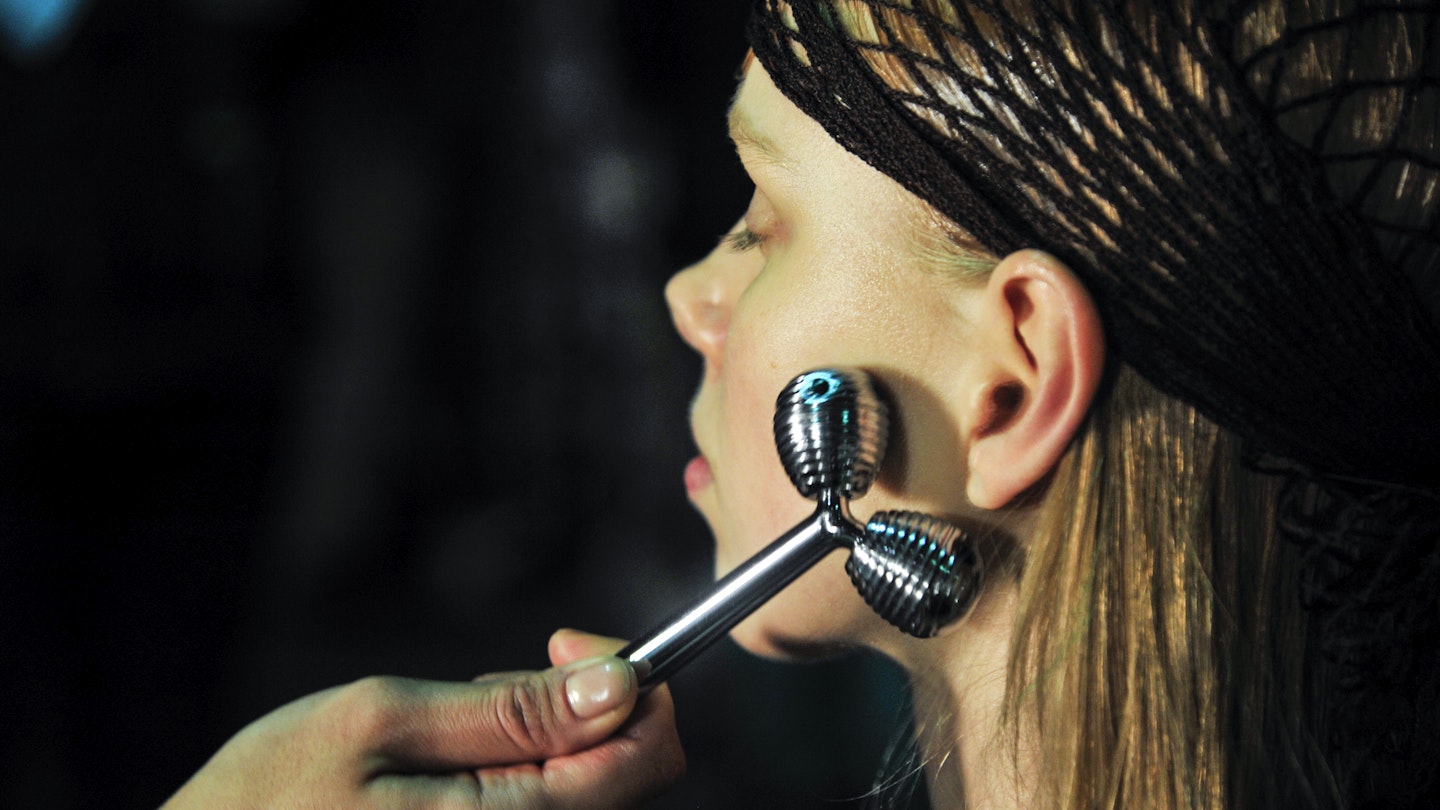
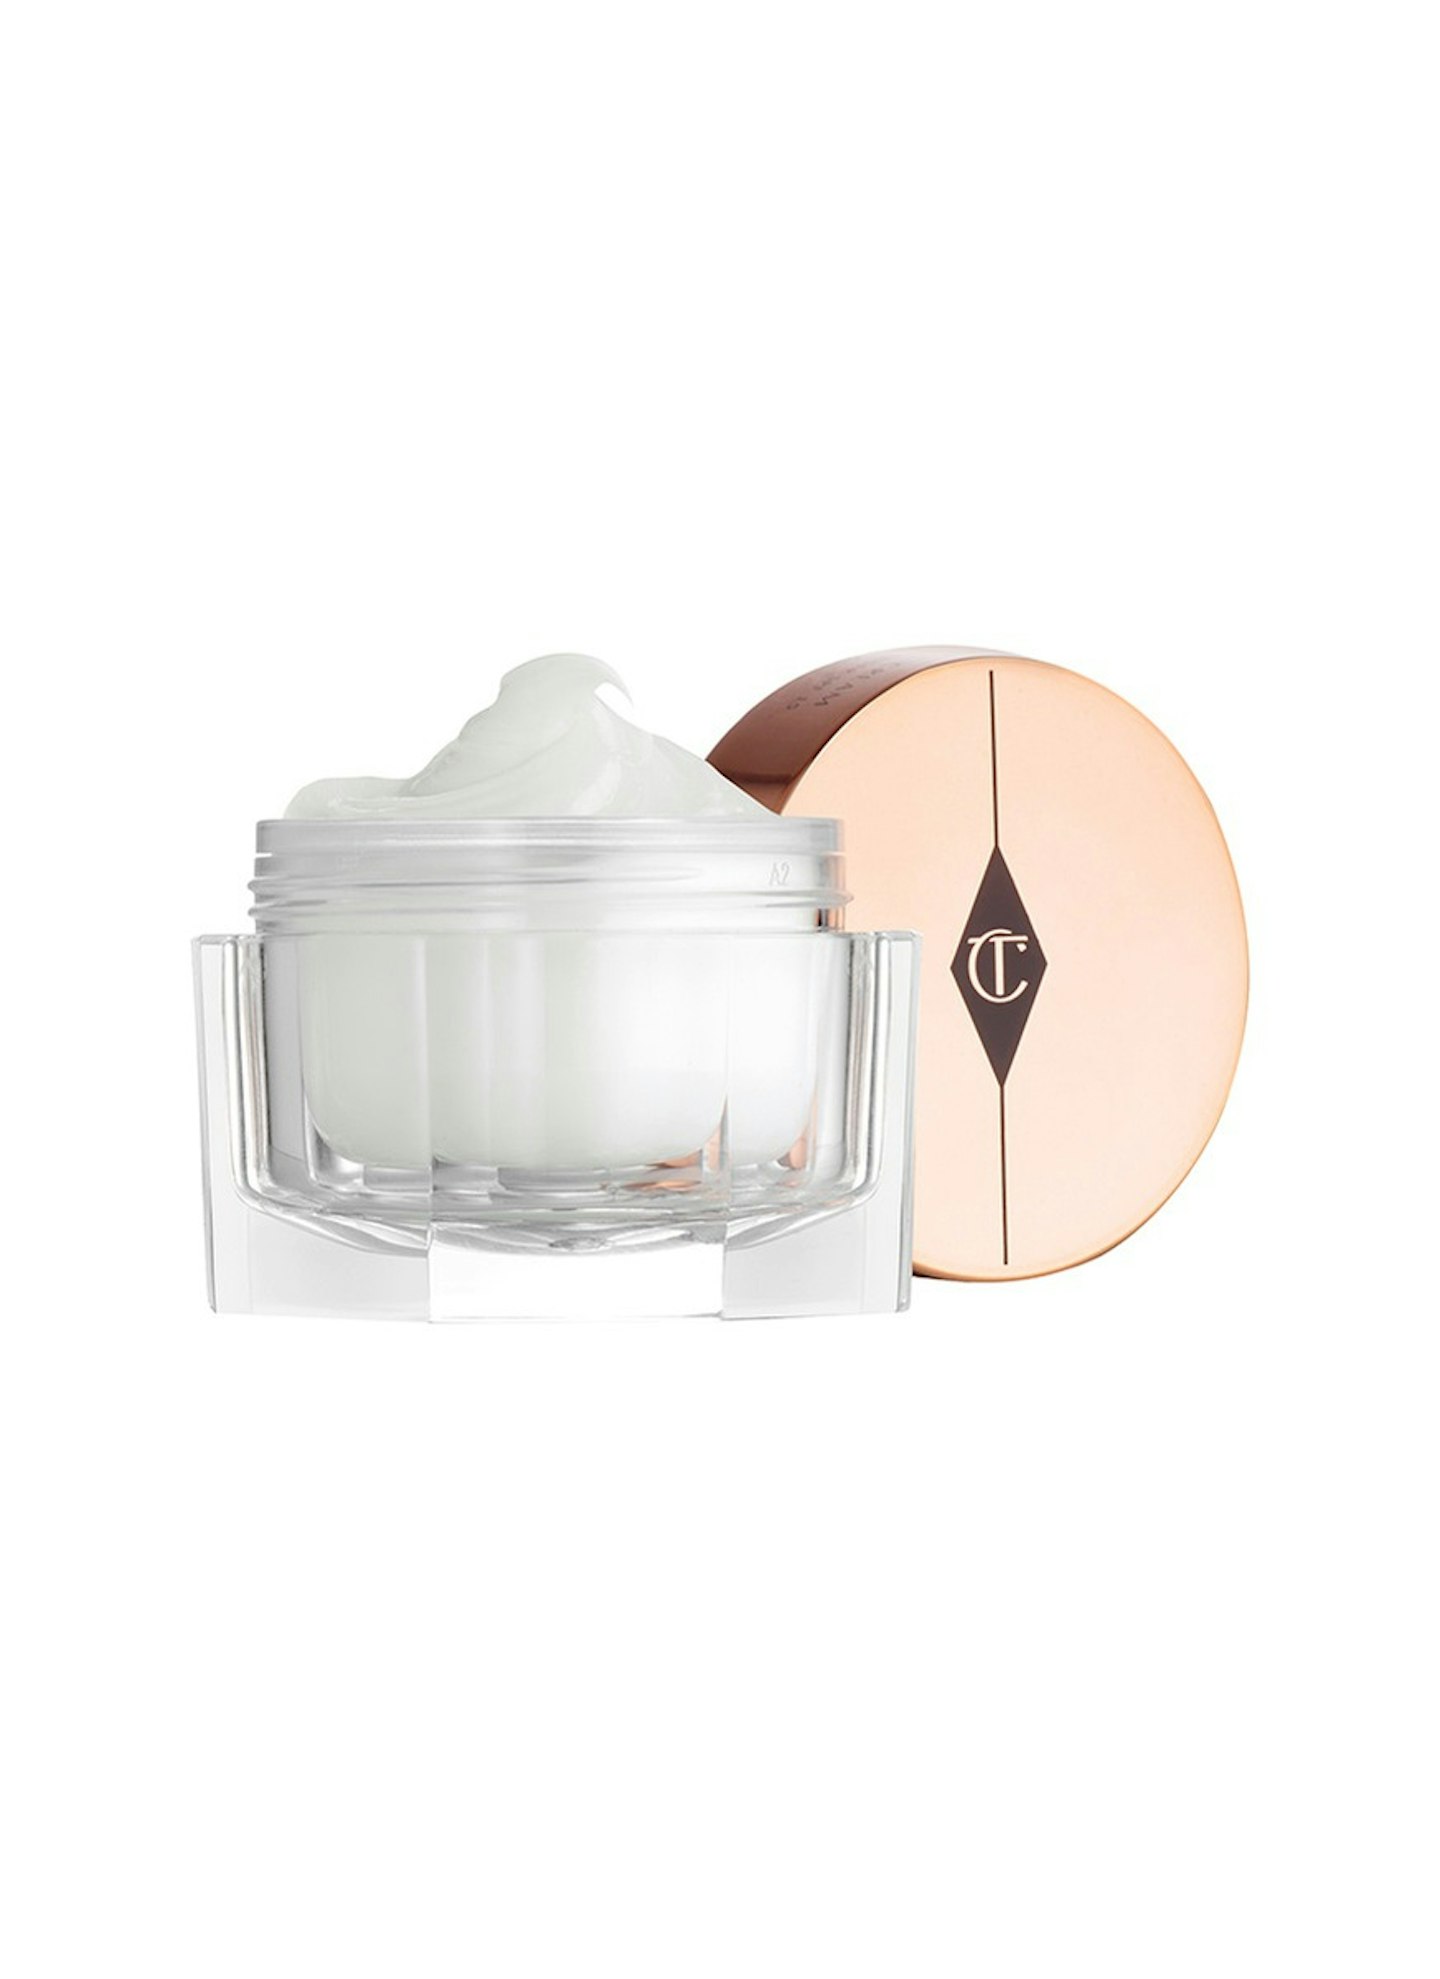
There’s nothing more important than moisturiser for locking in goodness and preventing moisture from evaporating. Take the time to massage it in as a little DIY lymphatic drainage should boost the circulation of bloody and keep skin glowing.
Step Eight: Eye Cream
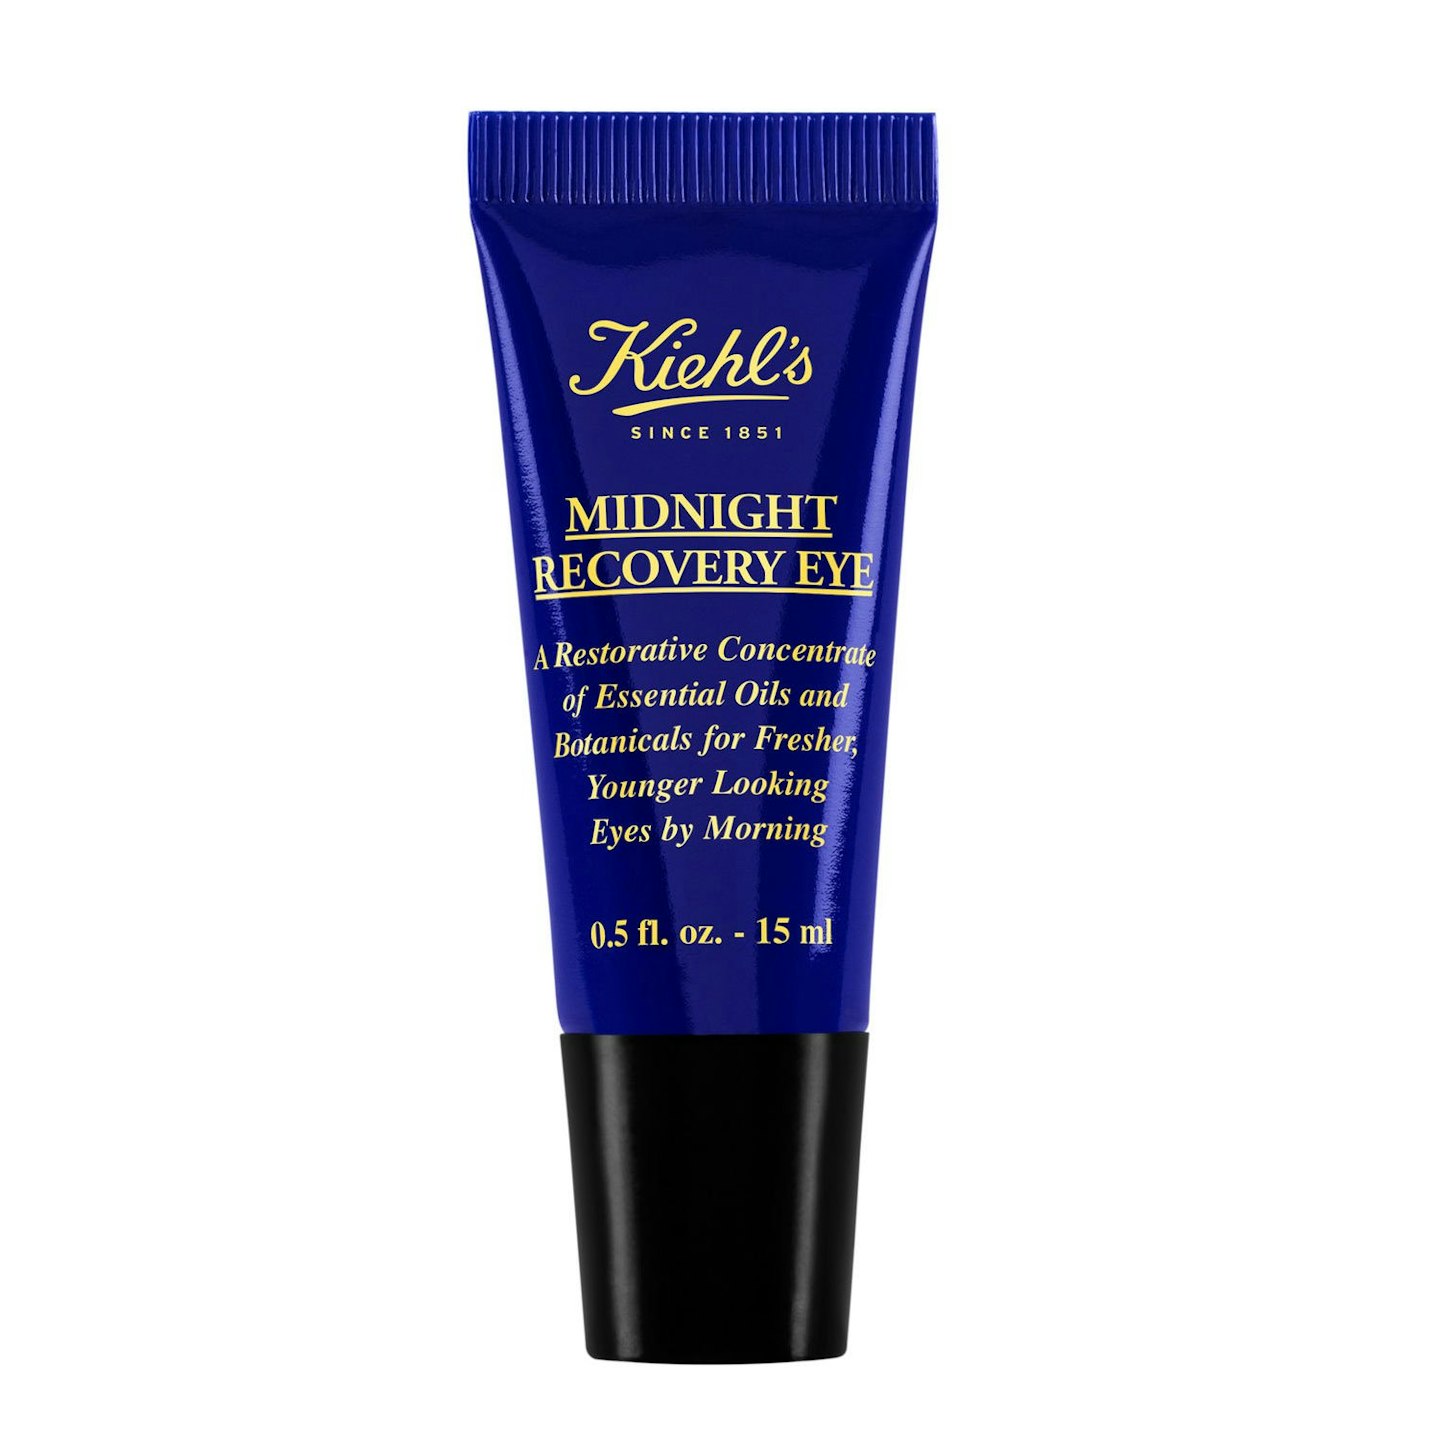
A specialist eye cream is a good idea as most face creams will be too heavy and harsh for this delicate area. To reduce puffiness, look for options containing caffeine, while vitamin K can help counteract dark circles. Press on gently and lightly with your ring finger.
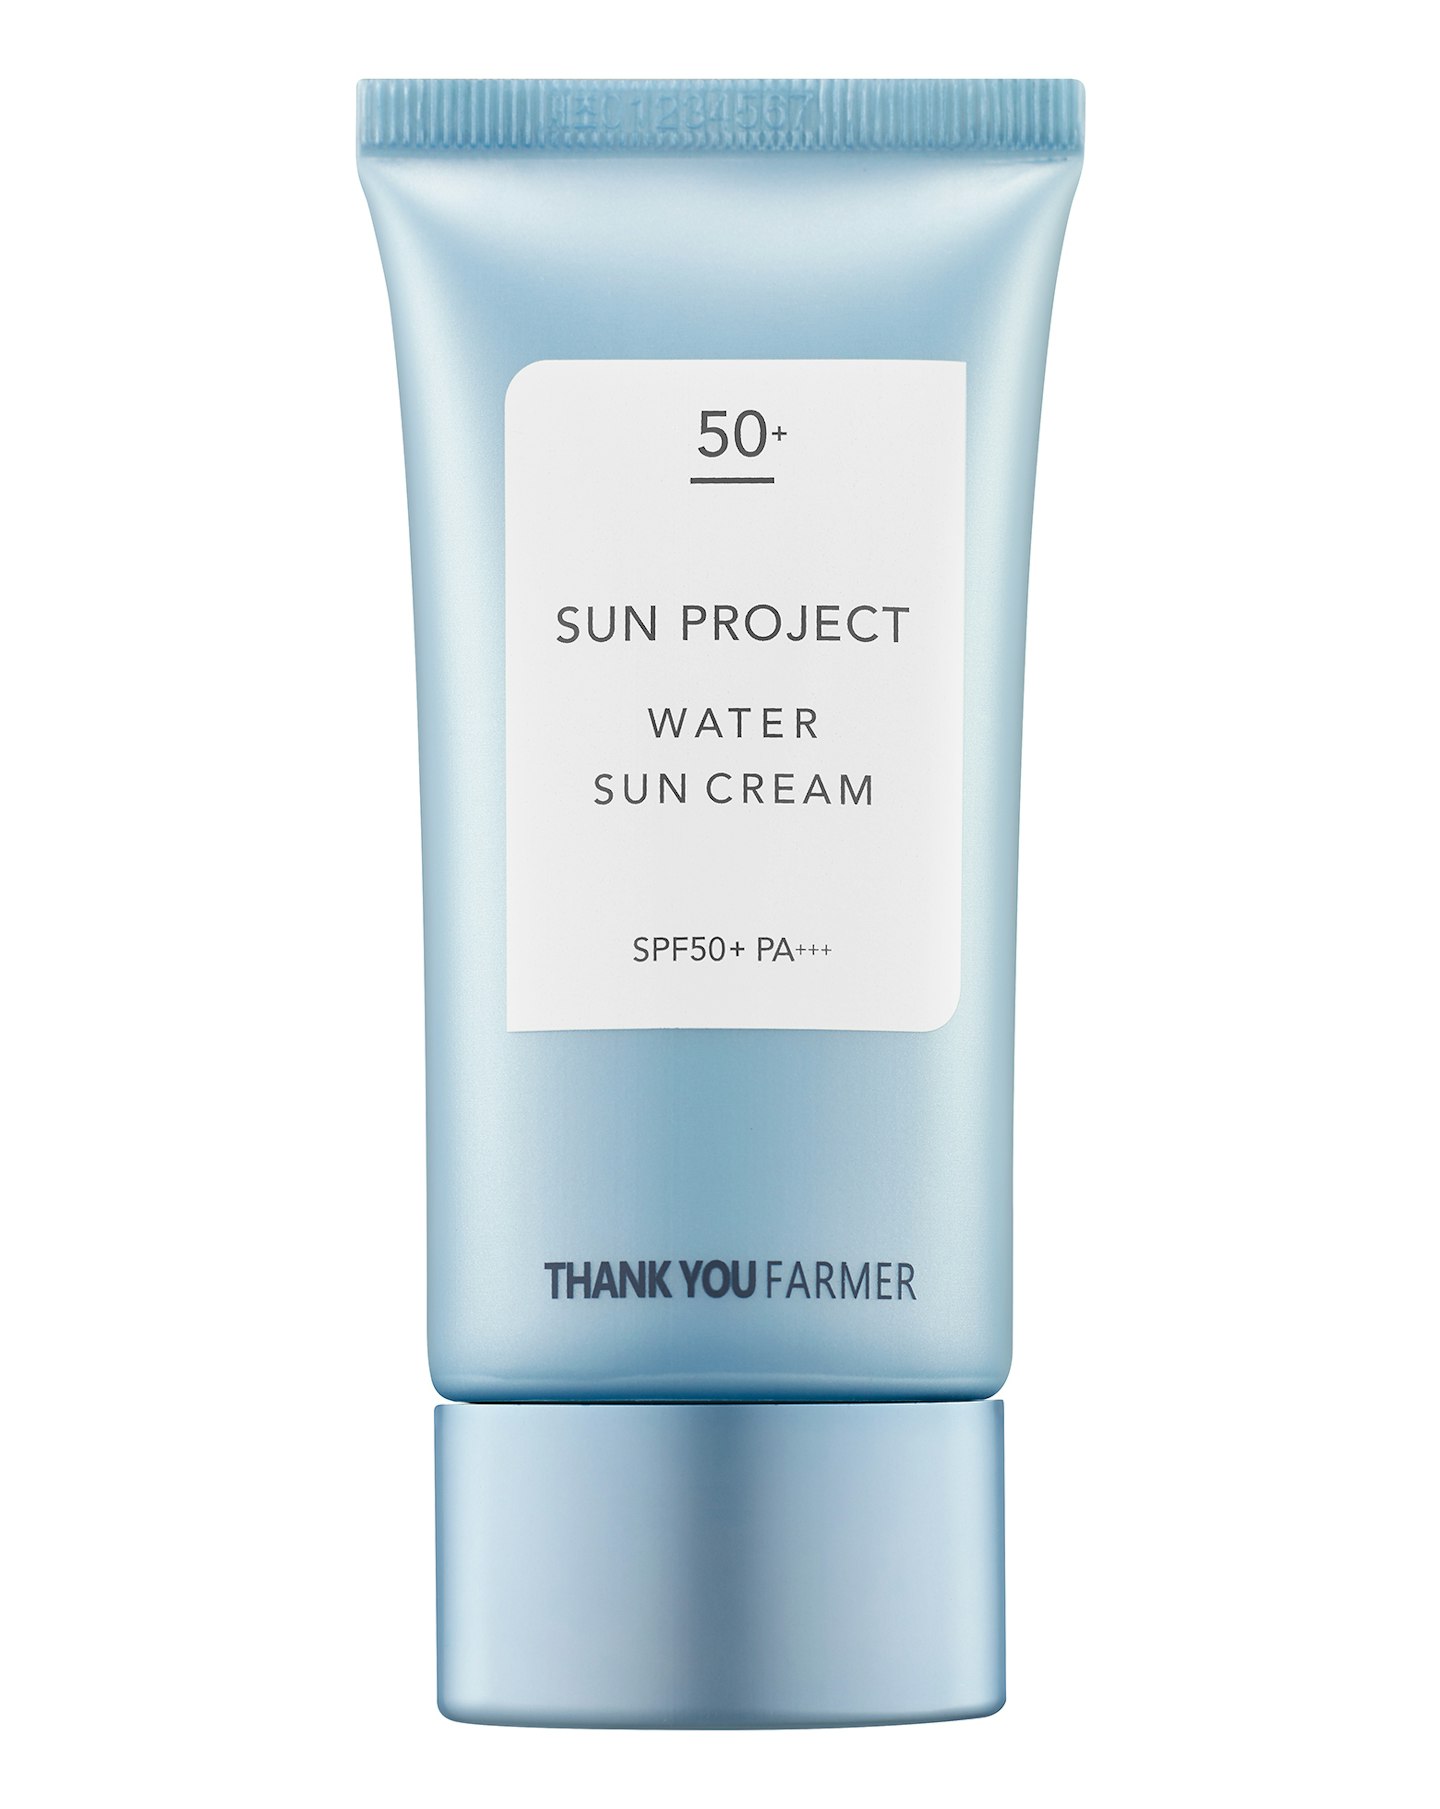
Step Nine: Sunscreen (AM Only)
Consider an SPF30+ an essential final stage if you want to ward off the ageing effects of sun damage. Apply last as it’s essentially a shield (a bit like your fave shearling coat) and will actually hinder absorption of products applied on top.
SHOP: All The Products You Need For A 9-Step Winter Beauty Routine
 4 of 10
REN Clean Skincare Bio Retinoid Anti-Ageing Concentrate, £47
 8 of 10
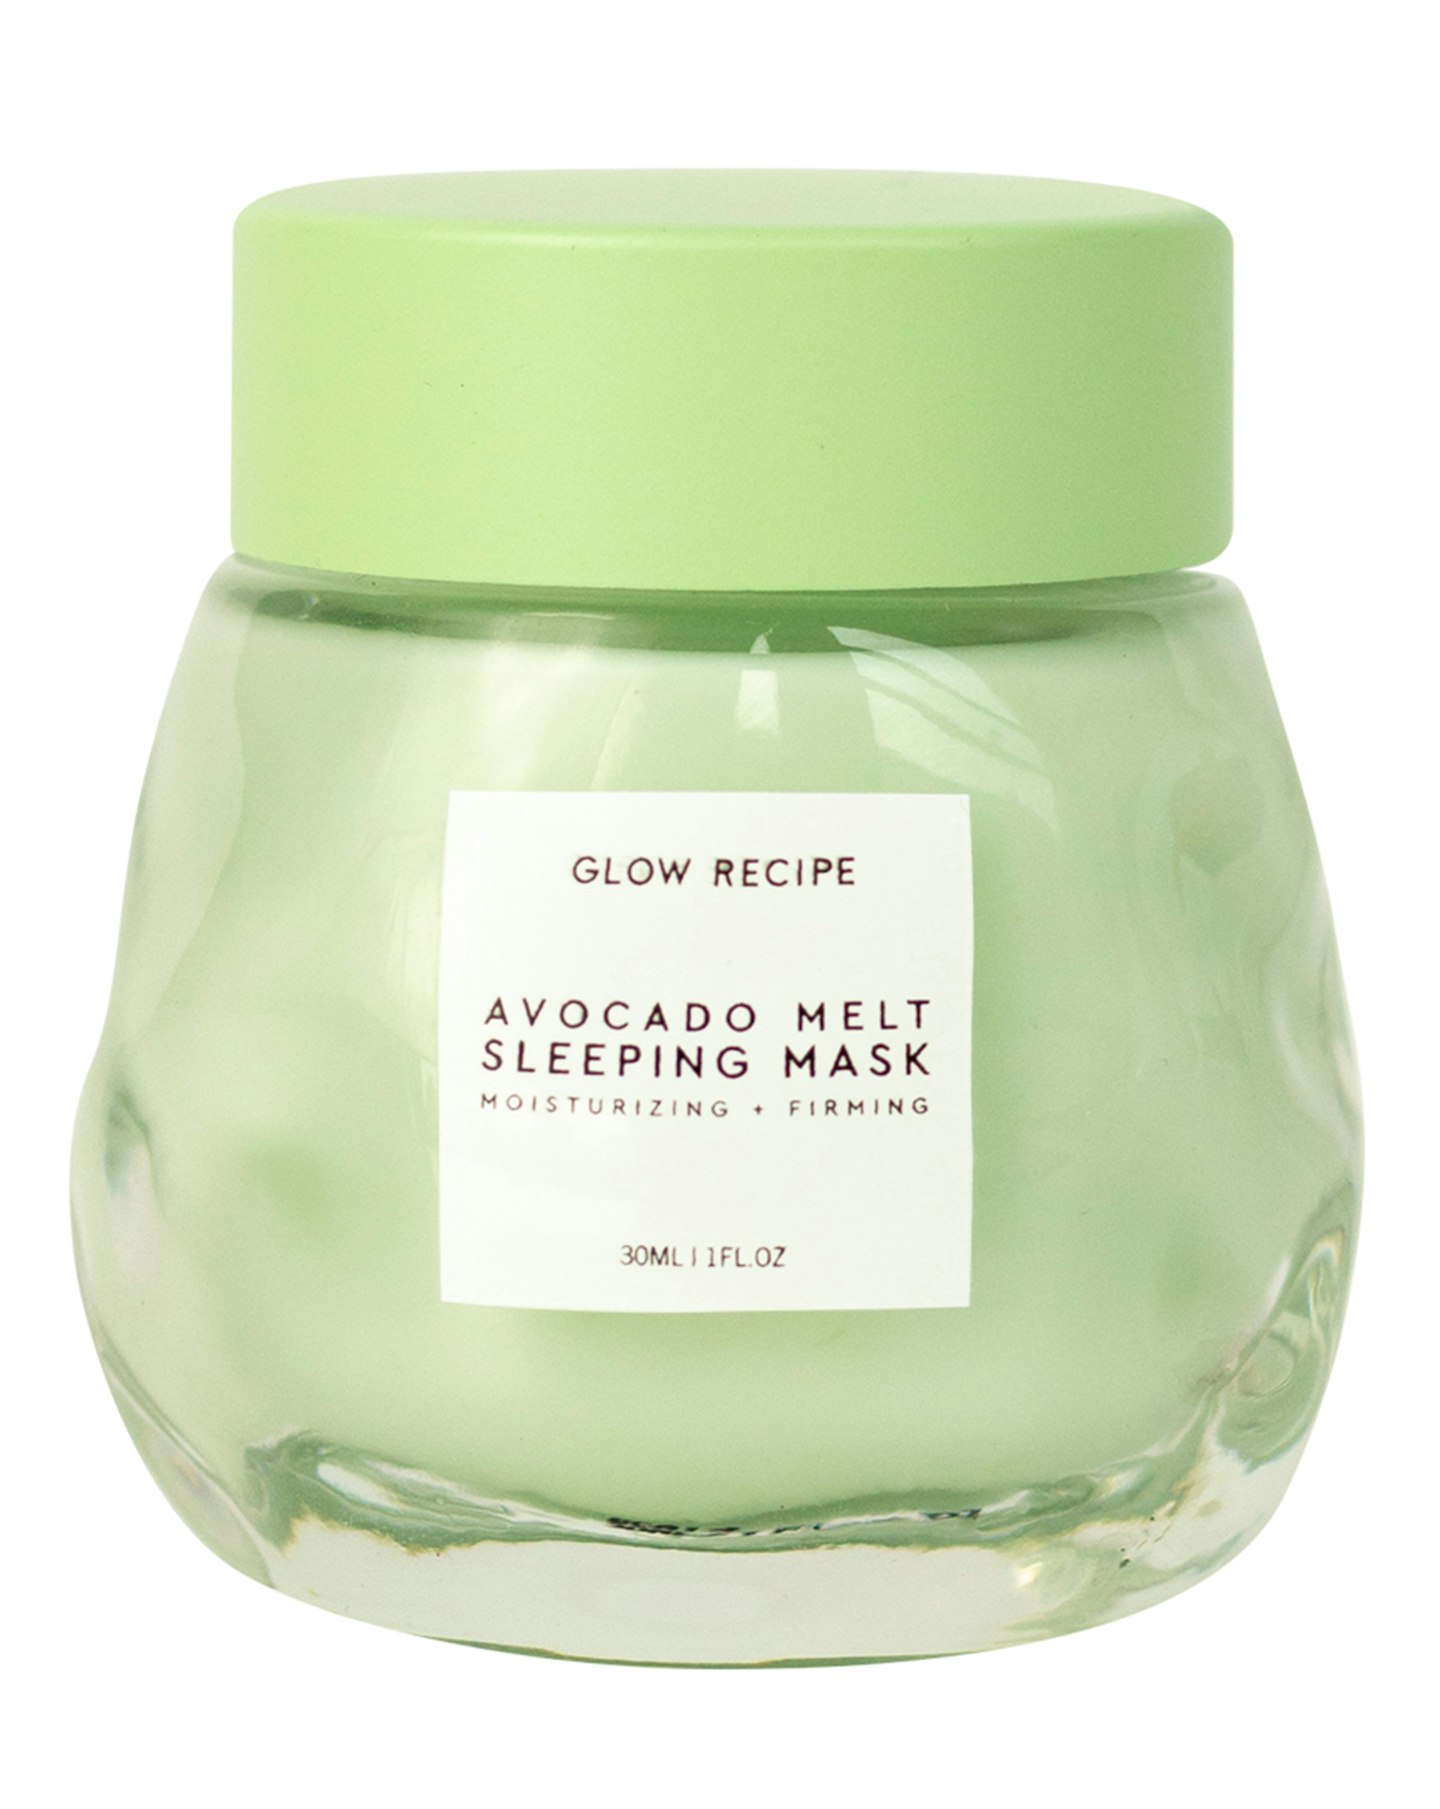
Glow Recipe Avocado Melt Sleeping Mask, £20.50
 10 of 10
Thank You Farmer Sun Protect Water Sun Cream SPF50, £18
READ MORE: Which Foundation Brush Is Right For You?
