We’ve all tried and miserably failed attempting our own pretty unique interpretations of nail ‘art’. Whilst sending a LOLZ Snapchat of said fail to your mates is always entertaining the fact you’ve just spent an unsuccesful half hour carefully trying to paint miniature penguins onto your nails is not a Sunday evening well spent.
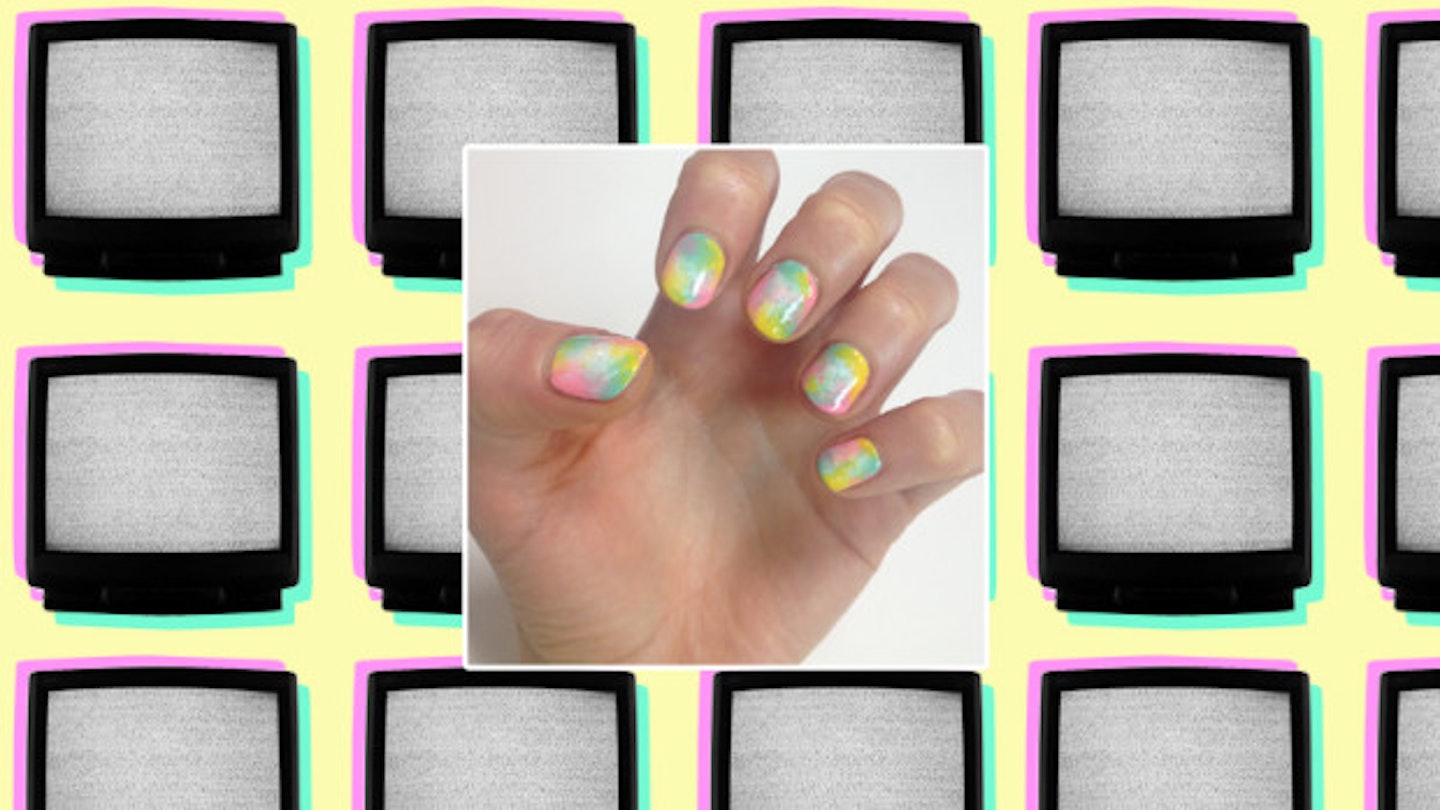
Fancy getting it right this time? Us too. So we asked nail art extraordinaire Michelle Humphreyto come up with a cool nail art that's so easy you can do it in front of the TV, no trouble. 'This look is very 90's grunge with a spring summer twist. A nostalgic, festival look,' she says of her tie-dye creation.
** Before you start, here’s what you’ll need:**
-
A nail file
-
Base and top coat nail polish
-
White nail polish
-
3 more polishes, shades of your choice (we used Green With Envy, Electric Yellow and Tropink, all Maybelline Color Show, £2.99)
-
Some eye shadow sponge applicators (you know, the ones you get inside eye shadow palettes. If you don’t have any knocking around your makeup bag you can get some here)
**And here's how to do it: **
Step One: Prep your nails by filing them into your preferred shape, whether it be rounded almond or squared off tips. Add some First Base by Essie and wait to dry, before going in with two coats of white polish. Michelle recommends Blanc by Essie, since some white polishes can be too thin and require more coats. (Note: more coats = more time and you’ve only got one episode of Eastenders to get this done.)

Step Two: This is the fancy bit. If you made any mistakes applying the white polish don’t worry too much as it’s going to get covered now. Get your first colour and dab a small blotch of the polish somewhere on the outside of your nail. Take an eyeshadow sponge applicator and dab the blotch, carefully moving in towards the middle of your nail. Once you’ve dabbed your first colour add another blotch elsewhere on the nail and do the same, then repeat on the rest of your nails.

**Step Three: **Once your first shade is dry repeat this method with your remaining shades in the same way. Add your blotch of polish to a different area each time – it’s important that you always start on the outside of the nail so that you’re covering any traces of the white polish around the outside of your nail. Remember to dab lightly with the eyeshadow sponge, so as to get a fading effect.
**Step Four: **Once you’re happy with the tie-dye look you've created wait for the polish to dry then add a top coat (Let it Shine by Essie). If you managed to get any polish on your skin just take a cotton bud with some nail polish remover and carefully get rid.
Once you’ve mastered this technique mix up the look with different colours – you can use two to four shades on top of the white base, so try it really chic with some black and grey, or go bright with neons. If you need more inspo just have a flick through your family album. (Side note: defo should have kept those tie-dye t-shirts you wore all summer aged 10.)
Love this? You might also be interested in...
A Lazy Girls Guide To...When Your Hair Hasn't Been Washed For Two Days
I Swapped Everything In My Beauty Cabinet For Coconut Oil And Saved A Shedload
**Michelle is the brand ambassador for Maybelline.****You can follow her on Twitter, Instagramand Tumblr. **
This article originally appeared on The Debrief.