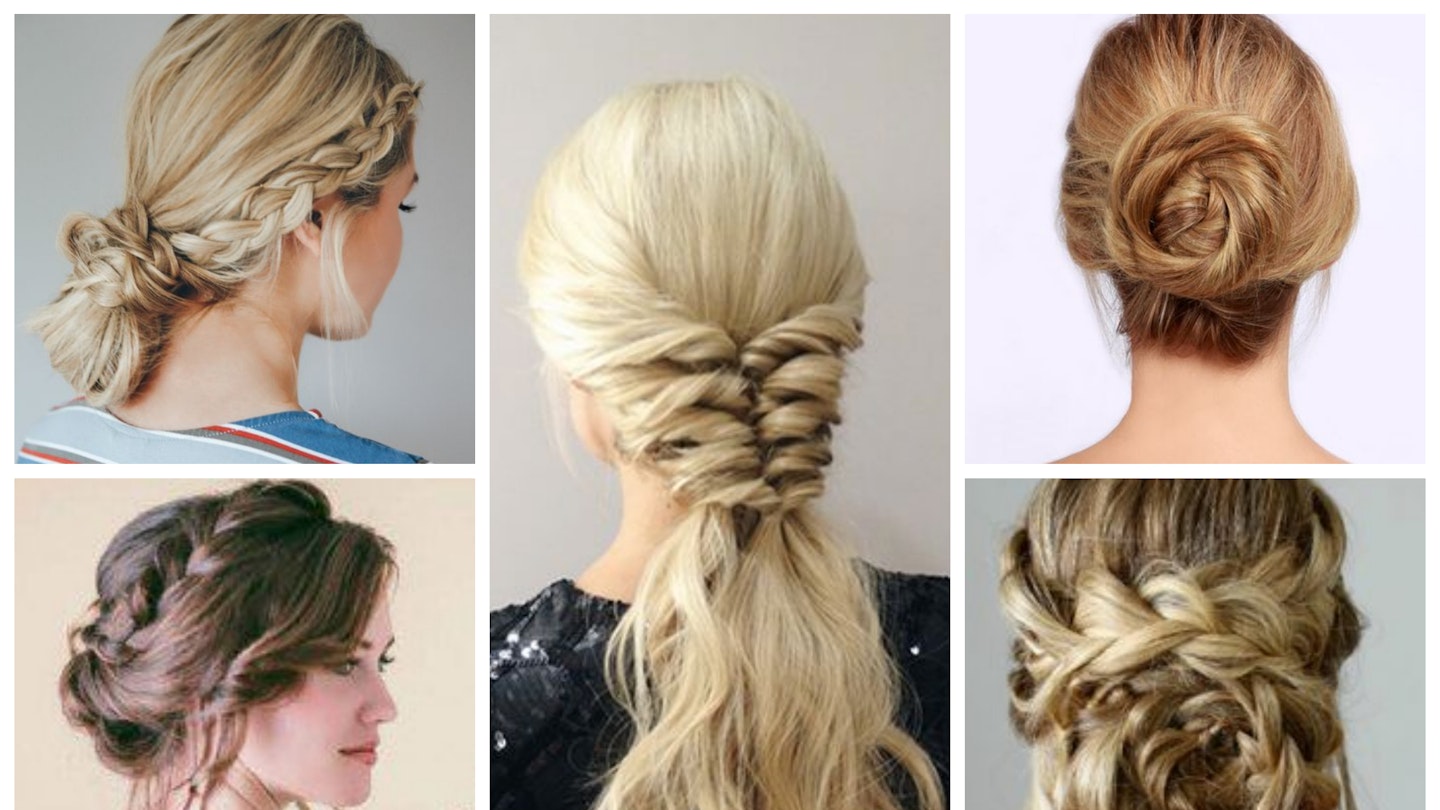
An elegant updo is the pinnacle of chic event dressing; whether it’s an elaborate fishtail braid spun into a bun for an evening cocktail, or a more low-key chignon for a wedding.
We want hair that looks as good on the red carpet and the pages of a magazine, in real life, but sometimes all of those steps are just plain intimidating.
So to make things easier, we’ve scoured Pinterest for the genuinely easiest updos to master now – no degree in hair origami required. Whether you’re looking for something to impress at your Christmas party, or just something a little more refined for your next Saturday night out, here are nine styles we promise you can recreate at home...
1) Topsy Fishtail Braid - by Lulus.com
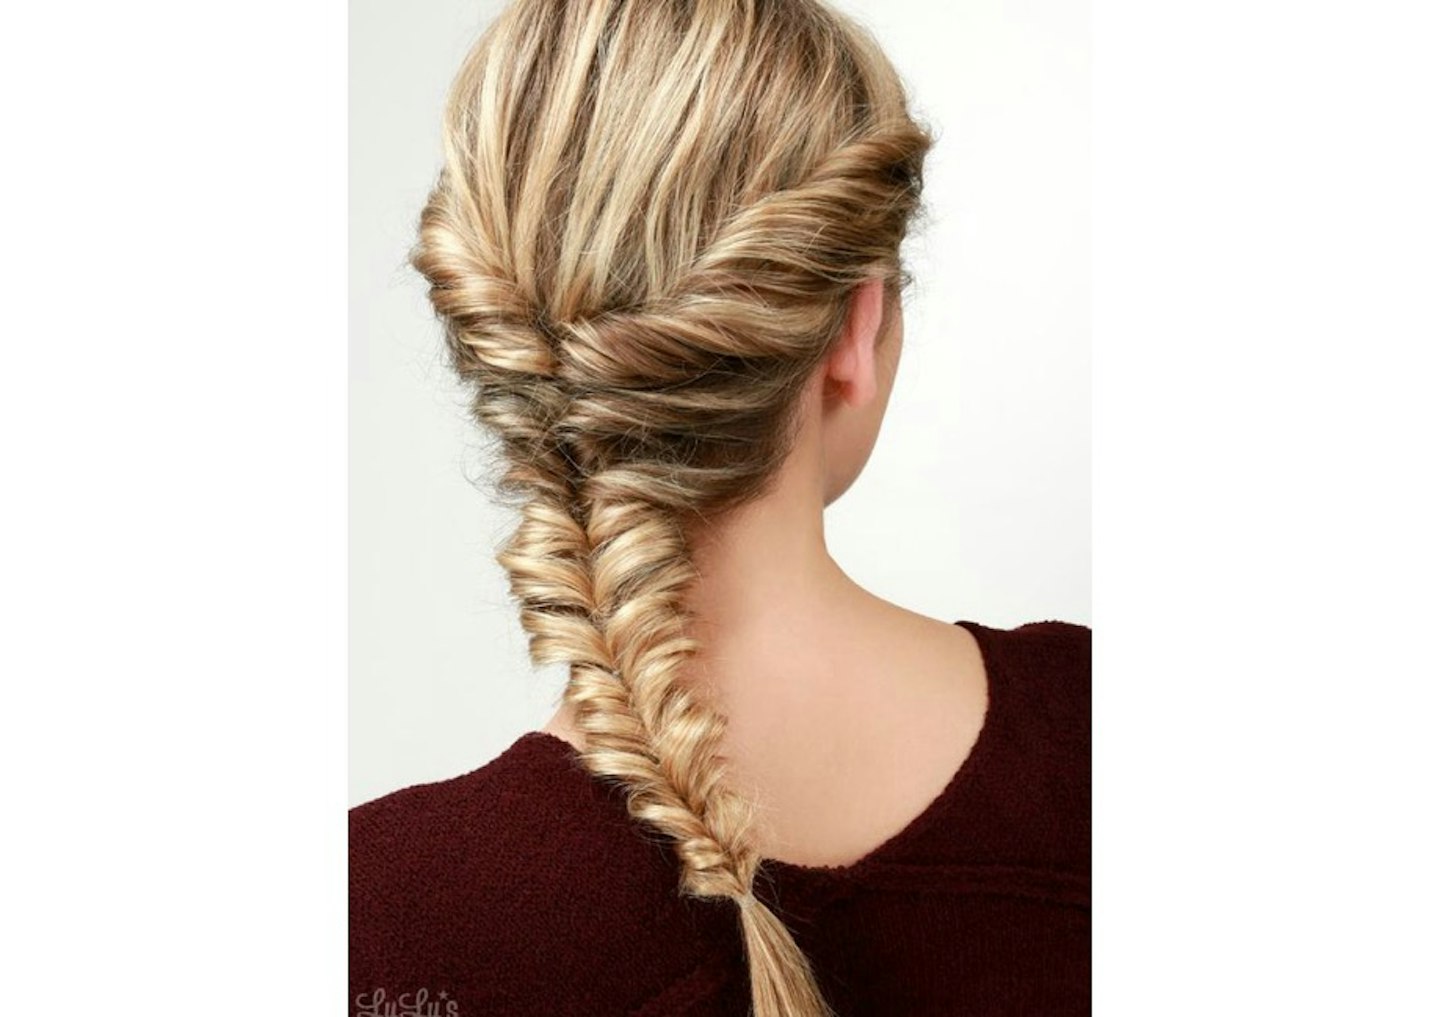
This french-plait-meets-fishtail updo is not only a really pretty hair do to try, it's also super easy. Perfect for those who love a quick but sophisticated style.
Instructions:
-
Starting with slightly wavy hair, grab a small section from the front left side, and twist towards the back.
-
Twist the right side to match, and fasten with a clear elastic hair tie.
-
Check to be sure the twists look even from the back.
-
Next, reach up and under the hair tie to grab the pony, and to create a topsy.
-
Double check that the twist is centered.
-
On both sides, take even sections of hair from under the twist and create another small ponytail on top.
-
Carefully topsy that small pony as well.
-
Create a third pony on top of that section (like step 6).
-
Continue to create your topsy ponytails all the way down to the end.
-
Once you reach the end of the hair, fasten with a final hair tie.
-
To finish the look, loosen each section working from the top down. Widen the pony until you’ve created a voluminous faux fishtail!
2) Loose Braided Updo - by Green Wedding Shoes
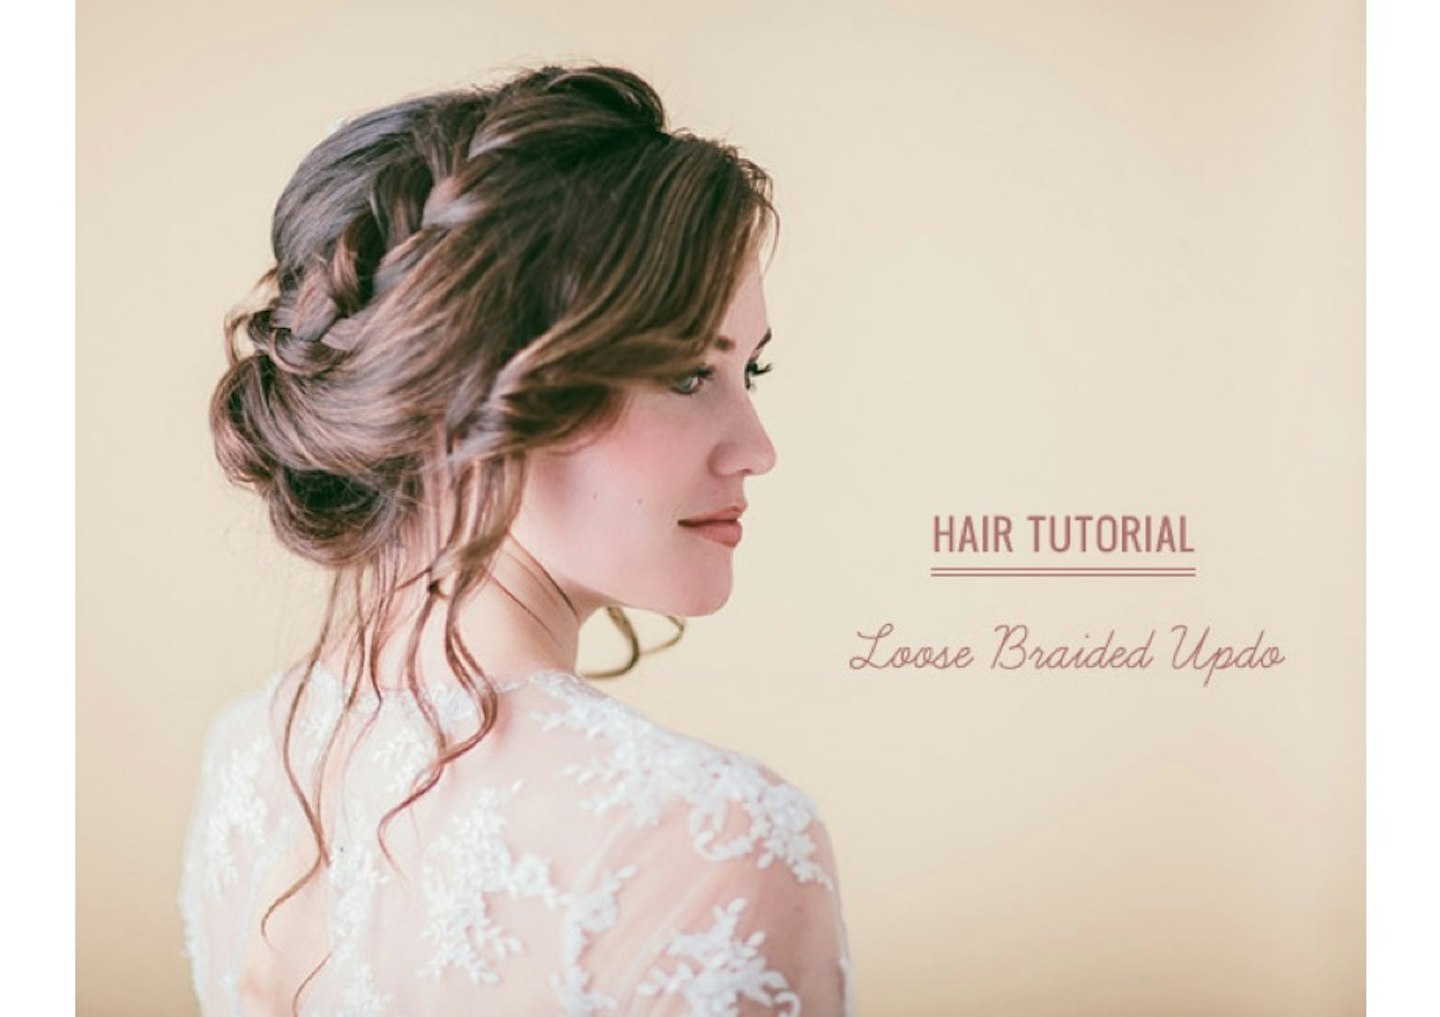
This stunning updo is spot on for any season. Tip: spray a little natural hold hairspray with each step.
Instructions:
-
Start by curling your entire hair with hot rollers or a 1 inch curling iron. Take the front bangs and set it aside. Now section hair into 4 sections. (Top, left and right side, and the back)
-
Now section the top crown area and tease to get the desire height.
-
Make sure the crown area is smoothed out nicely, then pin the back of the hair. Now spray crown area with hairspray.
-
Roll strands of hair in the back and pin it towards the center.
-
Pin up all the hair in the back.
-
French braid the top right section of the hair and tie with rubber band.
-
French braid the left side section and tie with rubber band.
-
Pin the right strand of braid to the top back and make sure its hidden underneath the other pinned hair. Do the same to the left side.
-
Set the hair with a finishing hairspray.
3) Braid Into Bun - by Lulus.com
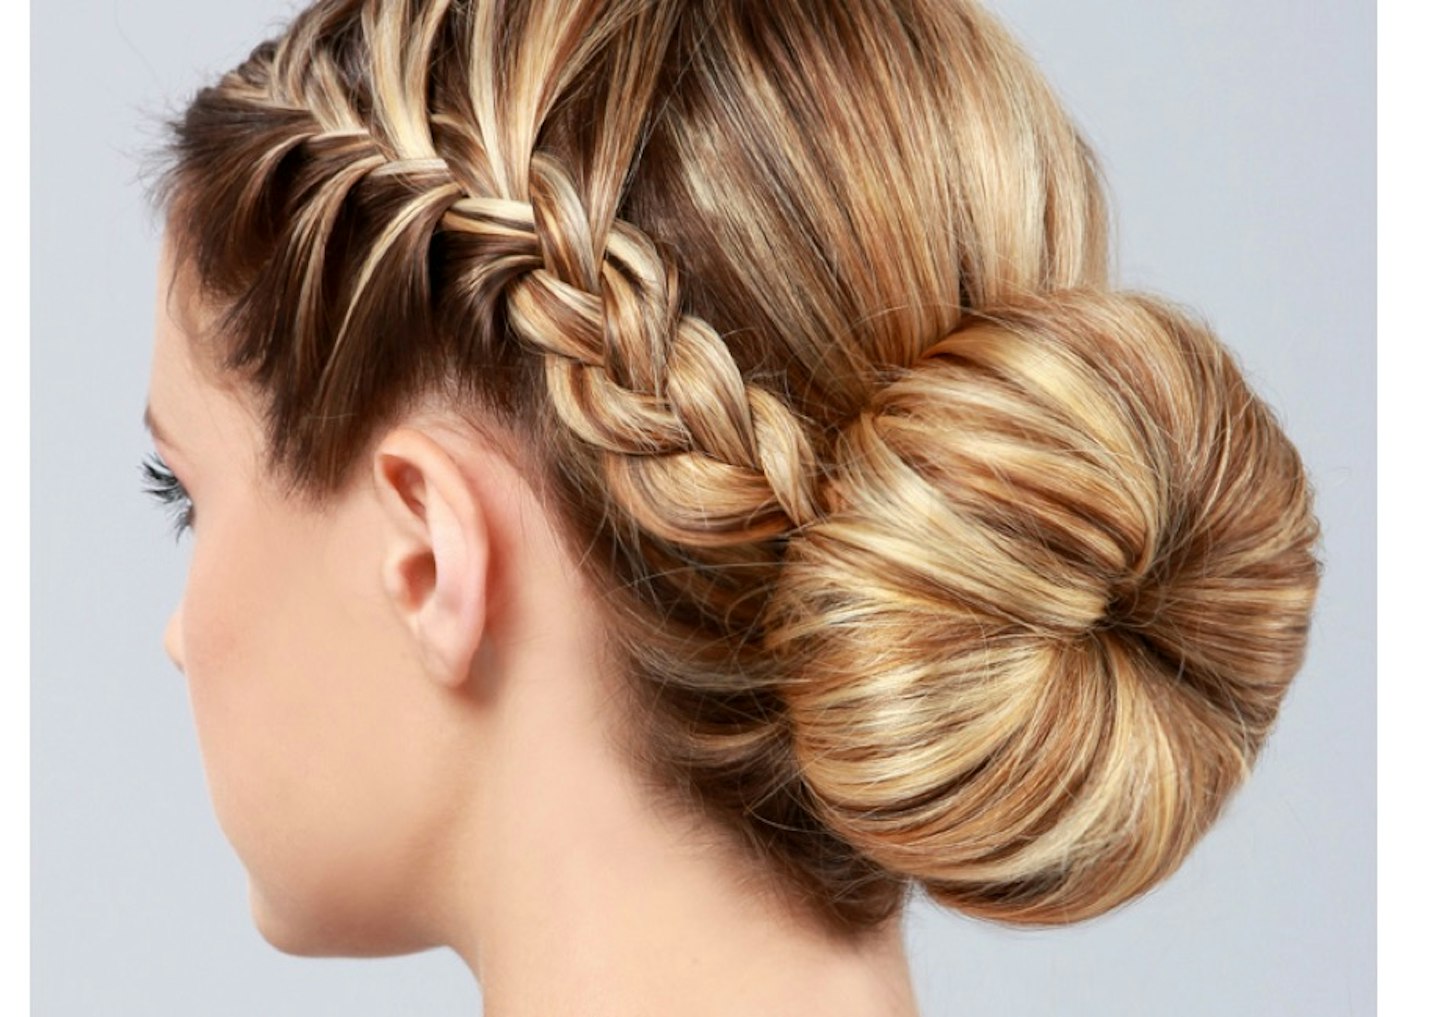
If you're looking for a way to keep every single hair off of your face, then the Braid Into Bun is worth a try. So simple, yet so elegant.
Instructions:
-
Part the hair down the middle and section each side just behind the ears.
-
Carefully french braid both sections.
-
Secure with a hair tie.
-
Make sure the braids are even on both sides.
-
Take both braids and remaining hair into a low pony tail and begin to start a sock bun.
-
Bring the rolled sock about half way up the pony tail and hold the hair up to allow it to spread out around the top of the sock.
-
Begin rolling the ends of the hair under and through the sock while keeping tension to make the bun smooth.
-
Once rolled-up to the hair tie, securely fasten with bobby pins and you have a cute pulled-back hairstyle for any occasion!

4) Twisted Bun - by Lulus.com
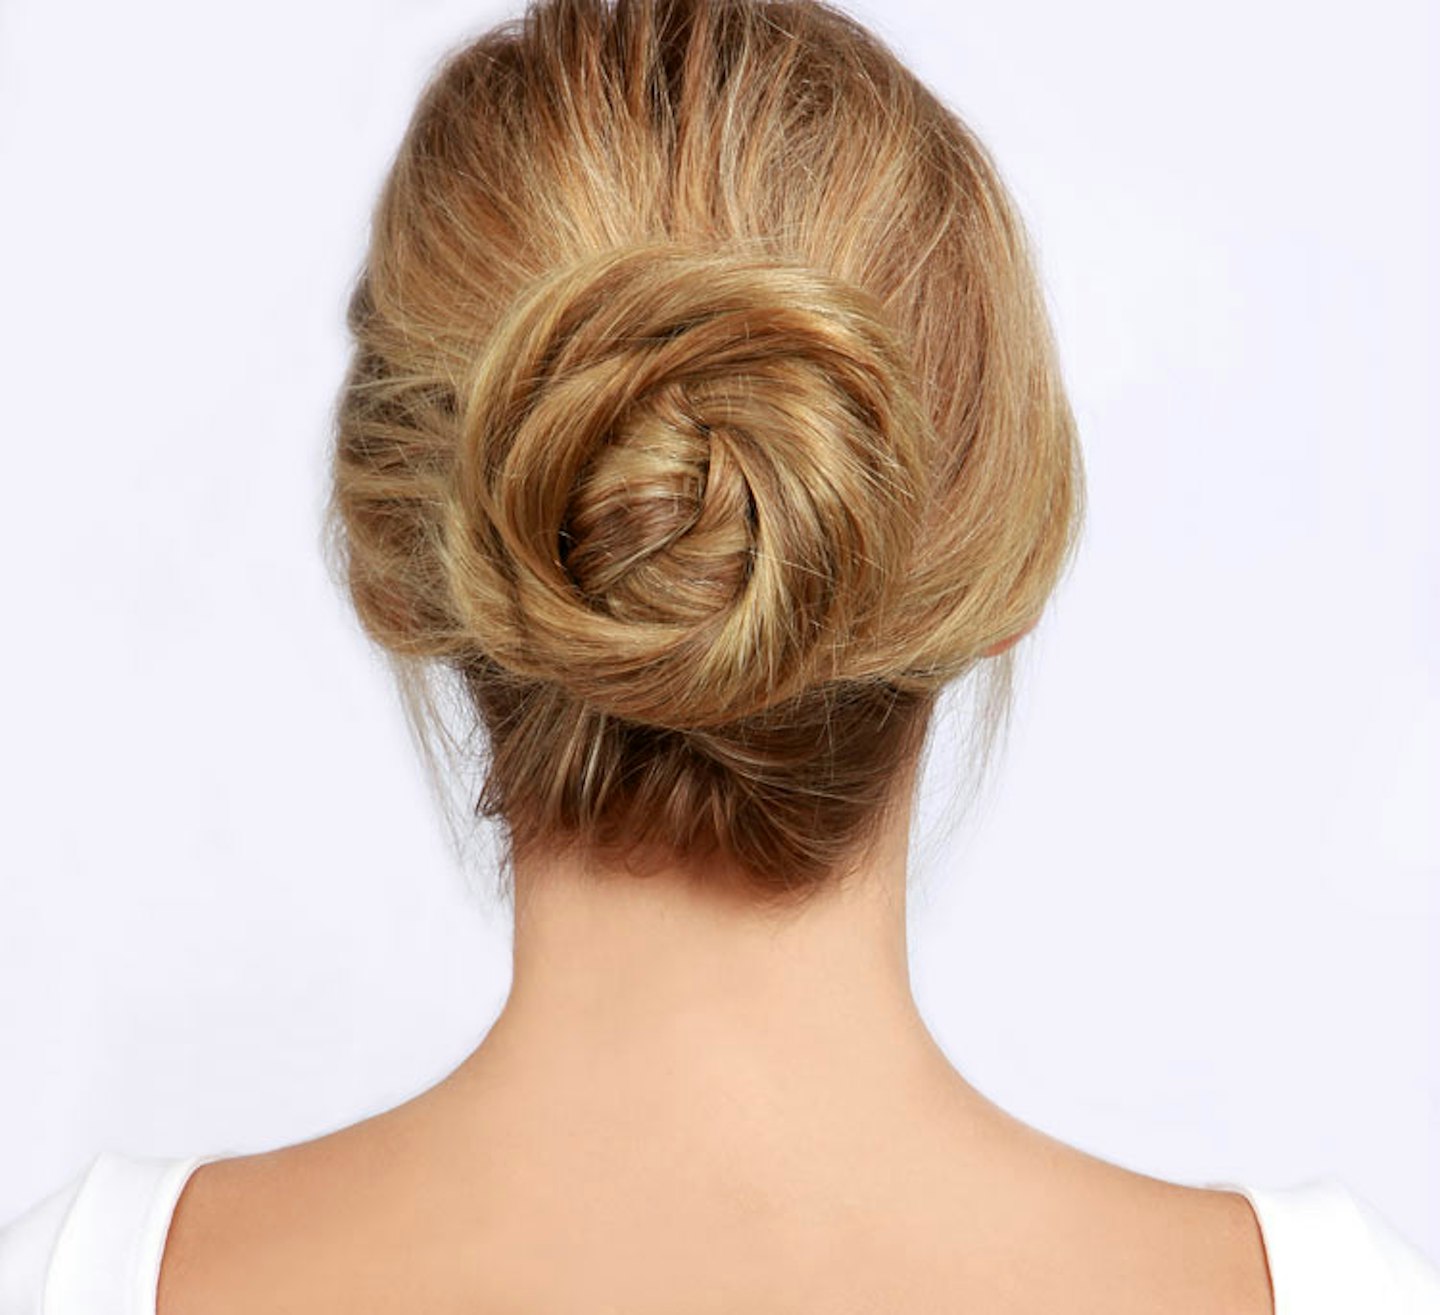
We bet you've never tried this technique when putting your hair into a bun before! This one gives a whole new meaning to "top knot"...
Instructions:
-
Begin with straight hair.
-
Part your hair down the middle into two even sections.
-
Holding the two pigtails, tie them into a knot and fasten with bobby pins.
-
Twist the top section, and carefully pin as you wrap around the knot.
-
Repeat with the remaining section of hair, twisting the opposite direction.
-
Hide the ends under the bun and finish with hairspray!

5) Double Dutch Braid Bun - by Barefoot Blonde via LaurenConrad.com
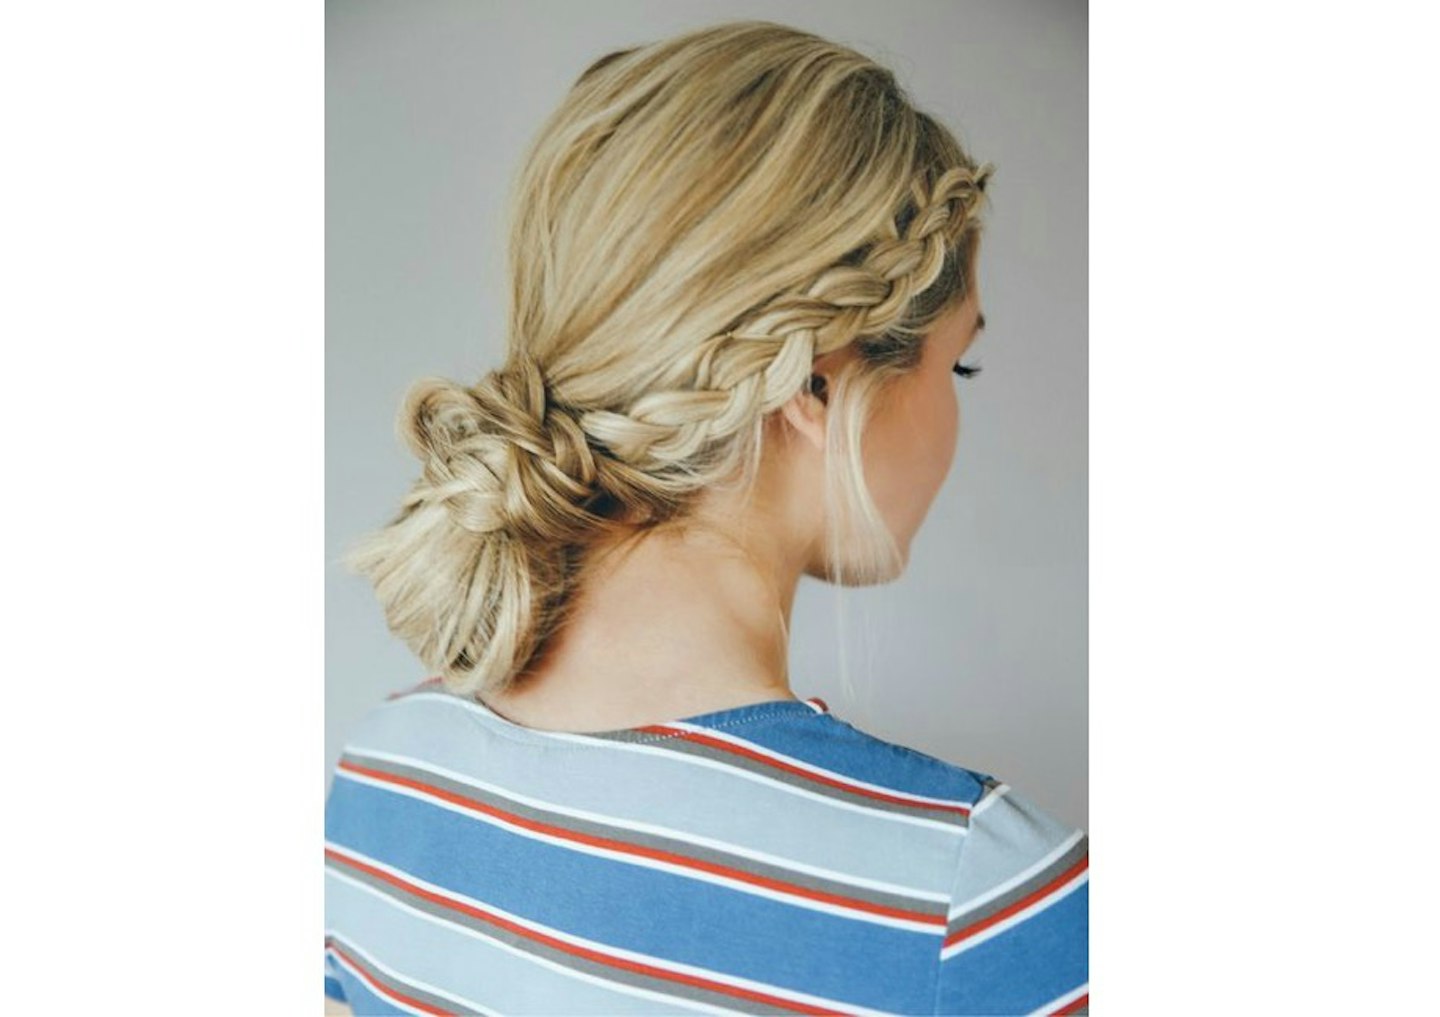
This relaxed braid bun is so elegant, and hardly takes any time at all to create. Tip: try this with fishtail plaits instead of the traditional ones to mix it up.
Instructions:
-
Dutch braid both sides of a middle part and tie them off with a clear elastic.
-
Pull apart/pancake both braids to make them nice and chunky.
-
With the remaining hair in back, section off a small section (about three inches starting from the bottom of your hairline) and braid that into a three-strand braid.
-
Take the hair above the braid you just made and the two Dutch braids and create a messy bun.
-
Wrap the three-strand braid around the messy bun.
-
Pin the ends in place and hairspray. And you’re done!

(Original post by Amber Fillerup at Barefoot Blonde, posted on LaurenConrad.com)
6) Flower Braid Updo - by Missysue.com
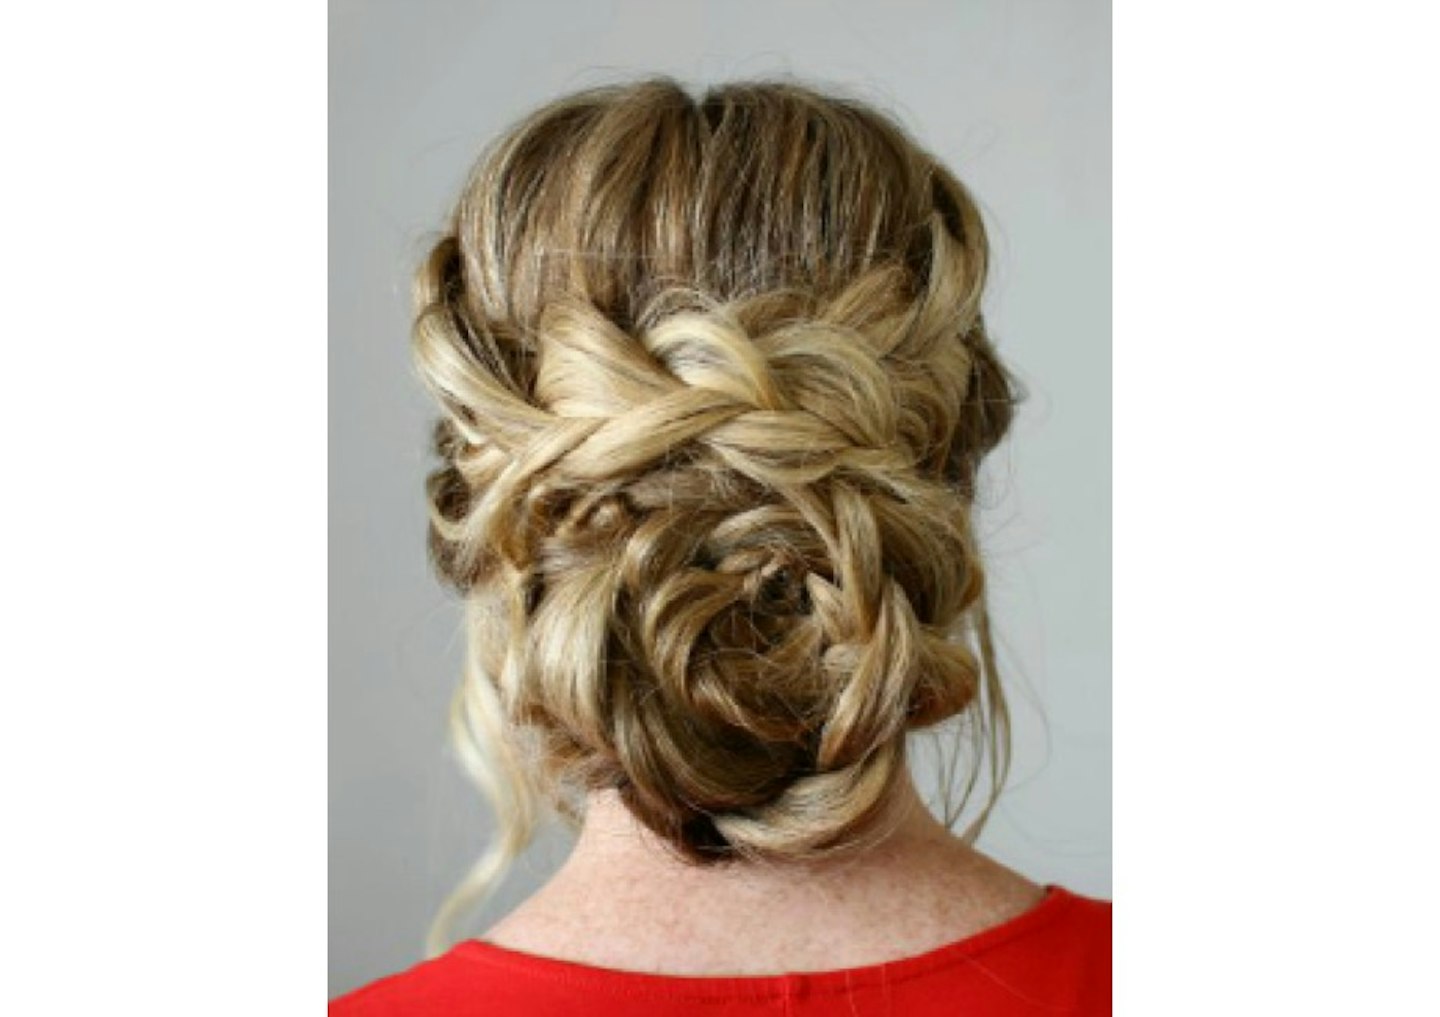
Now, this do looks confusing and perhaps a little intimidating, but persevere and you'll be done before you know it - and with an excellent head of hair, may we say.
Instructions:
-
Divide the hair into four vertical sections. One on the right and left side of the head, and the back section into two halves. Braid each section at the back into a regular braid and tie off each one with a clear elastic band.
-
Take the section on the right and braid it down into a regular braid as well. Tie off the end with another elastic band, then gently pull on the edges of the braid to make it flat and wide.
-
With the remaining section on the left side, braid the hair into a french braid until it reaches the left ear. Then finish braiding the section in a regular braid. Tie off the braid with a clear elastic band and pull the braid wide and flat like in the previous step.
-
Working with the back two braids, take the braid on the right and wrap it upwards, then spiral it clock-wise into a bun with the end of the braid (and elastic) wrapping into the center.
-
Pin down the edges of the braid to keep it secure. Use as many bobby pins as you need until it feels snug against the head.
-
Take the other braid, at the back of the head, and wrap it, counter-clockwise, around the outer edge of the bun created in the previous two steps.
-
Pin down the edges as well so it is secure.
-
Next, take the braid from the left side, wrap it over the top of the bun and around the left side.
-
Tuck the end underneath the bun and pin it with bobby pins.
-
Now take the remaining braid on the left side and wrap it over the bun.
-
Wrap the braid around the right side and pin the end underneath the bun.
-
Spray the style with a firm-hold hairspray and smooth down any flyaways.

7) Tuxedo Braid Bun by MakeupWearables.com
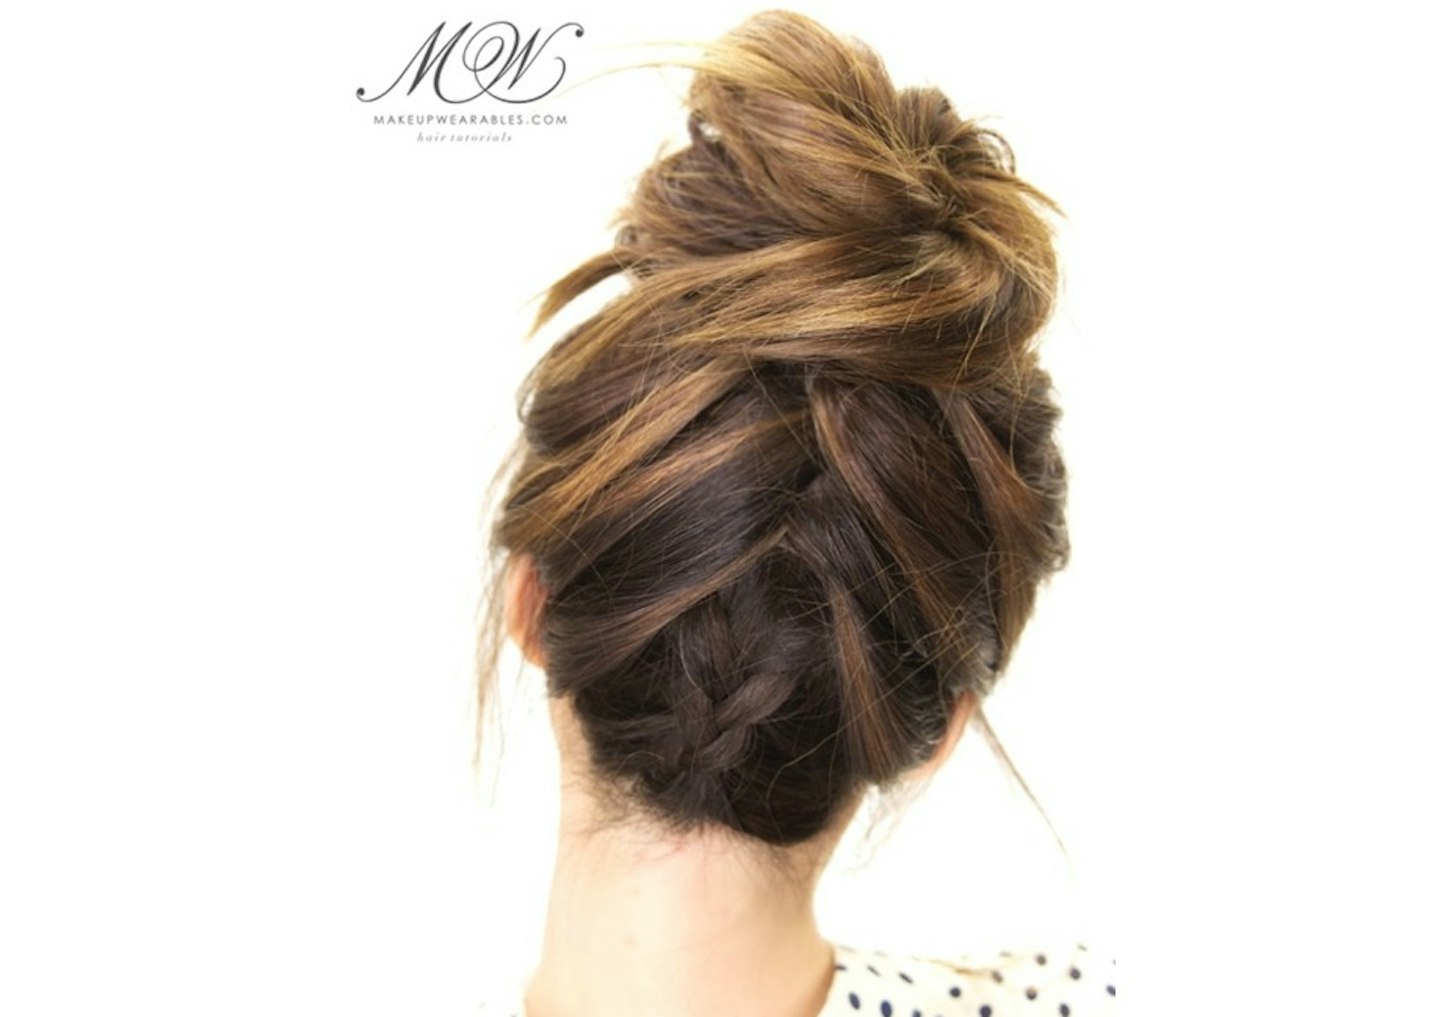
There are a lot of steps to achieving this look, but it does look amazing! Tip: practise doing french plaits upside down before attempting the whole thing.
Instructions:
-
Create a square section on your crown and make a ponytail.
-
Section out your sides and put them into a ponytail.
-
Flip your hair upside down to start a Dutch braid with the middle section. Dutch braiding is where you cross the side strands under the middle strand.
-
When you reach the middle ponytail, tie the ends and incorporate it to the middle ponytail.
-
Remove the elastic bands used on the 2 side ponytails to start a French braid. French braiding is where you cross the side strands over the middle strand.
-
When you reach the middle ponytail, gather all of your hair into a ponytail and make a bun.
-
To finish, tug on your crown to loosen up your hair. If any lines – skin – are showing, then continue loosening up the hair around the line areas.

8) Braided Bun - by Style Me Pretty
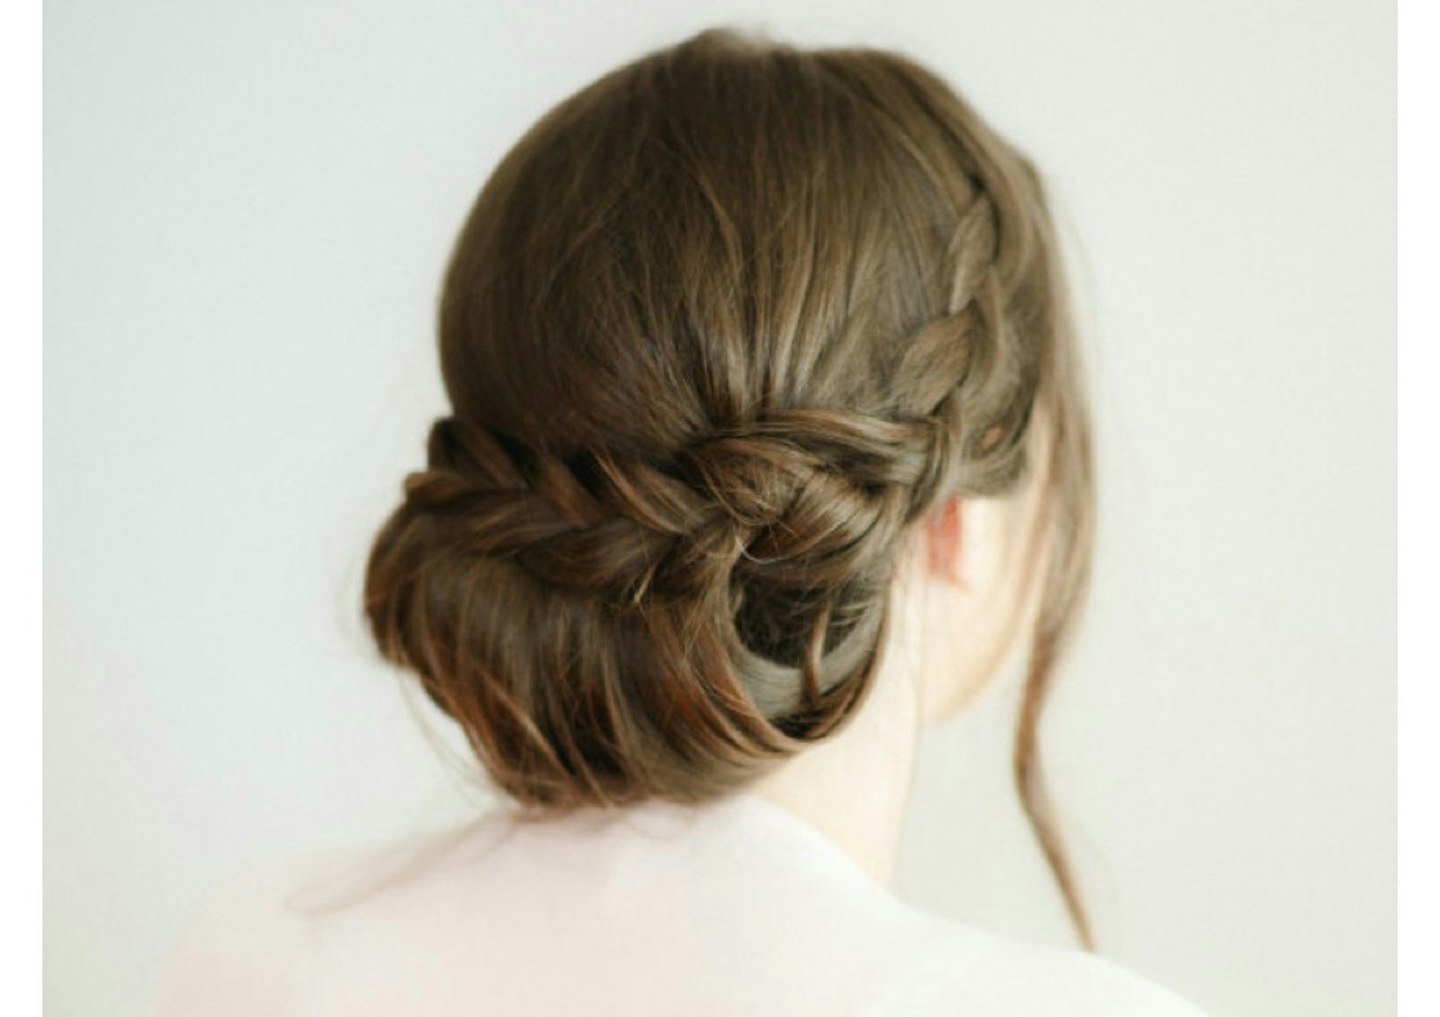
For fans of the relaxed plait - look no further. This style may need an extra pair of hands to help out...
Instructions:
-
Section off hair - starting with a loose curl, section top half of hair with clip.
-
Create your anchor - with a thin section of hair, begin working on a tight horizontal braid, zig-zagging it to pin. This will be the anchor of your chignon.
-
Add in more hair - take another layer of hair and drape over braid. Move front sections of hair to each side.
-
Roll + pin hair - roll one half of hair up and secure with bobby pins into the anchor. Repeat on other side.
-
Pull excess hair to the side - pull rest of the hair off crown to one side of the head. Tuck some hair into the roll to camouflage anchor.
-
Braid + pin one side - braid the excess hair on one side. Pin braid on top of rolled hair.
-
Tuck + pin remaining hair - tuck hair from other side into roll and pin.
-
Smooth + finish - hairspray remaining fly-aways as needed.

*[{href='http://www.stylemepretty.com/2016/03/27/braided-chignon-how-to-steps/' target='_blank' rel='noopener noreferrer'}
9) Twist Ponytail - by Kiley Potter via BangStyle
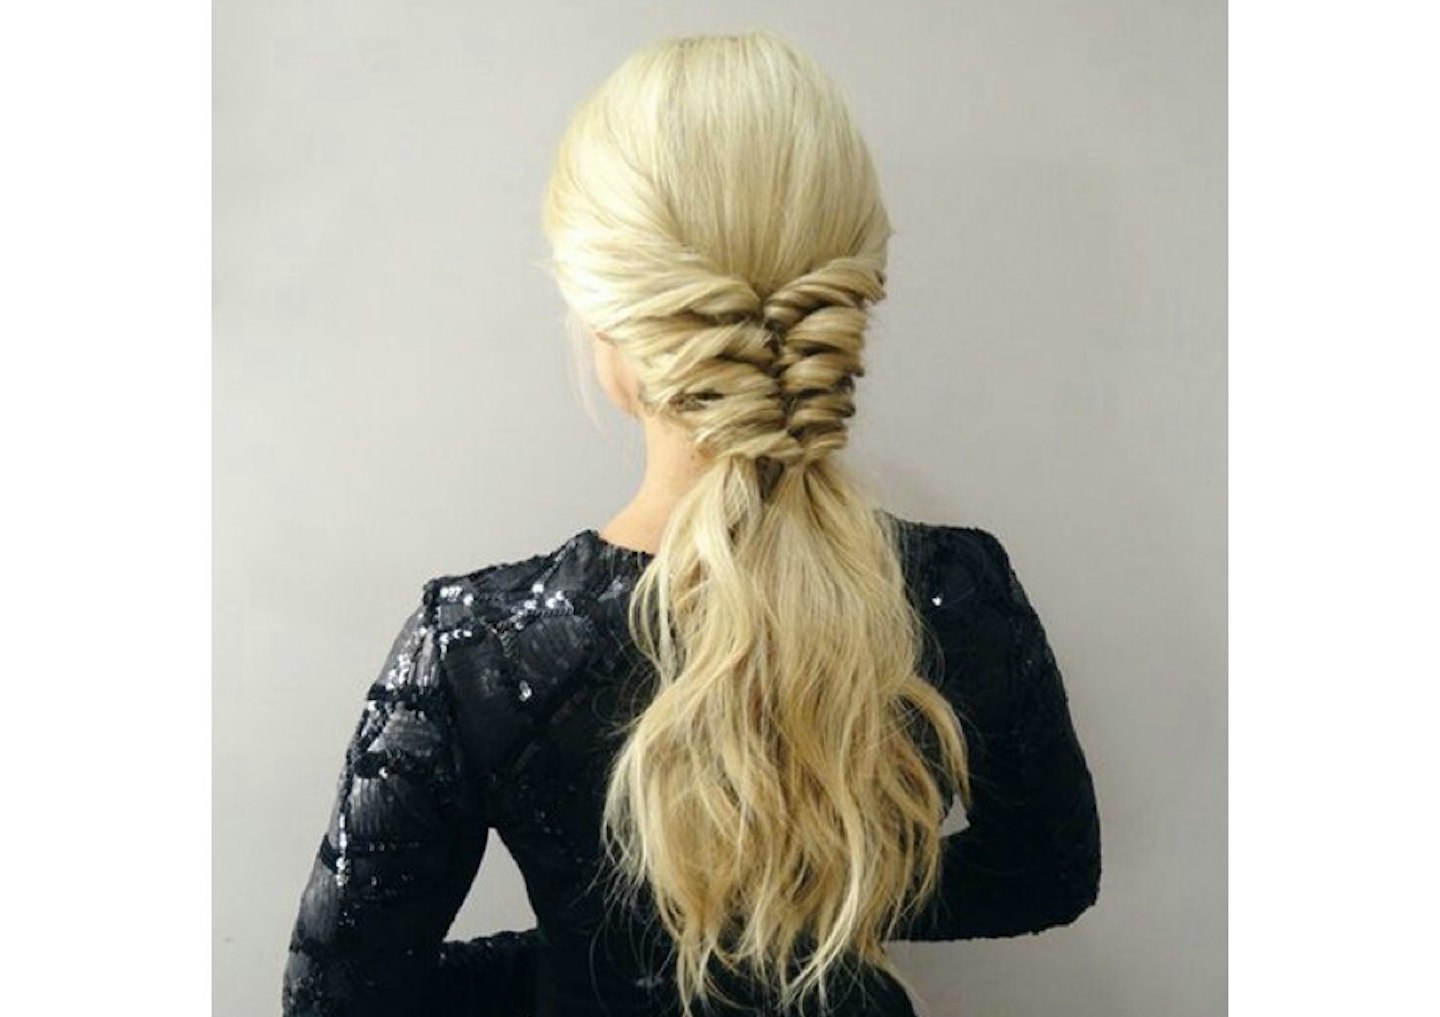
This style is definitely channeling Emilia Clarke in Game Of Thrones! Tip: thread material flowers through the layers to jazz it up.
Instructions:
-
Start with Curled/Wavy hair.
-
Take one section from each side of the hairline and twist the section towards the back middle of the head, then rubber band the two sections together. Tip: Use a clear rubber band!
-
Take one more section from each side of the hairline, underneath the previous section, and do the same thing twisting to the center. Rubber band them together.
-
Repeat this step as many times until you achieve desired result.
-
Then pull some pieces of the twists to get a looser, textured end result. (This also helps hide the rubber bands). I left the rest of the hair down which created a ponytail look!

(Original post by Kiley Potter, posted on BangStyle.com)
More like this:
