Sometimes DIY beauty is like going on a really bad date: maximum effort, minimal results.
But this stain is super easy to do, lasts forever (really), and there’s a tasty lip balm bonus involved too.
Follow me to get the Kool-Aid red lips of your dreams.
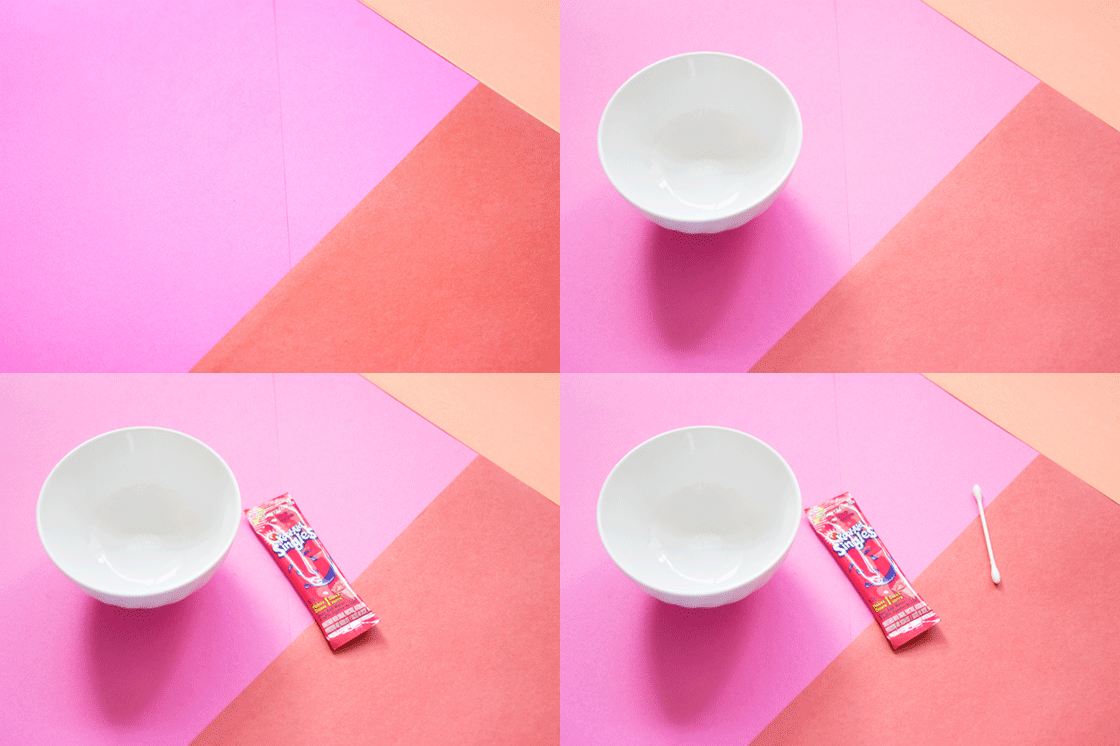
For the stain only, you will need a small bowl, a teaspoon of water, Kool-Aid and a cotton swab (Kool Aid is an American thing, but you can get it at Tesco for 30p a sachet).
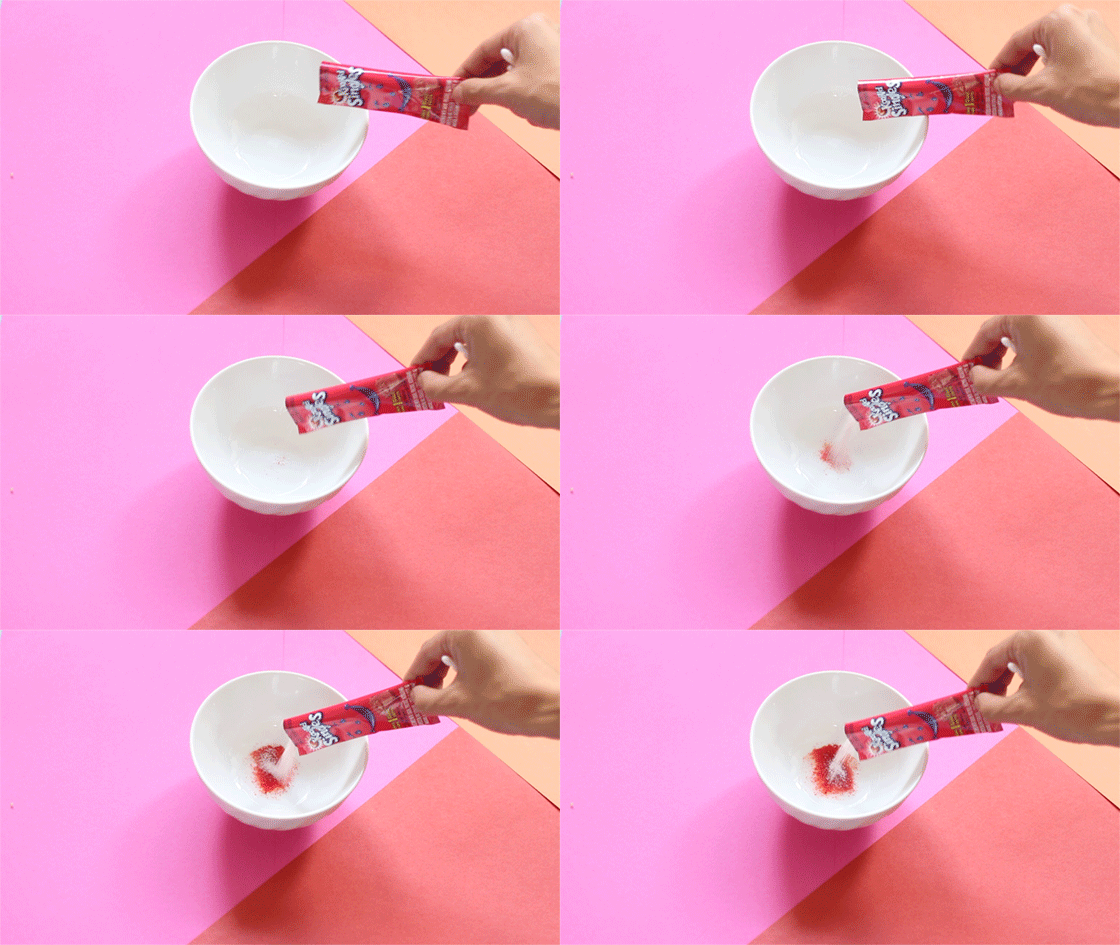
Add the Kool-Aid to the teaspoon of water.
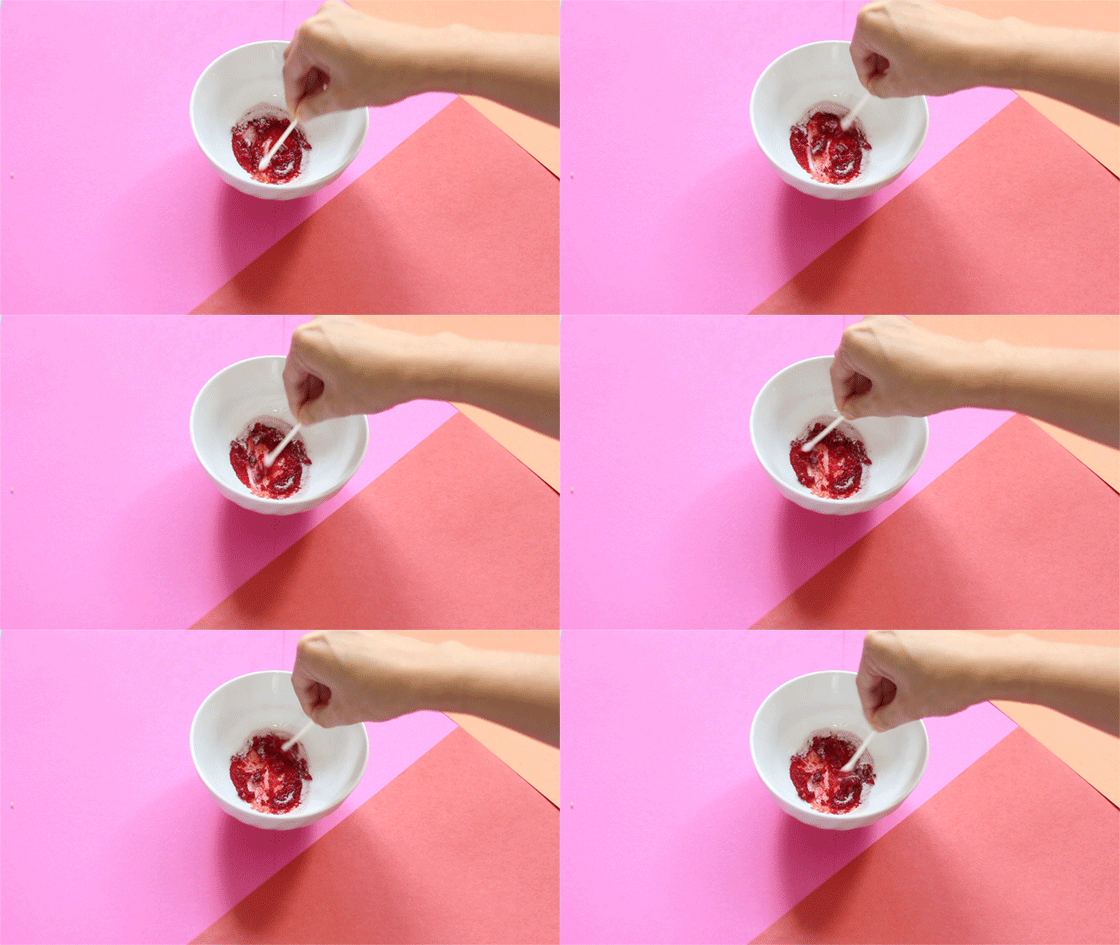
Stir.
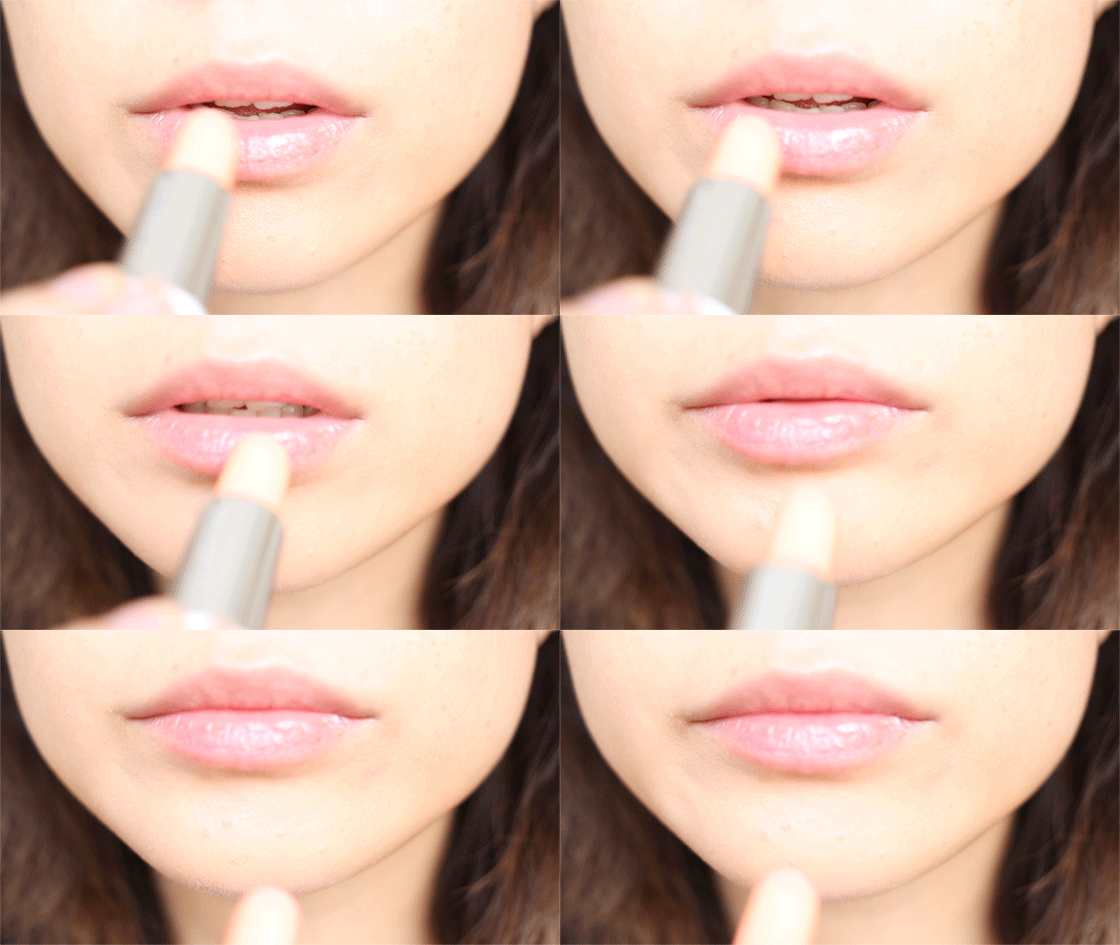
This part is important. You want to make sure your lips are prepped and that there are no flakes or dry areas. Use a scrub and lip balm if necessary. I’m using Clarins Daily Energizer Lip Balm.
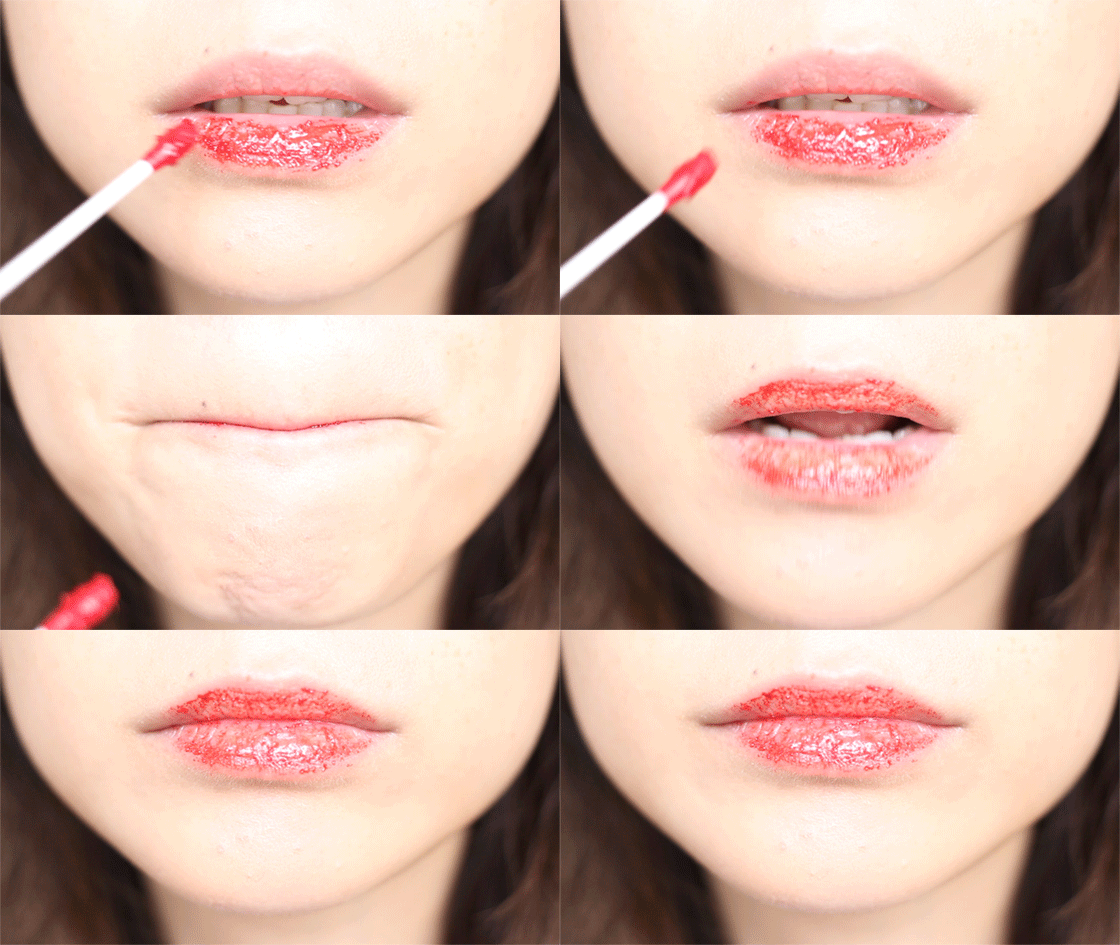
Apply the stain all over the lips in a thick layer. Leave on for 5 minutes (or longer for a darker, longer lasting stain).
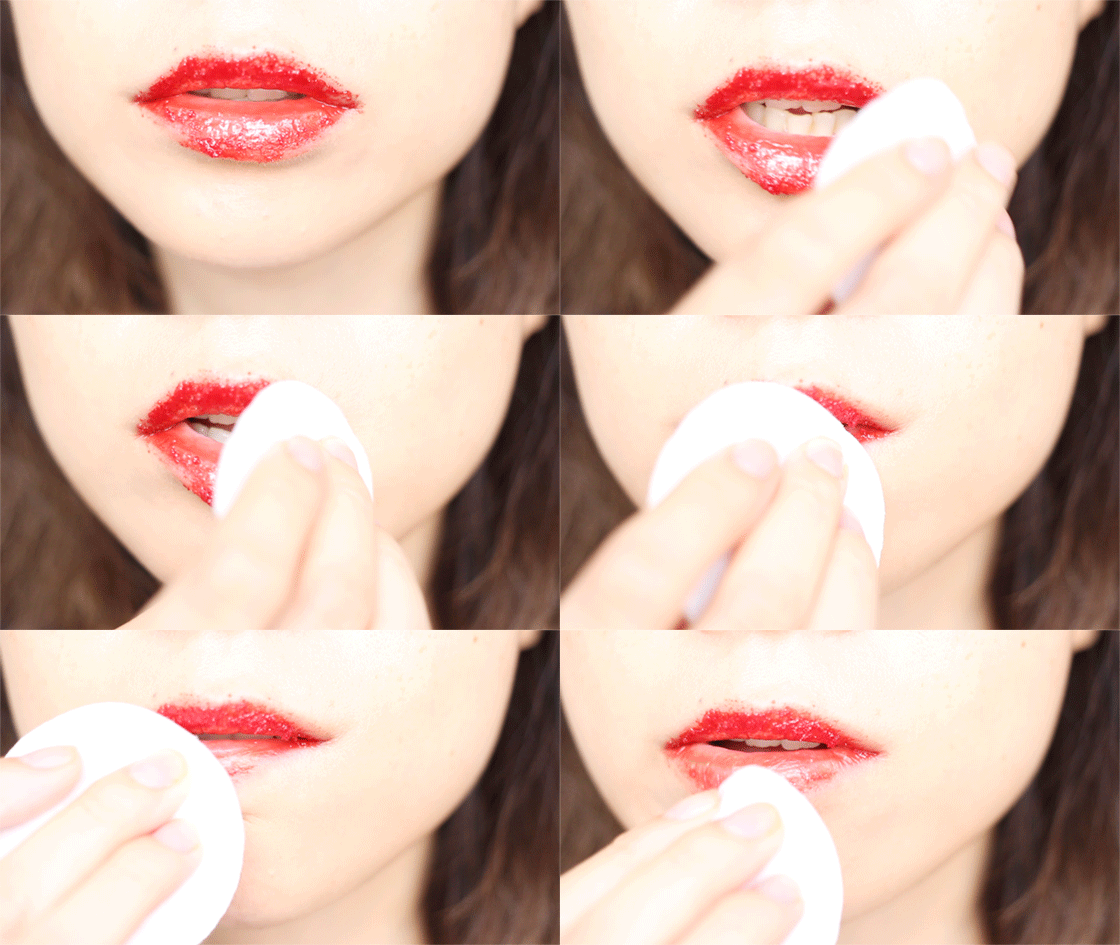
Remove the Kool-Aid. Best done washed over the sink but I used a damp cotton pad.
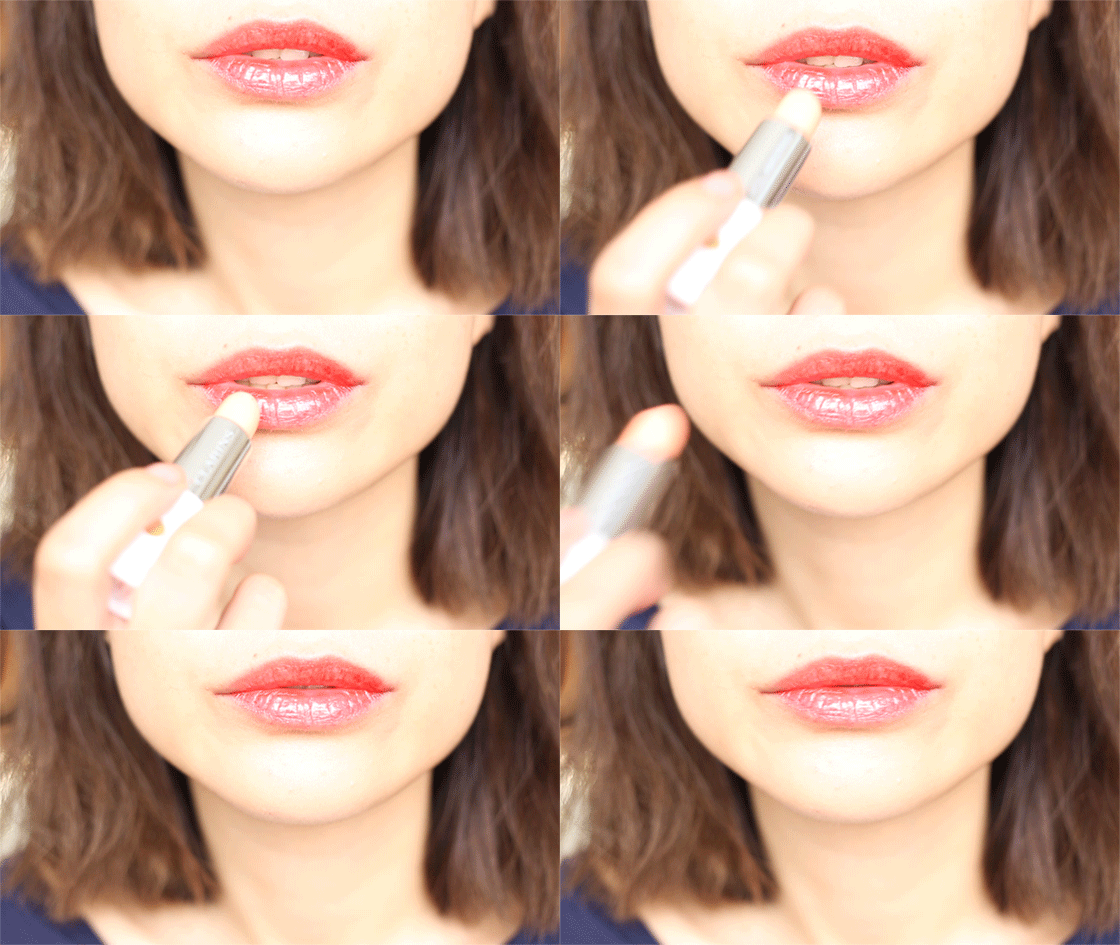
Admire your newly stained lips and apply lip balm again to finish.
What’s that? You want to use the rest of the Kool-Aid packets you bought because you don’t actually drink Kool-Aid and had to buy a pack of 20 to make this DIY happen? I got you.
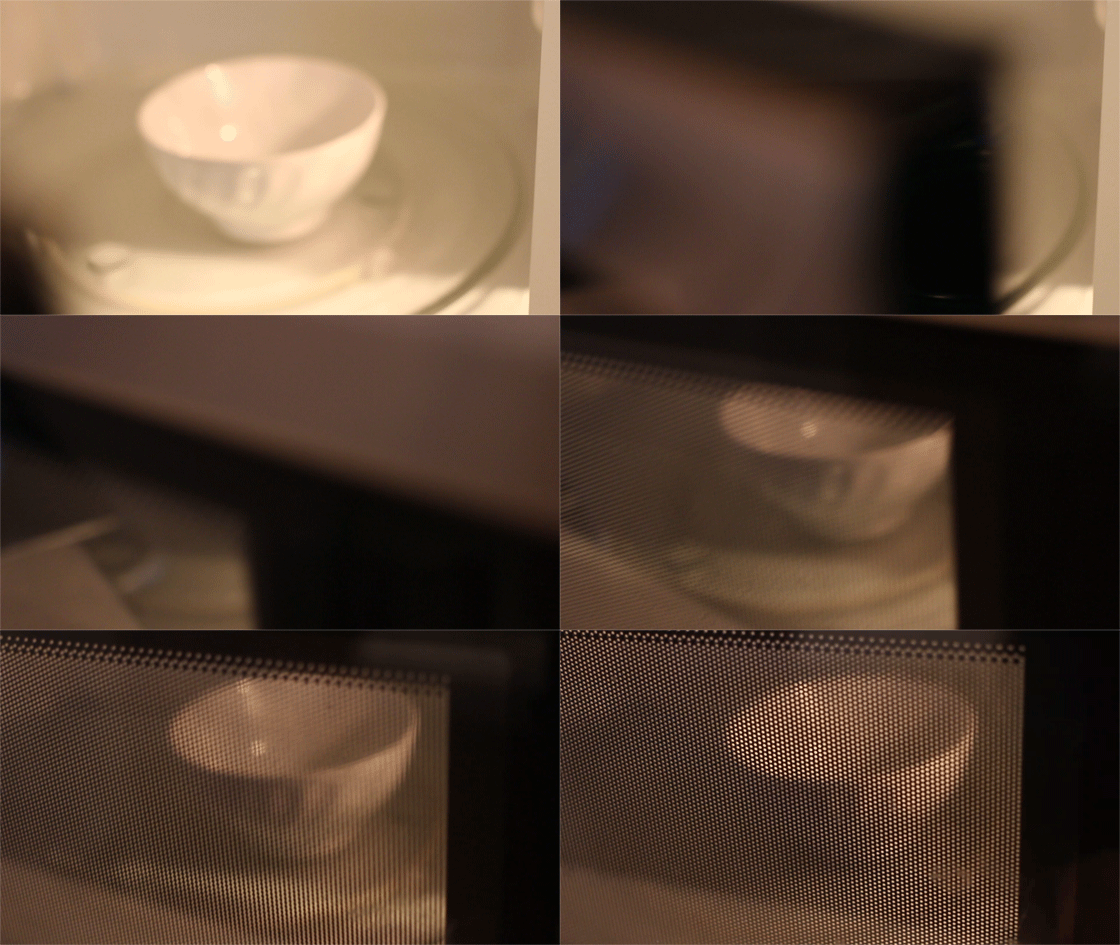
Take a tablespoon of petroleum jelly and place it in the microwave.
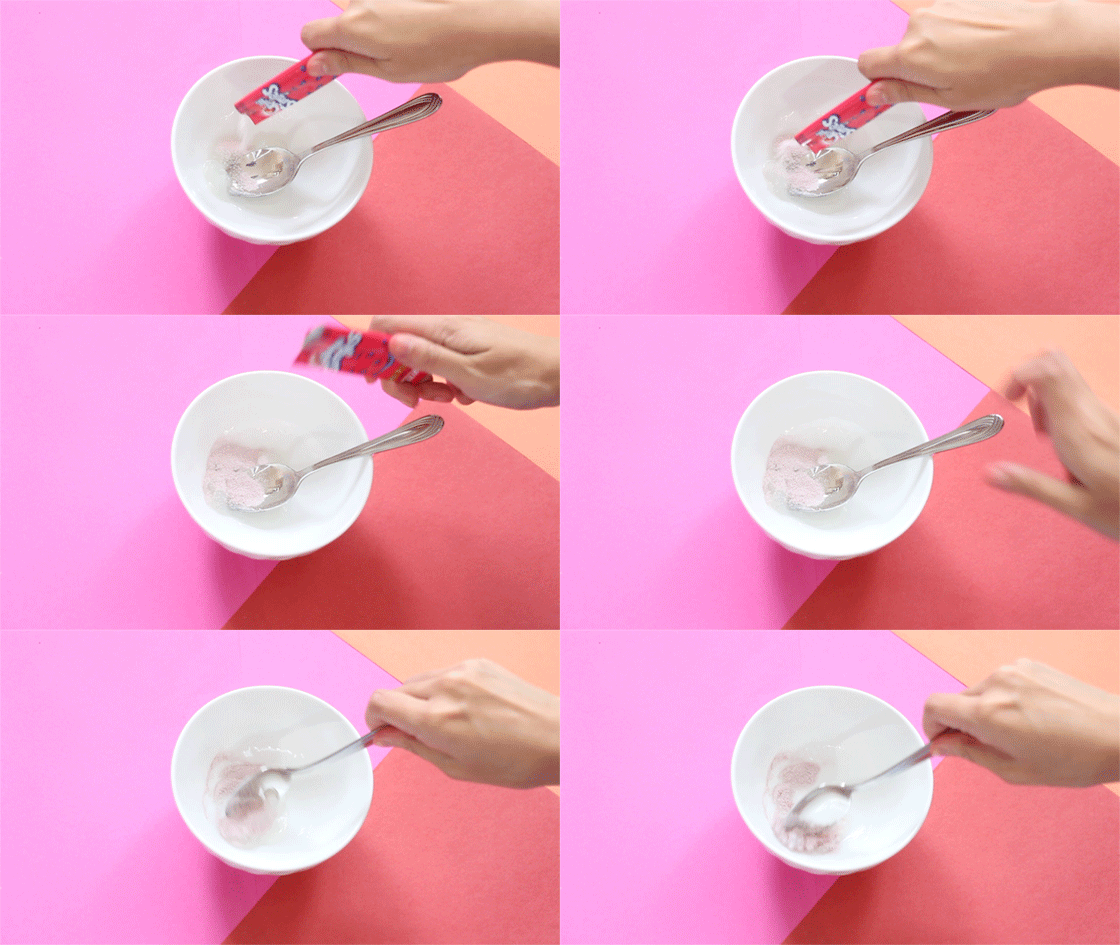
Add your Kool-Aid and stir.
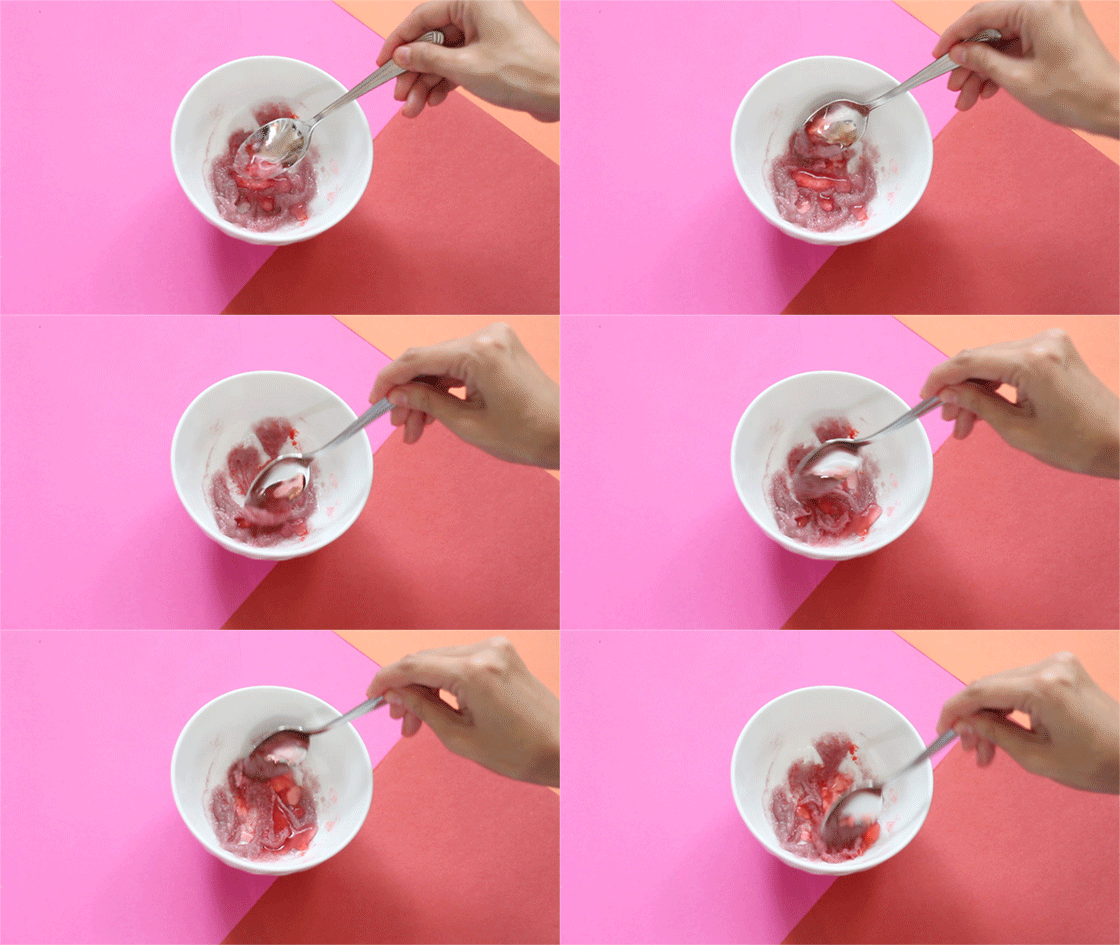
Add a few drops of water to “activate” the colour.
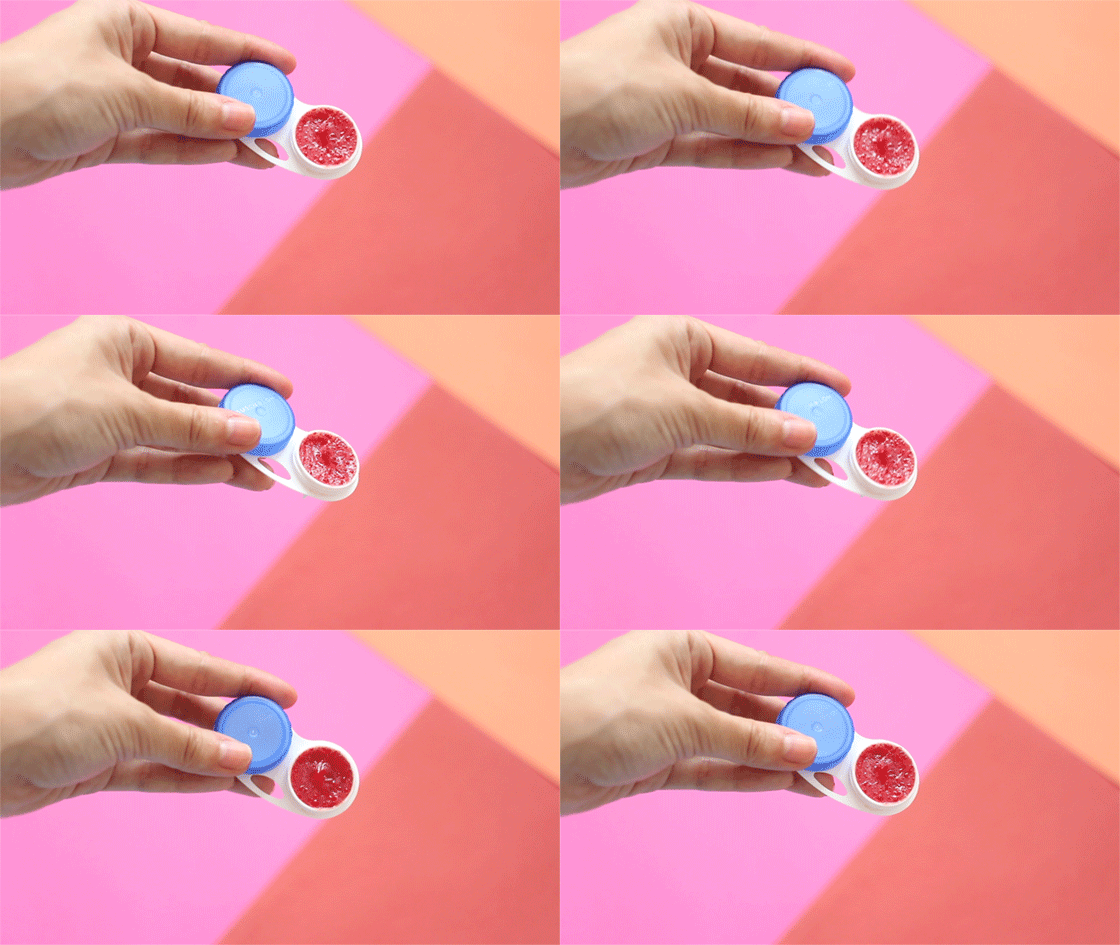
Put into desired container and apply on top of the stain when you’re feeling fancy.
Like this? Then you might also be interested in:
The Ultimate Gif Guide To Hiding Your Dark Under-Eye Circles
Follow Mari on Twitter: @sarimantos
This article originally appeared on The Debrief.
